The Sewing Room Reveal

Are you ready to finally see my sewing room?
This has been a long awaited post… last summer, we hired contractors to finish our basement and I was lucky enough to score a huge part of the space. I am seriously a lucky, lucky girl.
I am posting this as a part of my lovely friend Christina from 2 Little Hooligan’s awesome series called Sewing Spaces. I absolutely adore Christina so much and was lucky enough to get to know more about her this past year. She has a fantastic blog full of inspiration.
I spent days designing the layout, even down to the outlets and lighting. I knew where the tables would be, where the cutting area would be set, and even where my fabric hutch would be placed. The contractors thought I was nuts, but I knew what I was doing.
My dream space has come to life and I still can’t believe that I am fortunate enough to call this space my own! Everything about it is SO me, including the colors, the organization, the functionality. I just love it and I hope you will enjoy my tour of the space.
My space was designed to be directly off the playroom (which will be shown in another post, another day). We also have a 3rd family room space right outside of my room, which is great because I can set the kids up with a movie or a book and they allow me to get some more work finished. Oh, AND I have a full bathroom right down the hall (again, another post for another day).
Let’s move on to the details!
(please read to see where I purchased everything!)
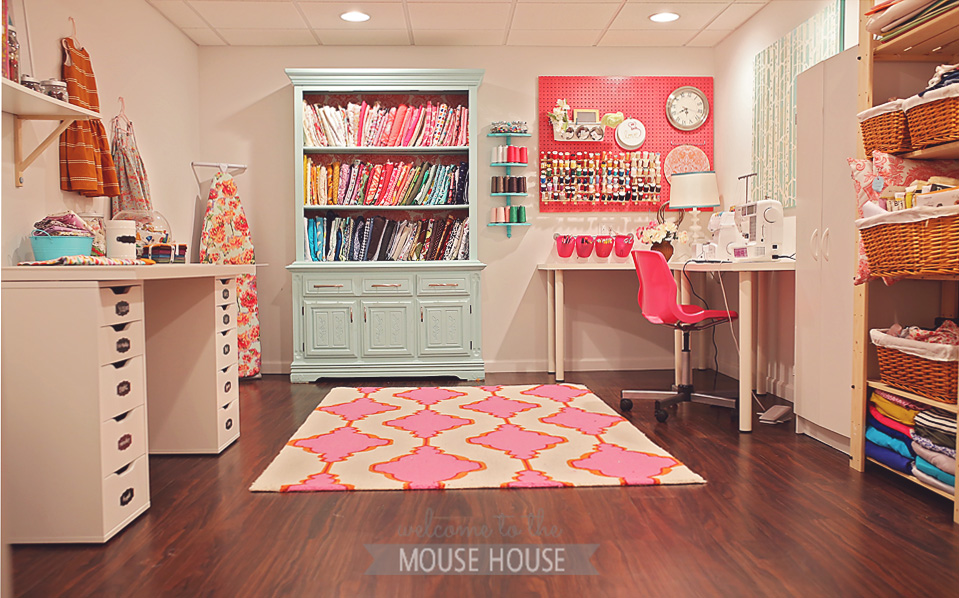
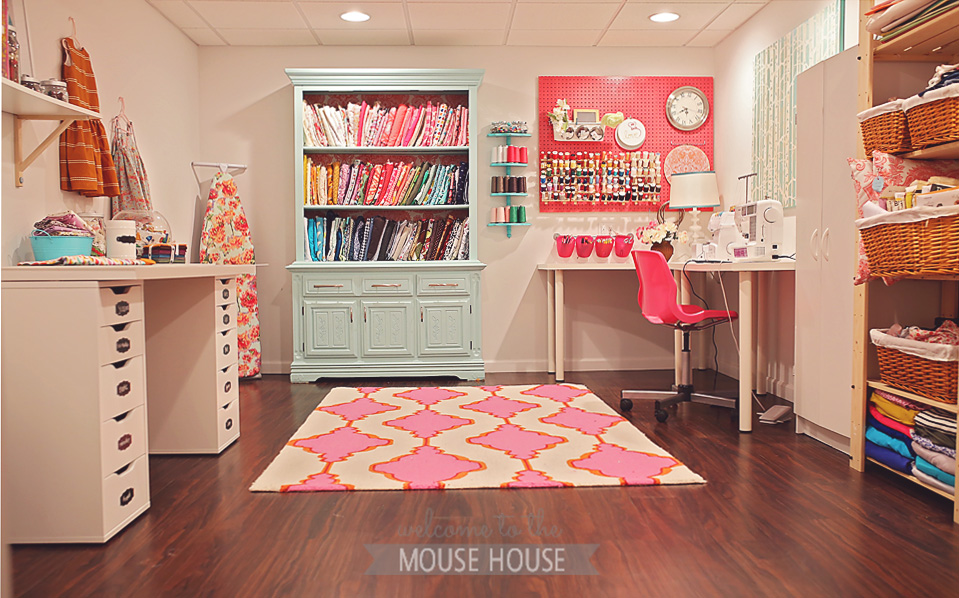
You walk into my room from the playroom and can immediately tell that it is a creative space.
Let’s start by going around clockwise.
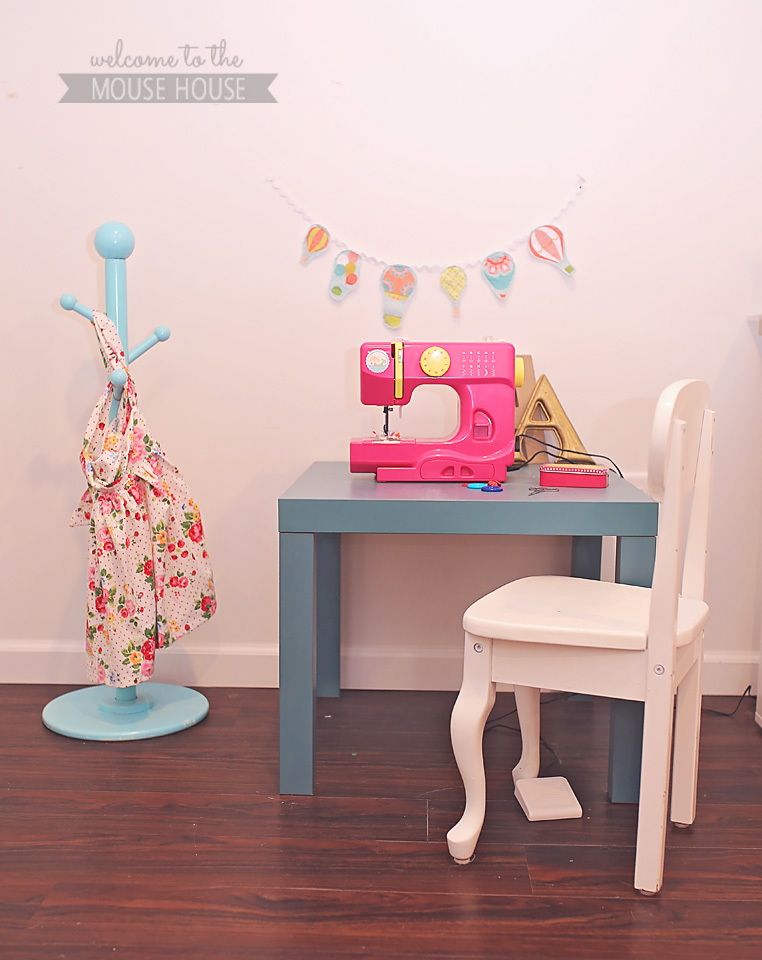
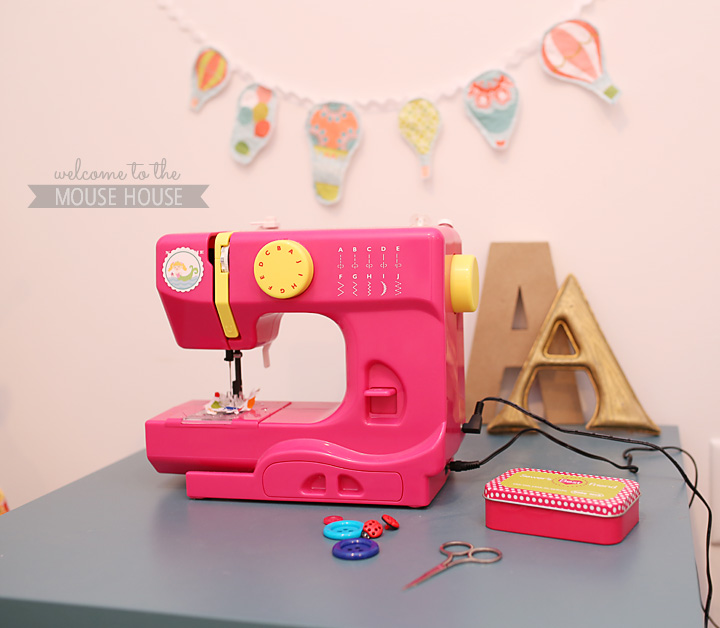
To the left of the entrance is Ainsley’s own little sewing space. You may have seen this on my Little Stitchers Series? (details on the machine in the first post)
She loves to sit here and cut, sew, pin…
Table is from Ikea.
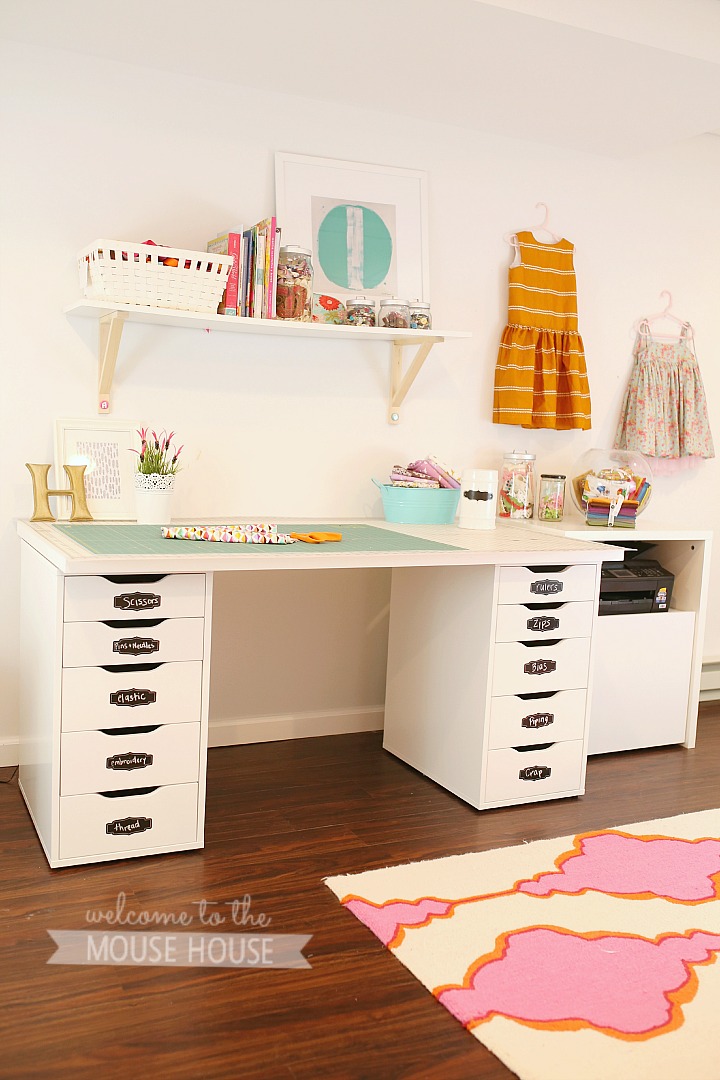
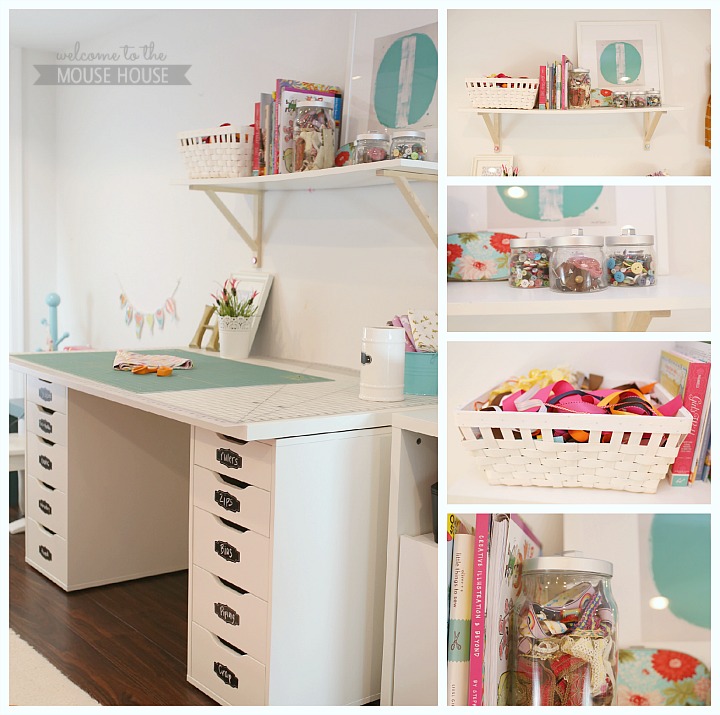
To the right of her table is my cutting table. I love this thing.
My old sewing room had a DIY cutting table which was great, but I LOVE this new one.
It is 2 of the Alex drawers from IKEA and a table top. My large cutting mat and smaller cutting mats live on top.
This might not be ideal for tall people, but I am short… so it works really well for me. If you are tall, you could always add risers!
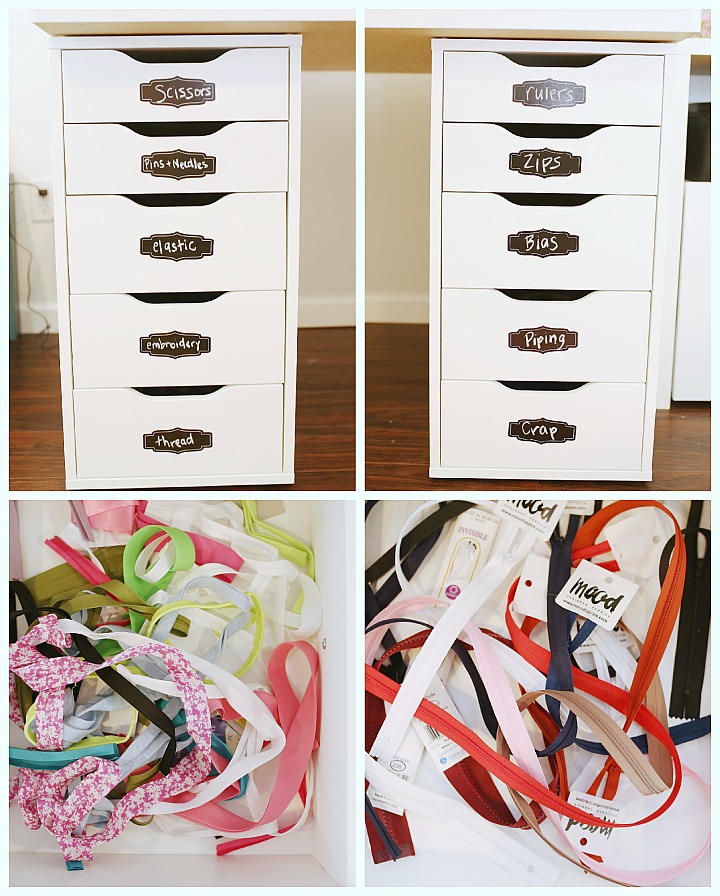
I used adhesive chalkboard labels that I found at Target to label each drawer. I love that I can literally organize each and every item. It makes sewing time so much more enjoyable when I can find things right away.
Next to the cutting table is a printer cart that I also found at IKEA. If you use PDF patterns, then you know how important this is! The cart pulls out so that I can access the printer and it stores all sorts of paper and ink underneath. It is amazing!
On top of the printer cart, I store many of my fat quarter bundles (thanks Andover Fabrics!) and jars of new and vintage trims.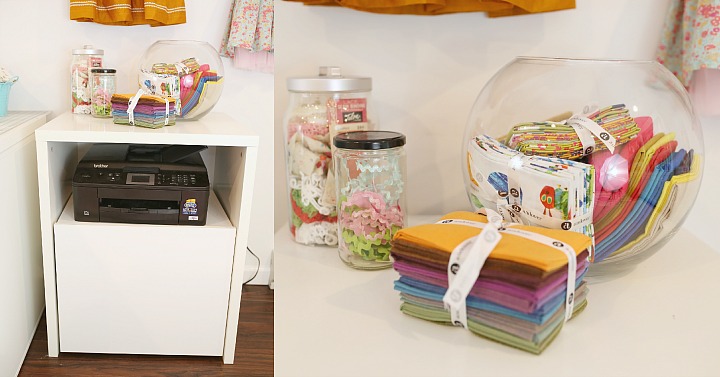
Above my cutting table is a shelf from IKEA that is clearly not heavy duty enough for all of my stuff… do you see it bowing?? hahah.
So, on that shelf, I store my button jars (again, IKEA), books, a basket full of ribbons, and a nice big jar of trims.
(can you tell I love trims?)
To the right of my cutting table/ printing area is my ironing area.
I have a dirty secret…. I hate ironing, unless it is sewing related. I can’t even tell you the last time I ironed anything other than something I was sewing. There is a joy in sewing and ironing… but no joy in ironing a shirt that needs to be worn. Am I right?
You will also see that I have hooks on the wall for hanging items that need to be finished or still need to be photographed. I have these little hooks all around the room and sometimes I have a room full of hanging adorableness. I feel like it is art that is constantly revolving. Oftentimes, the walls are covered in pretty dresses.
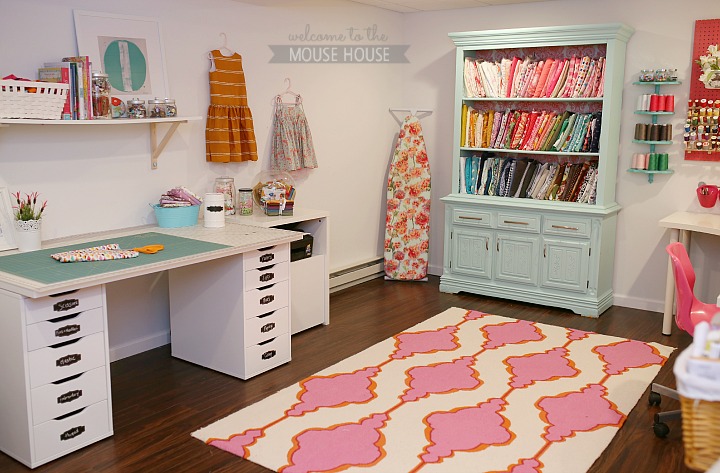
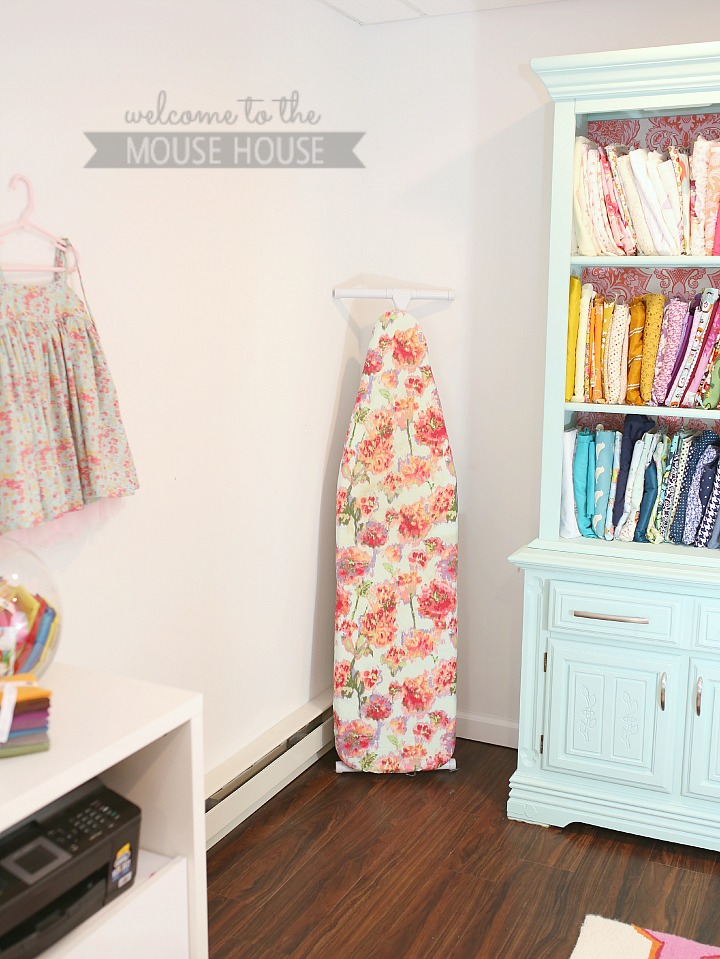
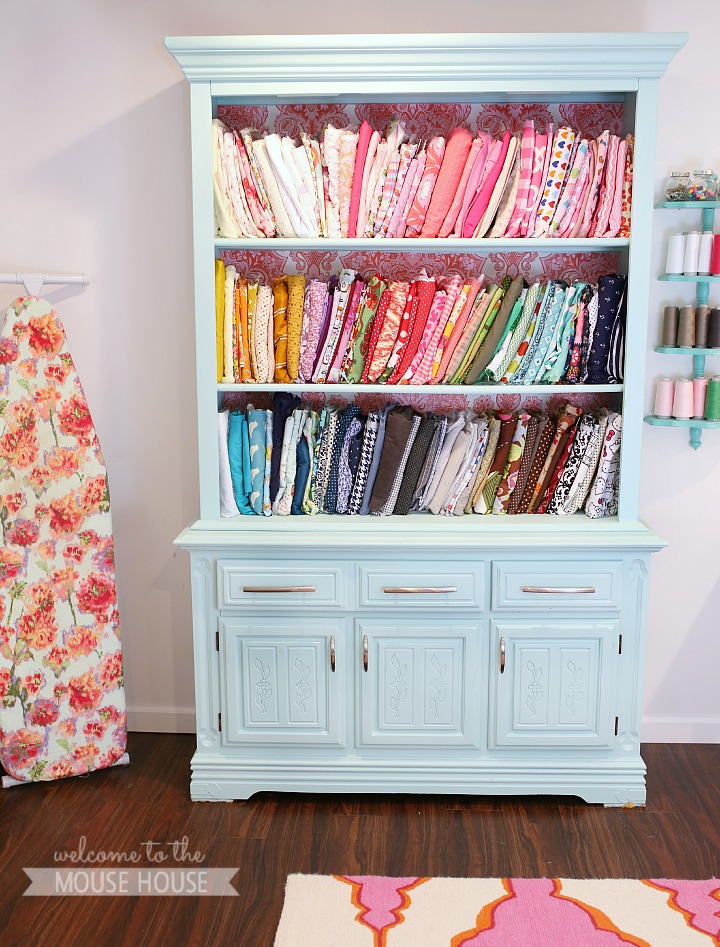
My fabric hutch is definitely one of my most favorite pieces that I have ever created.
You can find the original posts HERE and HERE.
I painted it and added the fabric backing last year and knew right away that it would be the best spot for my woven fabrics.
( I really need to go through and sell a good bit of these since they won’t be used… stay tuned for that!)
In the bottom of the hutch, I store my freezer paper, long quilting rulers, batting, sewing machine and serger books and manuals.
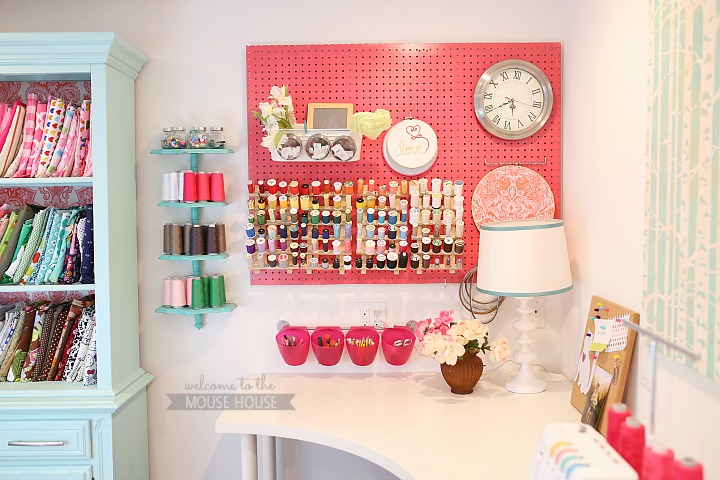
To the right of the hutch is my pegboard area.
We have a TON of pegboard that was given to us, so we use it wherever we can (like in our garage… post for another day!)
I spray painted mine with the same spray paint as I used for Ainsley’s bed (check out her bedroom HERE).
I use the pegboard to hang my threads, clock that has no batteries, extra embroidery hoops, and fabric labels.
Below the pegboard is a rod with pink bins (again from IKEA)… those store my paint brushes, pencils, fabric markers, and sewing machine tools that I need to have handy.
These cute little magnetic containers are from IKEA and they store my fabric labels.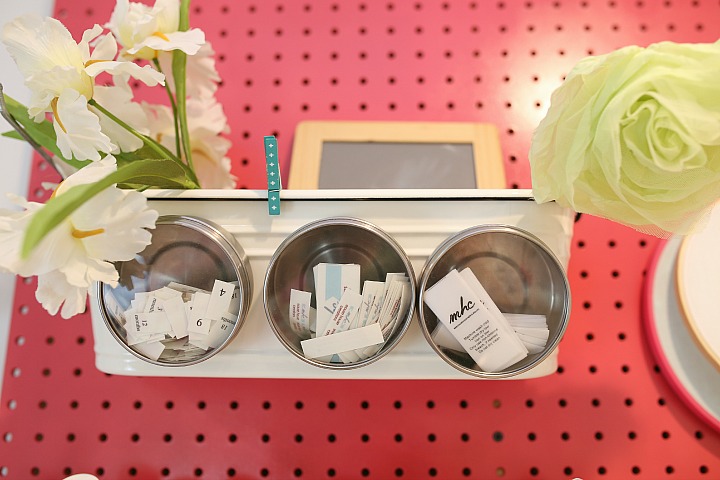
My threads are stored on the normal thread holders that you can find anywhere and they are held up with pegboard hooks.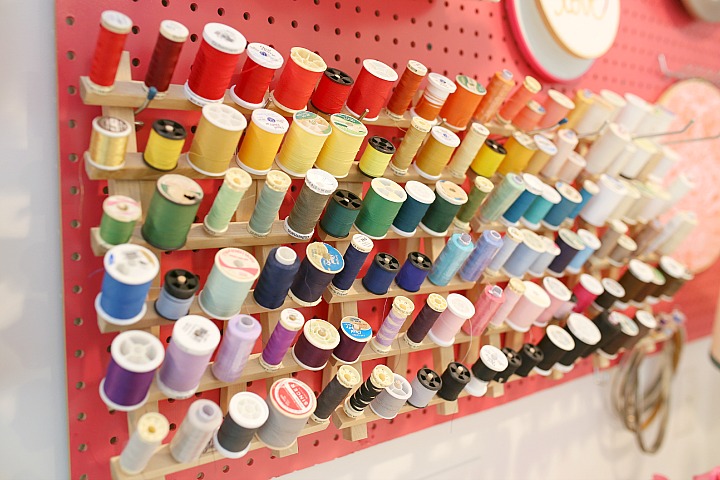
Next to the pegboard, I store my store my serger cones on a thrift store shelving unit. 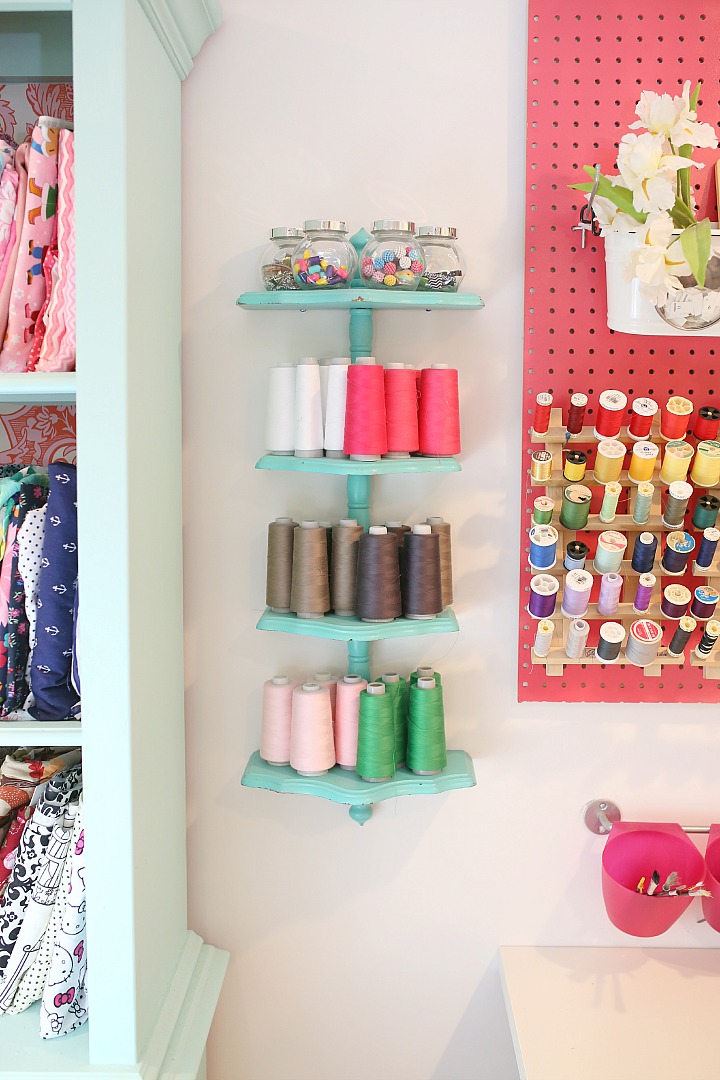
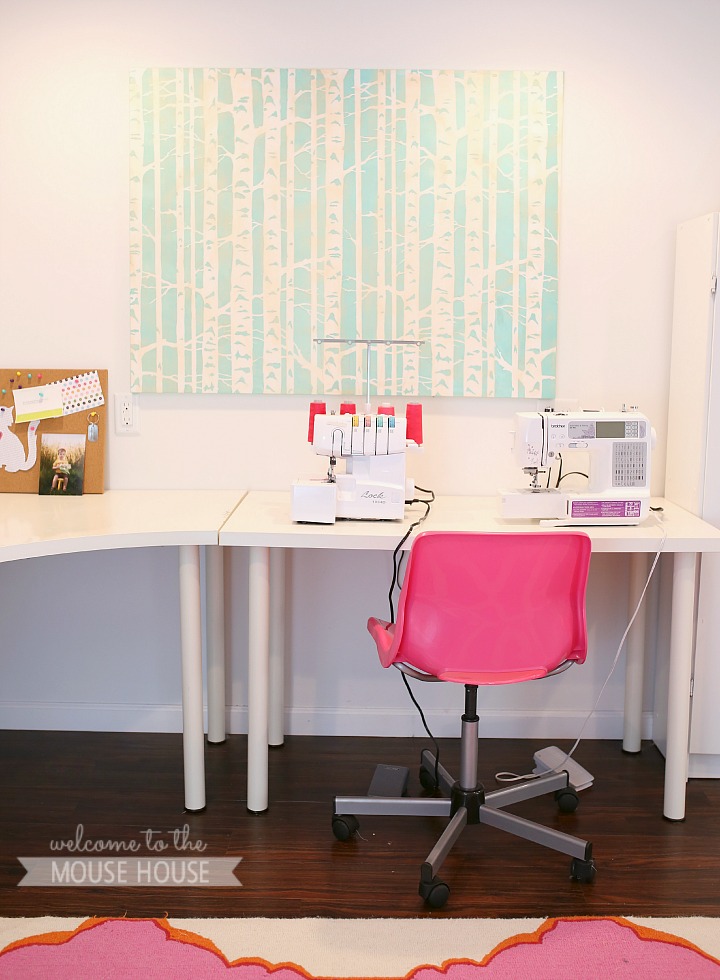
Now for my sewing area.
I discussed my machines in THIS POST. At some point, I hope to upgrade, but it hasn’t been a priority yet.
Above my sewing machines is artwork I made using Cutting Edge Stencils and a recycled canvas.
The pink chair is Ikea, as well as the tables.
(can you tell that I love IKEA?)
To the right of the sewing area is my shipping and supply area.
I used to do lots and lots of shipping, so this was important. I no longer do that, but I hope to do it again soon!
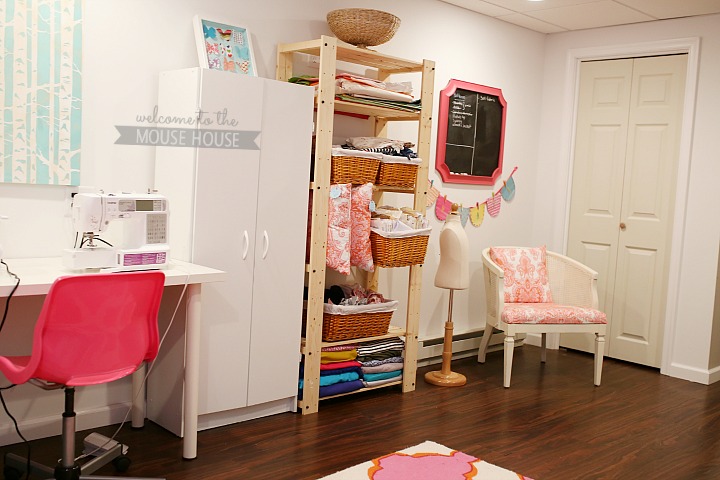
The white cupboard houses a lot of practical stuff.
Trash bags, flashlight, extra packing tape, packing labels, MHC labels, postage scale, envelopes, cardstock.
Anyone recognize the butterfly artwork on top?
Tutorial found HERE.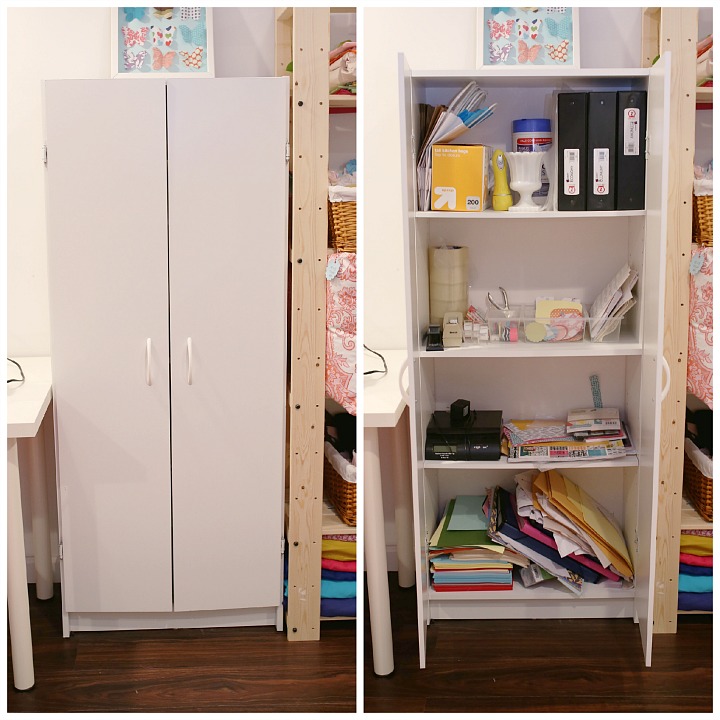
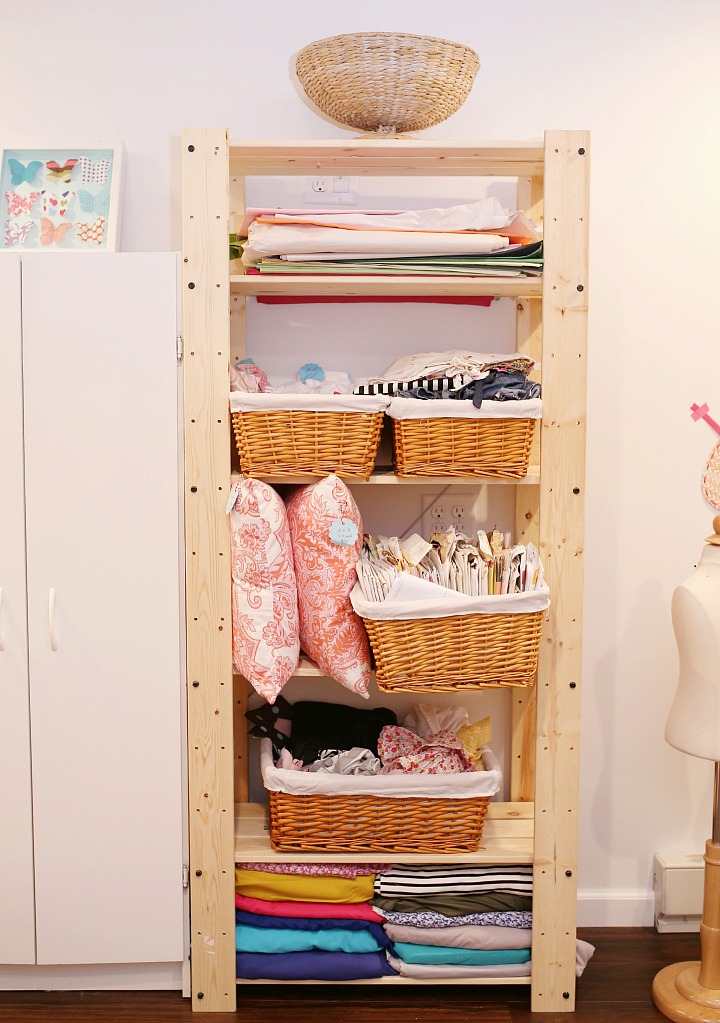
Next to the white cupboard is a wooden unit that houses a lot of things.
From top to bottom:
Wicker basket: kitty laying area… literally, this is where my cats sleep (weirdos)
Tissue paper: shipping supplies
2 wicker baskets: left one is ready to ship baby bibs and onesies/ right one is full of items to be fixed
Pillows: ready to sell, just haven’t listed/ wicker basket full of vintage patterns
wicker basket: full of unfinished projects… whoops.
Bottom shelf: Willow and Co fabrics
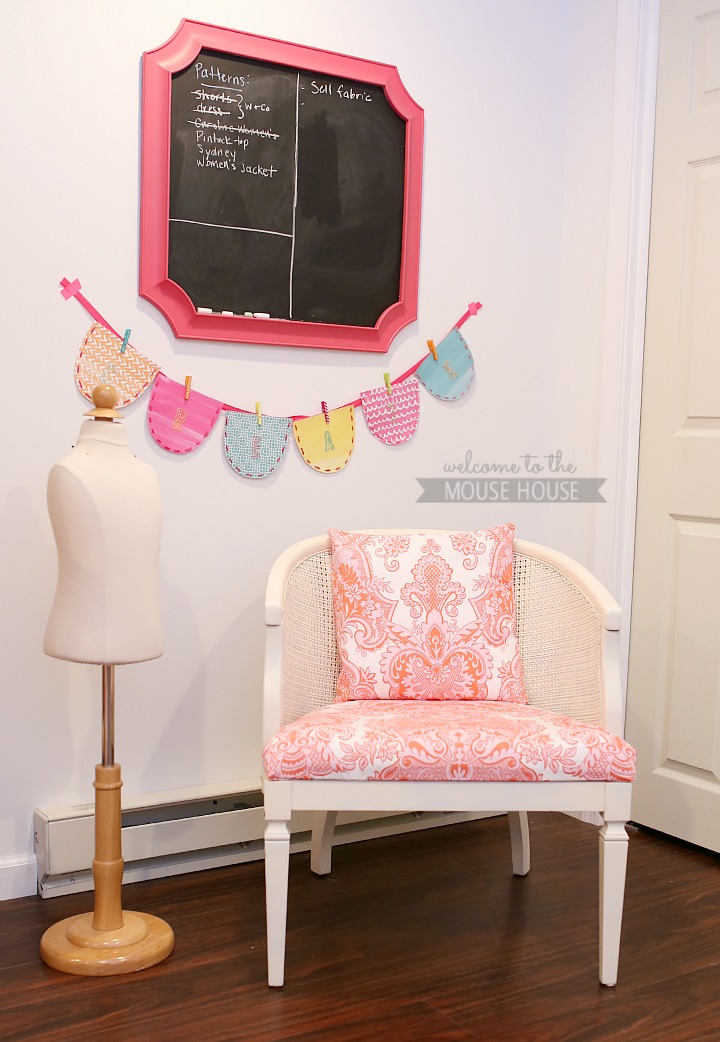
To the right of the boring stuff is a little sitting area that is often utilized by Ainsley.
I created the chair many years ago. Find that post HERE.
Next to it is my dress form, but I need to get a new one because it is like a size 2-3. I bought that on Ebay many years ago and don’t remember where. It was around $40.
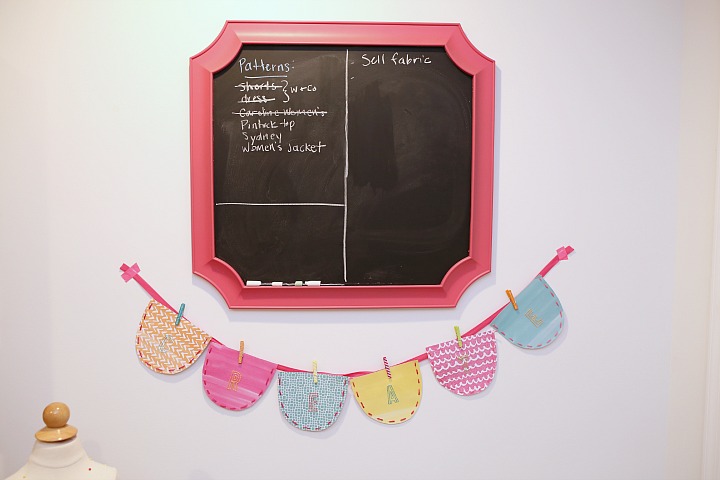
Above the chair is a chalkboard from Home Goods that I use to write lists.
The banner was from THIS post.
Like I previously mentioned, my room is attached to the playroom and I purposely left off the door.
(sometimes, I question that decision haha!)
I love how it is open, but still secluded. It also allowed me two good sized closets!
I used the hallway to create closets to store a ton of stuff.
The left closet is used to store all of my knits, fleece, and felt. The lower shelves store the scraps by color.
The bottom bins are fabrics either ready to be repurposed and up cycled or sold. (seriously, I need to sell a ton of stuff).
The right closet is a mixture. It stores my photography backdrops, lenses, paints, stencils, watercolor supplies, extra sewing machine, paper punches, steam iron, glues, and pdf patterns.
I hope to one day have a photography studio built, which would eliminate some of these items.
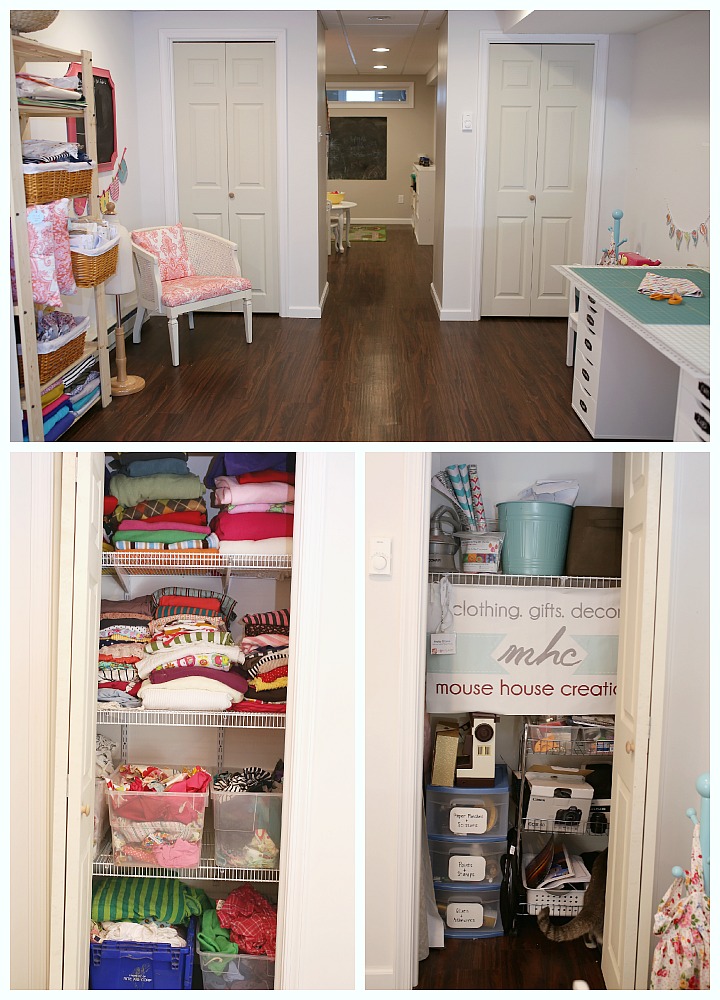
The only things I feel that I am missing from the informative details would be the flooring.
The rug is from Rugs USA and the flooring is vinyl. Because it is a basement, we couldn’t do real hardwood and we also couldn’t afford the amazing ceramic, so we went with vinyl and we love it. It makes sweeping up the pins and thread SO easy!
If you have any other questions, please let me know!
I am always happy to help.
Please check out the rest of 2 Little Hooligans Sewing Spaces tours for major inspiration!