


I am a project contributor for Mod Podge Rocks and I recently created a tutorial over there for a fun and easy NO-SEW Christmas shirt. (Click HERE for full tutorial)

While I was making the shirt, I decided to try a few other projects using Mod Podge and I came up with a cute gift idea. Dish towels! These would be great for yourself or to give as a gift to a teacher!

Gather your supplies:
*Dish towels (either old or new)
*foam brush
*wax paper
*scissors
*image you choose
(I got the awesome images from Graphics Fairy IMPORTANT: Make sure to print your image from a Laser Printer, not an ink based printer. If you don’t have one at home, print out your image and bring it to your local Staples or Kinkos to have them make a laserjet photocopy. It only costs a few cents)

I purchased a set of 5 flour sack kitchen towels from Walmart for under $5. As soon as I brought them home, I washed them, dried them, and ironed them before beginning this project.

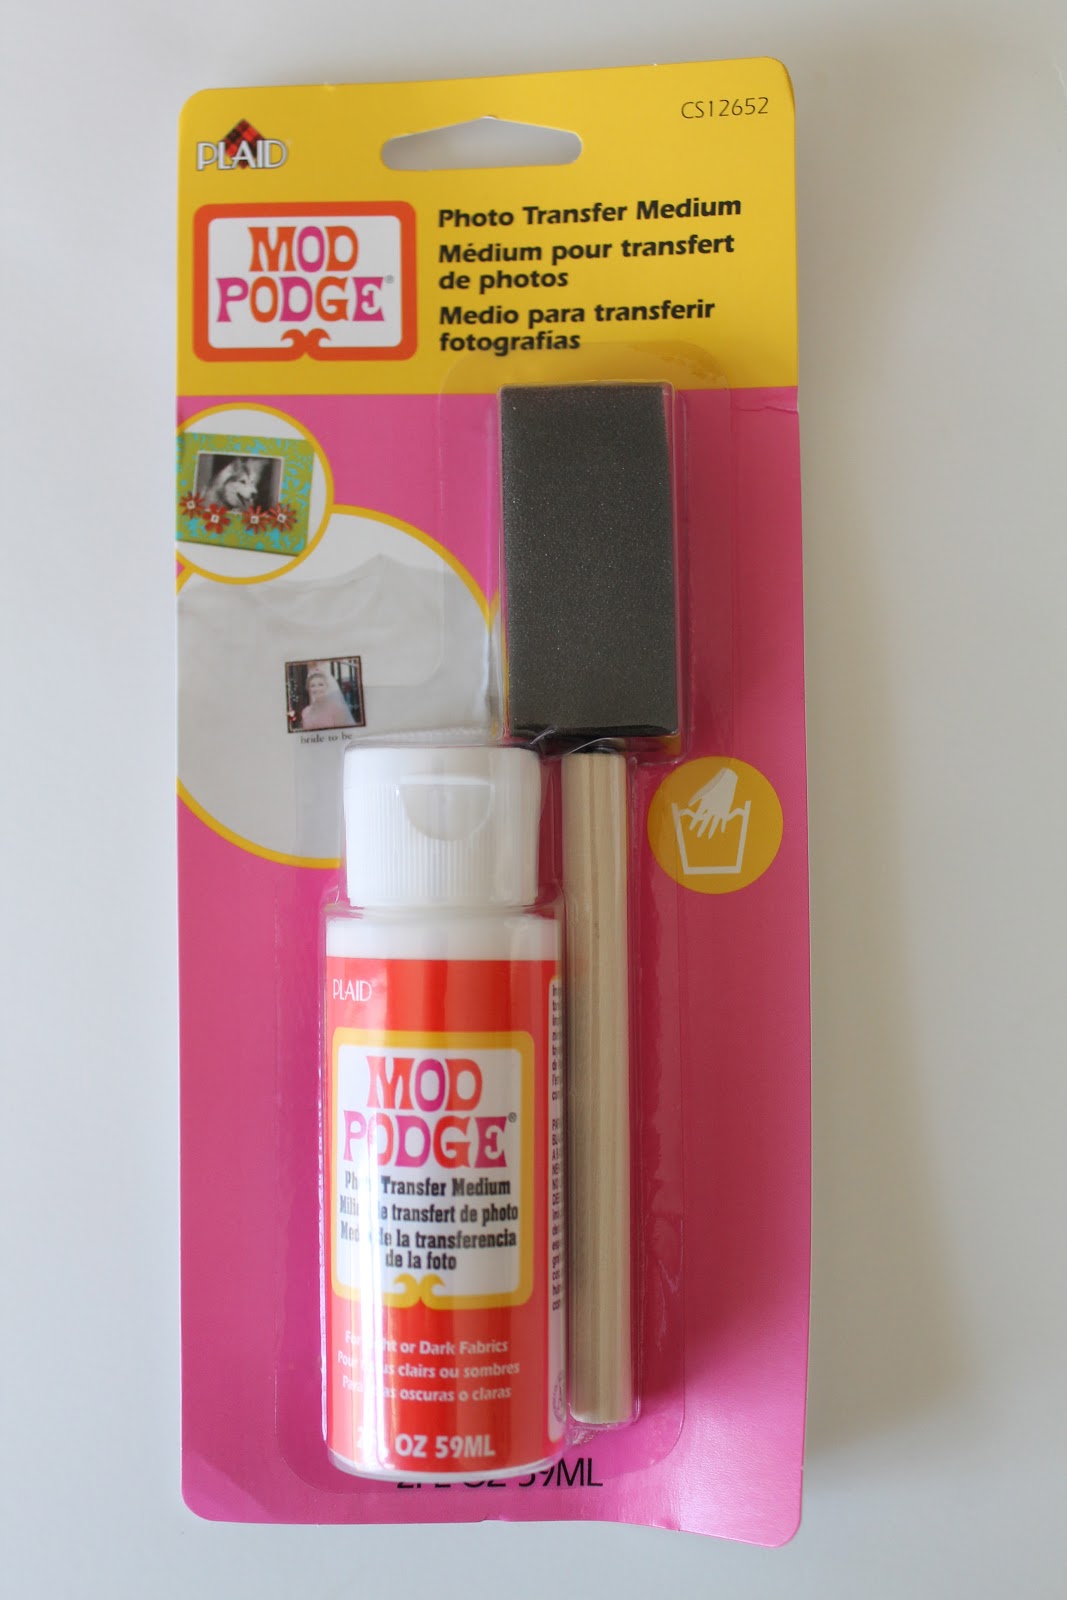
I found the Mod Podge Image Transfer medium at my local craft store and I used a coupon.
Lay wax paper down to protect your work surface.
Step One:
Cut your image to size. Generously apply a thick layer of Mod Podge Photo Transfer Medium to the FRONT of the image. Apply as much Mod Podge as it takes to basically make the image disappear.
Step Two:
Once completely covered with Mod Podge, place your image picture-side down onto the dish towel. Make sure it is in the right spot and not crooked. Now, gently, but firmly secure it to the dish towel by rubbing in small circles all over the paper. Make sure there are no wrinkles or bumps.
Step Three:
Lay flat to dry. Wait at least 24 hours! Do not try to peek or lift up the paper before then (I *may* have done that with my first attempt because I am extremely impatient.)
Step Four:
After you patiently waited the 24 hours, grab a damp sponge or towel. It is time to remove that paper and see your lovely image again. Gently rub the paper off using the damp sponge using a small circular motion.. You will then see the paper start to flake off and your image will start to show! Once you feel that all of the paper has been removed, it is time to let your dish towel hang dry (product cannot be washed for at least 72 hours and hang drying is always best)
Cute, right?

We have been using ours daily and they have held up well to washing and machine drying. I will update you guys if I find that they start to wear down, but so far, so good!


They would definitely make a cute Christmas gift!

P.S. I am not sure if I mentioned it on here or not, but I am taking a brief Etsy break so that I can work on reconfiguring my business plan. Once I reopen in 2-3 months, I will be offering many new items and some of my previous items will no longer be available. I just want to thank all of the customers who have kept me extremely busy these past few years!

Hayley
Hayley Crouse is a wife, mother and multifaceted designer. Her love of sewing, crafting, cooking and interior design infuses her daily life and naturally spills over into her online presence. She pushes the envelope of her creativity and hopes that others will be inspired to do the same. She currently authors the Welcome to the Mouse House Blog, is the pattern designer behind Mouse House Creations and is a collaborative designer with Willow & Co. Patterns.
Latest posts by Hayley (see all)
- Music Room: Home Tour - January 11, 2019
- The Ace Cardigan - July 30, 2018
- Susie Halter Top and Shorts: Project Run and Play - July 18, 2018
I love these! We don’t have mod podge in the UK, it’s not fair 🙁
Very cute. I like to wash my dish towels with bleach. Do the images hold up well using bleach + detergent, then the dryer?
This comment has been removed by a blog administrator.
Love them! I think the carrots are my favorite, very country!
Great post! I would love for you to share this or any of your great ideas at the link party going on now (and every Saturday – Tuesday) at ‘Or so she says …’ Hope to see you there! http://www.oneshetwoshe.com
Thanks for the tutorial! I’m definitely going to try this!
Hello! I have tried this method twice, and the fabric maintained a white “stain” all around the image, where I had painted on the mod podge. I realize now, after enlarging your photos, that your images, too, have a white “stain” around them, due to painting the mod podge beyond the edges of the images themselves. This is something perhaps that people might want to know before beginning this process. It certainly affects the look of the final product — like a sticker applied to the fabric. Thank you for the tutorial!
I am so sorry you had trouble with it! The “stain” isn’t actually a stain… it is just the white paper that was transferred, just the image. The closer you cut your image, the less white space you will have, if that makes sense. The image gets transferred and so does the color of the paper. Next time, you could maybe try to use an exacto knife to get as close to the outline as possible?
Hi there! I am going to try this with a photo of a recipe but because it includes words I want to make sure I put it on the correct way. If I apply the mod podge to the front of the picture, then place the picture face down, will the words be backwards?? Thank you! 🙂
I’ve sat at work trying to figure out the same thing for a good five minutes. I think…hesitantly…yes. Flip the image before you print it and then it should be good. Right? That makes sense.
Yes, you would need to print the words in mirror image.
I really like this idea and should have read the comments before I began but was so excited that….Next attempt I will cut as close to the image edge as possible. But they are still super cute and will continue to experiment! Maybe you can post pictures of the different steps for us to see. Thanks and happy crafting.
Thank you for a great explanation. I was looking online for a similar idea and really appreciate it the Image Transfer was quiet unique and it will really help as
Custom Embroidery Digitizing
is also providing digitize logo designing and have unique designs.