


This was posted last year on Sew Mama Sew and I am bringing it back home today, just in time for spring sewing!
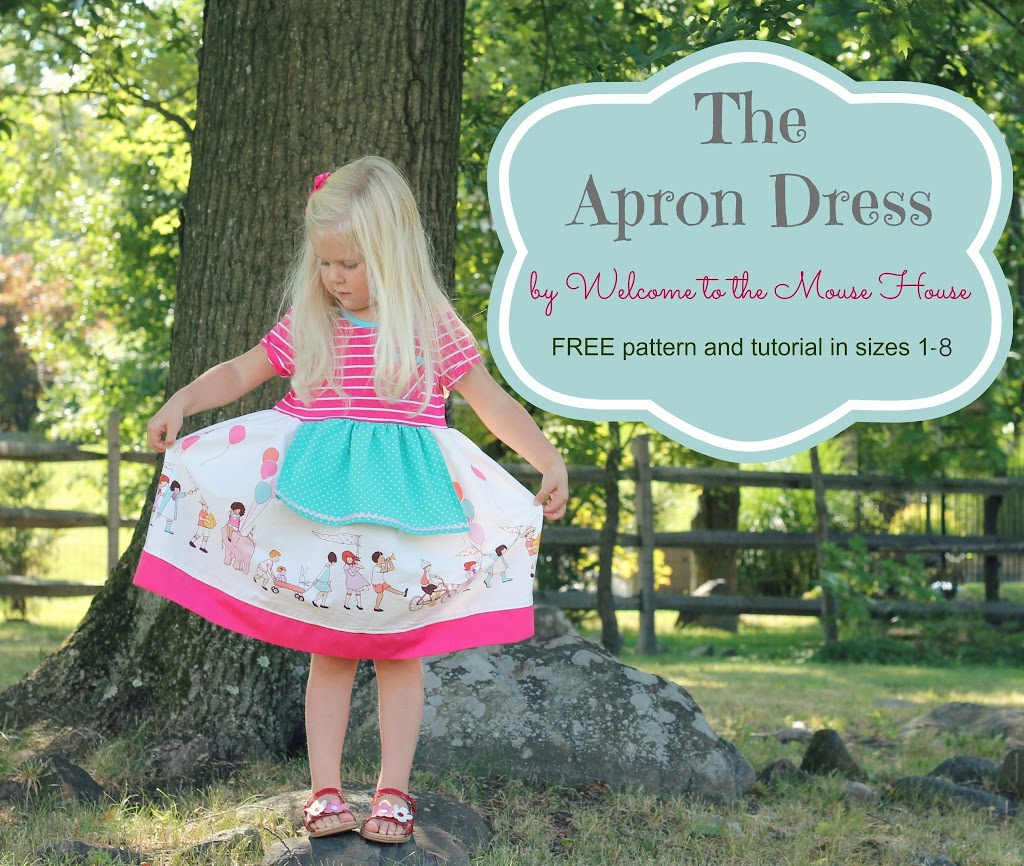
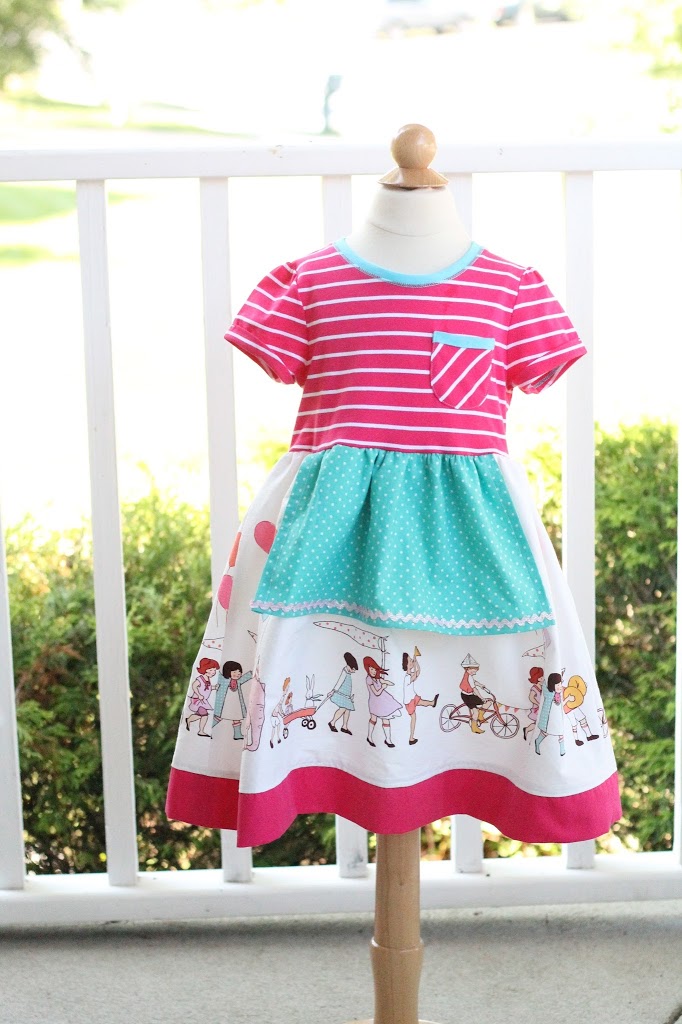
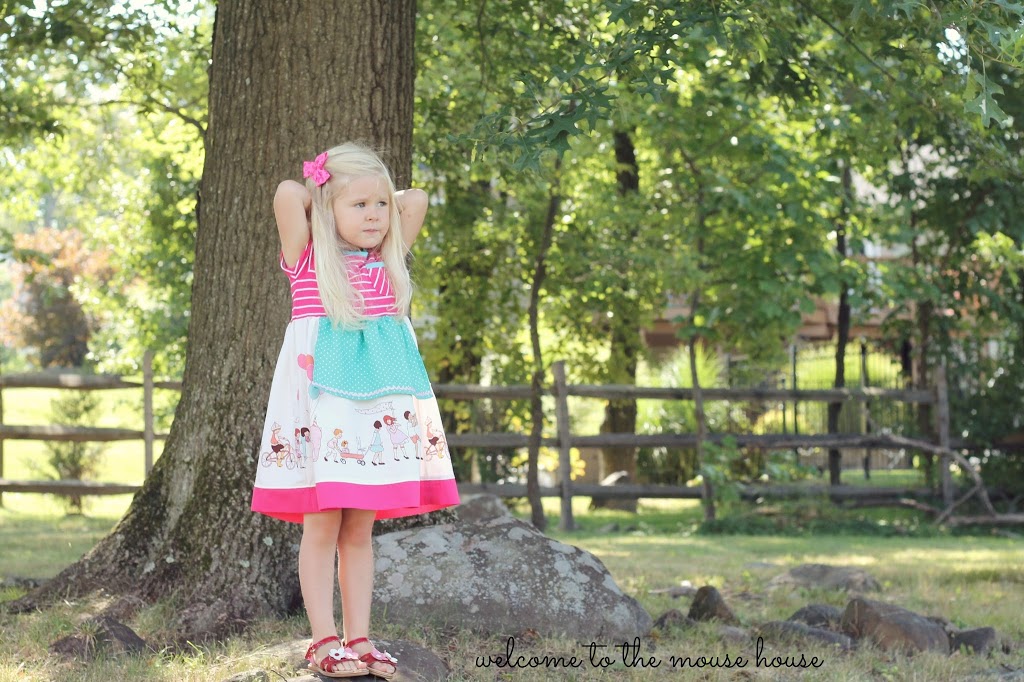
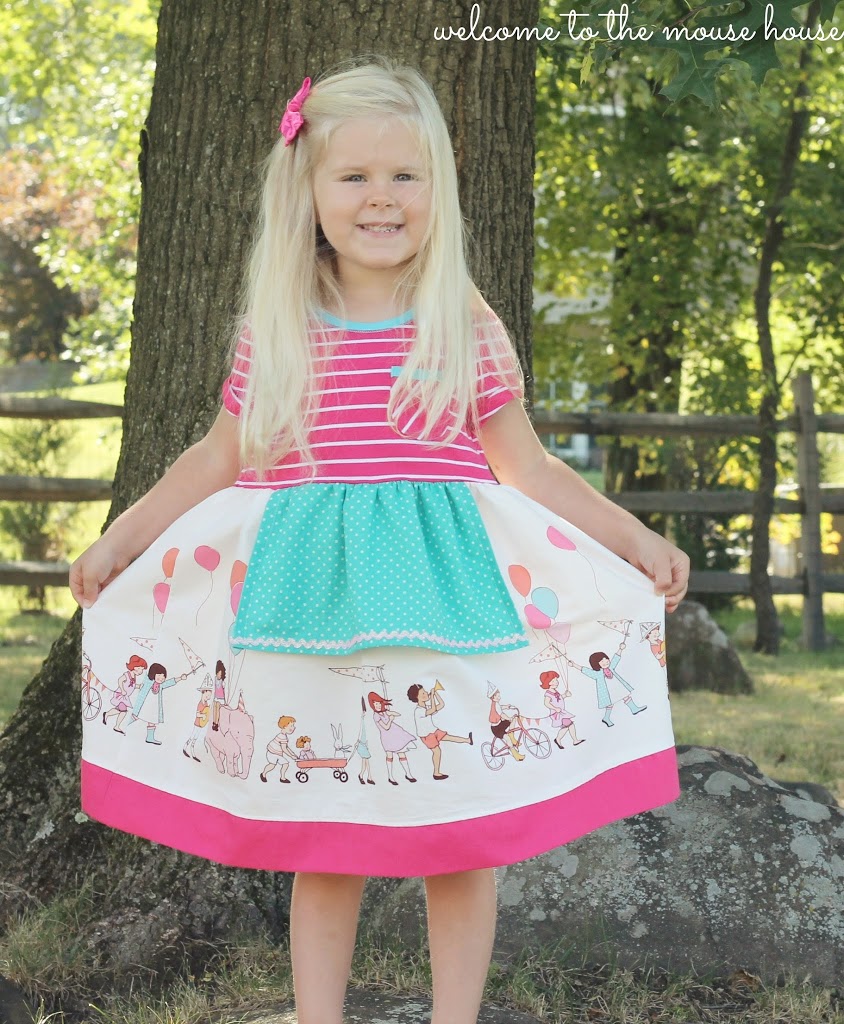
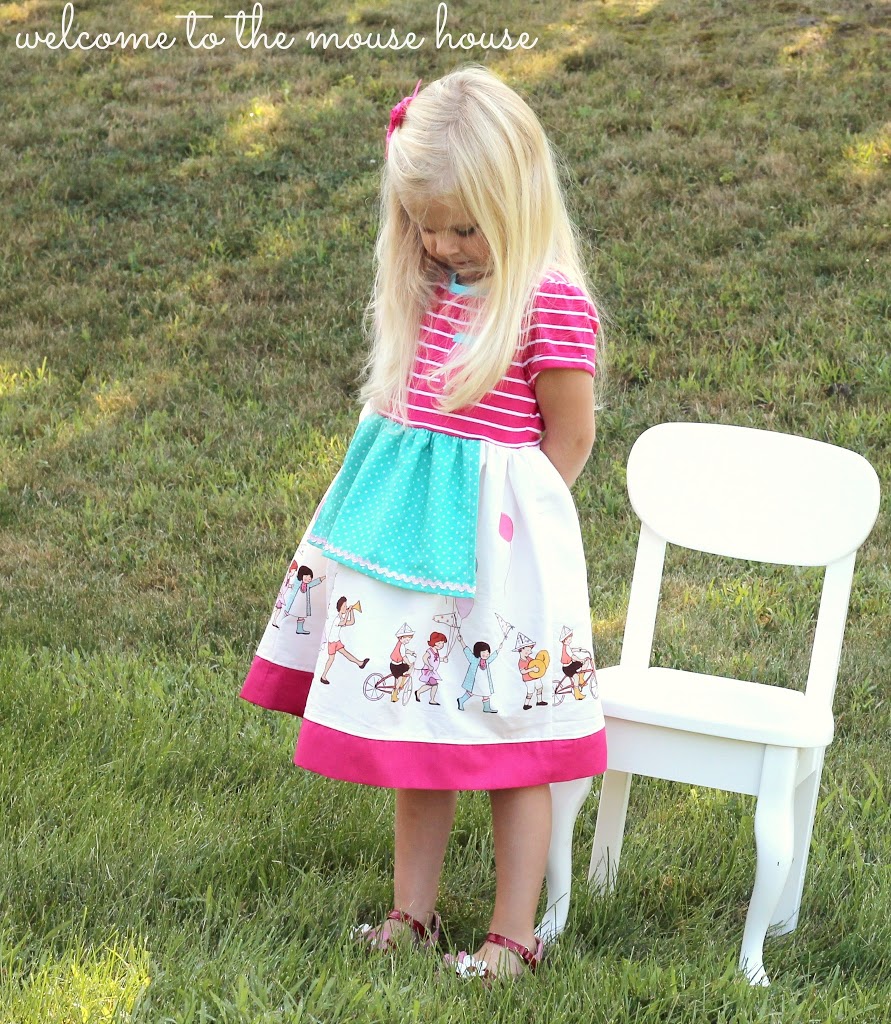
The Apron Dress
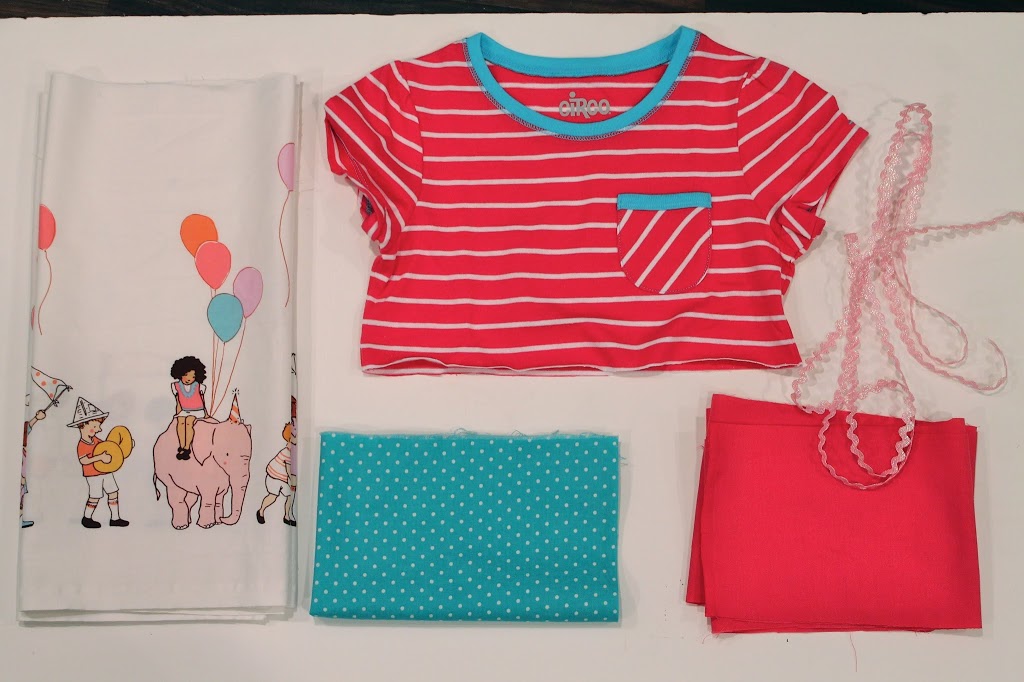
supplies:
*store bought tshirt (or tank top or long sleeved shirt)
*fabric according to the cutting chart
*ric rac or trim for apron (optional)
Let’s get started on this super easy dress!
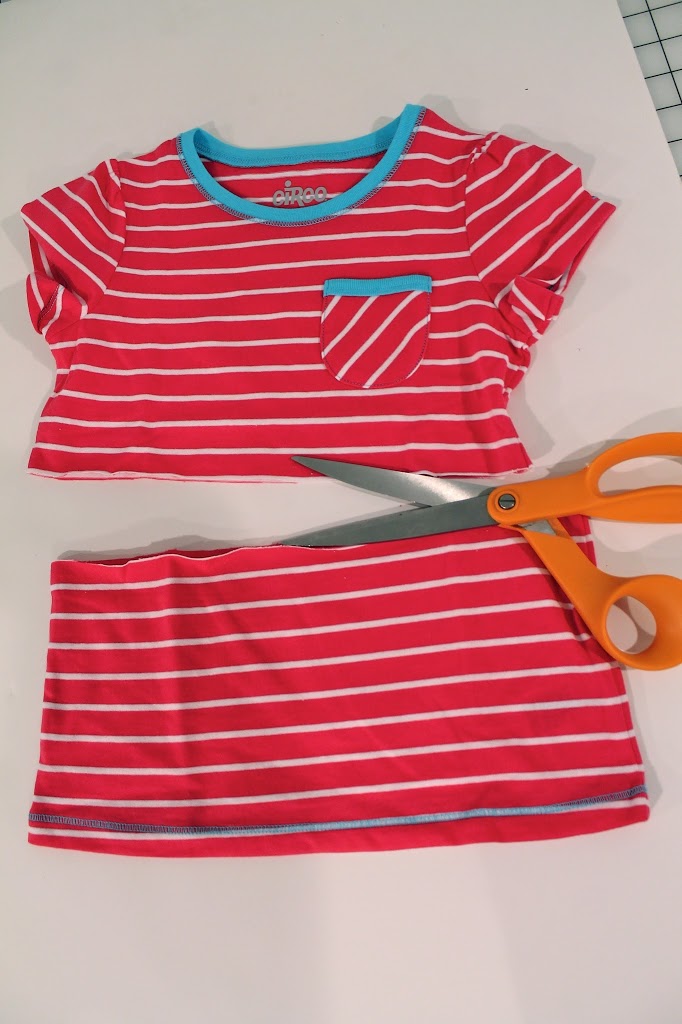
Grab your store bought tshirt.
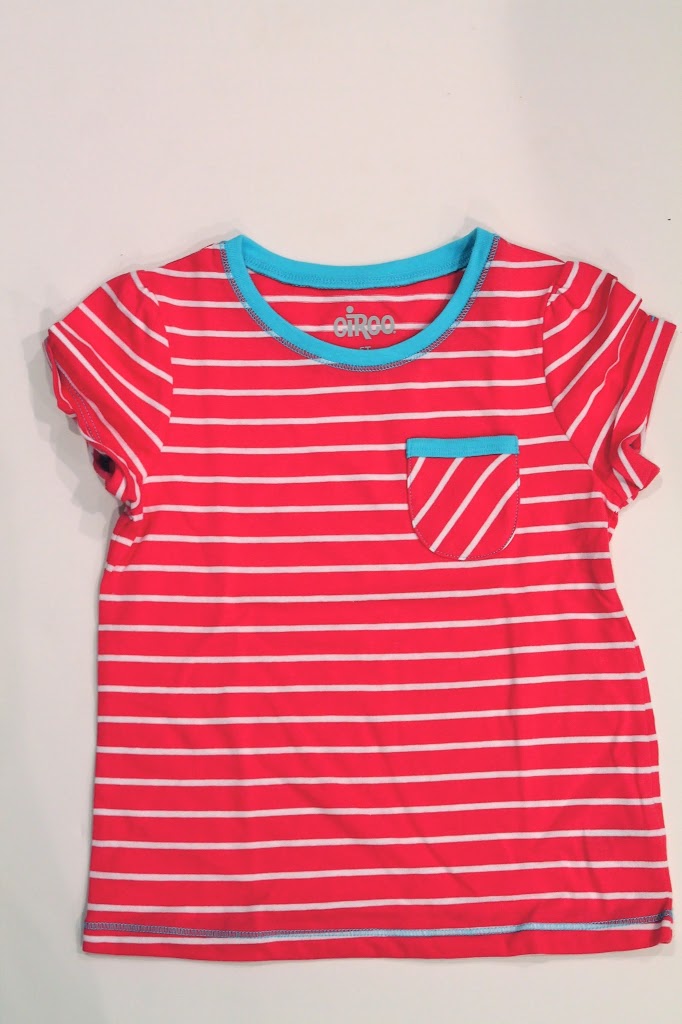
Cut the tshirt slightly above your child’s waistline.
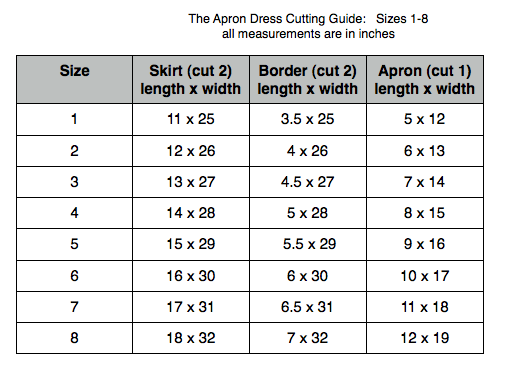
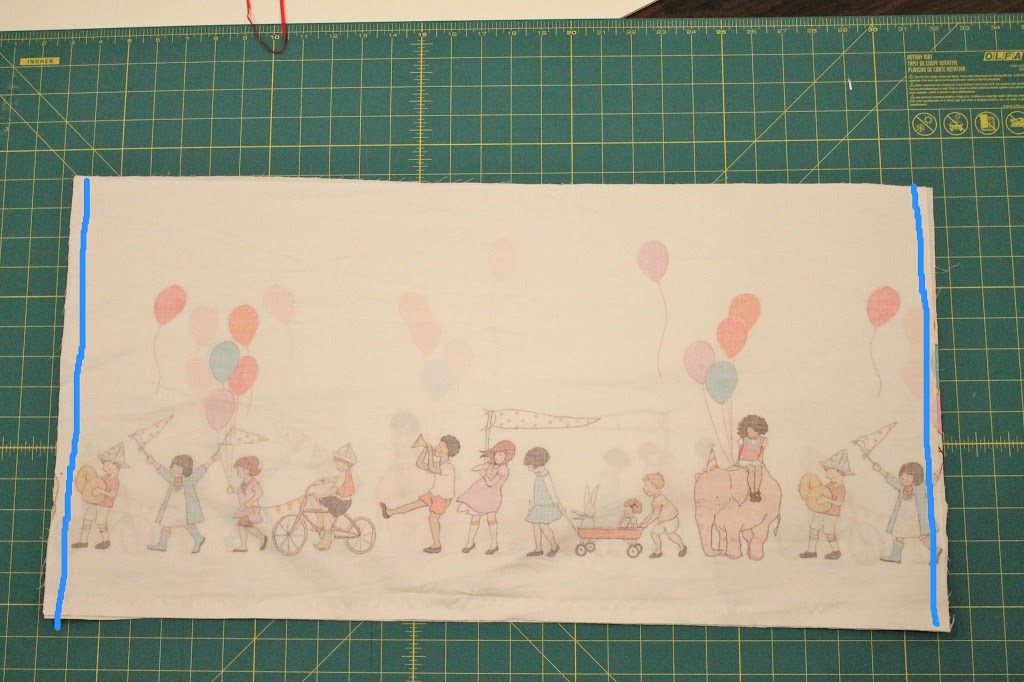
Cut all of your fabric pieces out according to the cutting chart.
(as always, if you note something incorrect, please let me know so I can fix it!)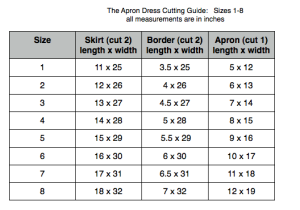
(as always, if you note something incorrect, please let me know so I can fix it!)
With right sides together, sew the skirt pieces together along both short sides using a 1/2 inch seam allowance.
Serge or zig zag to finish edges.
Serge or zig zag to finish edges.
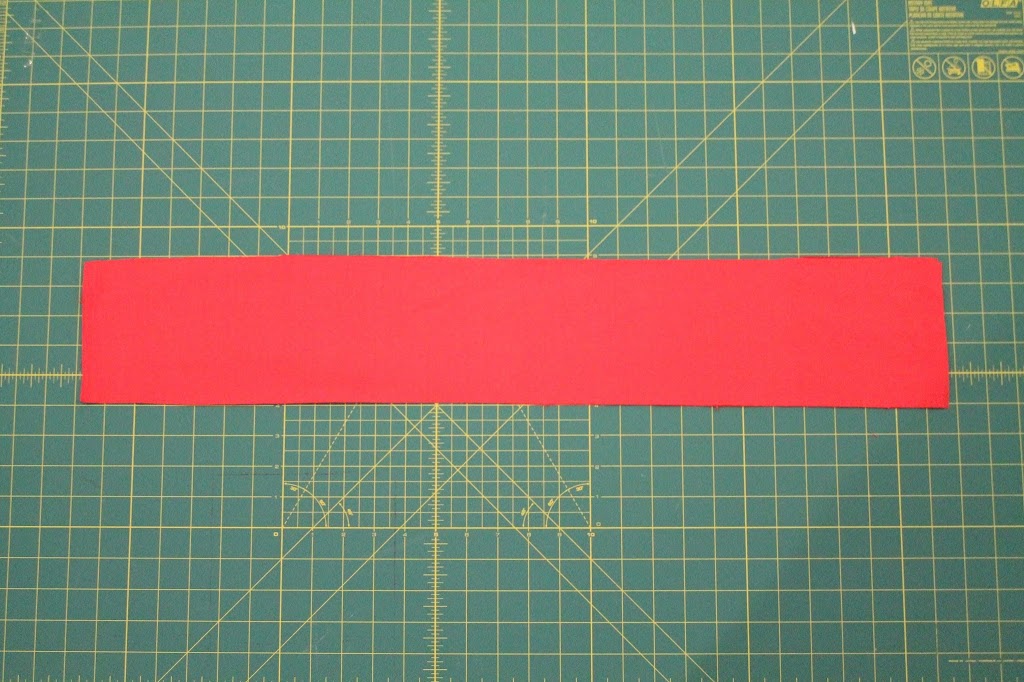
Do the same thing with the border pieces.
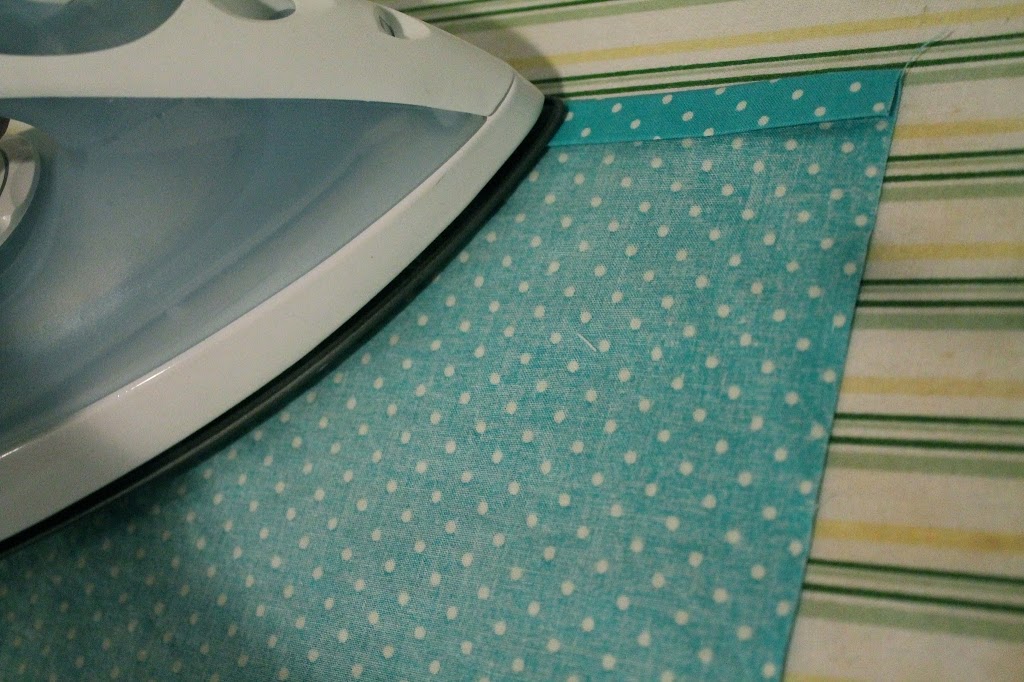
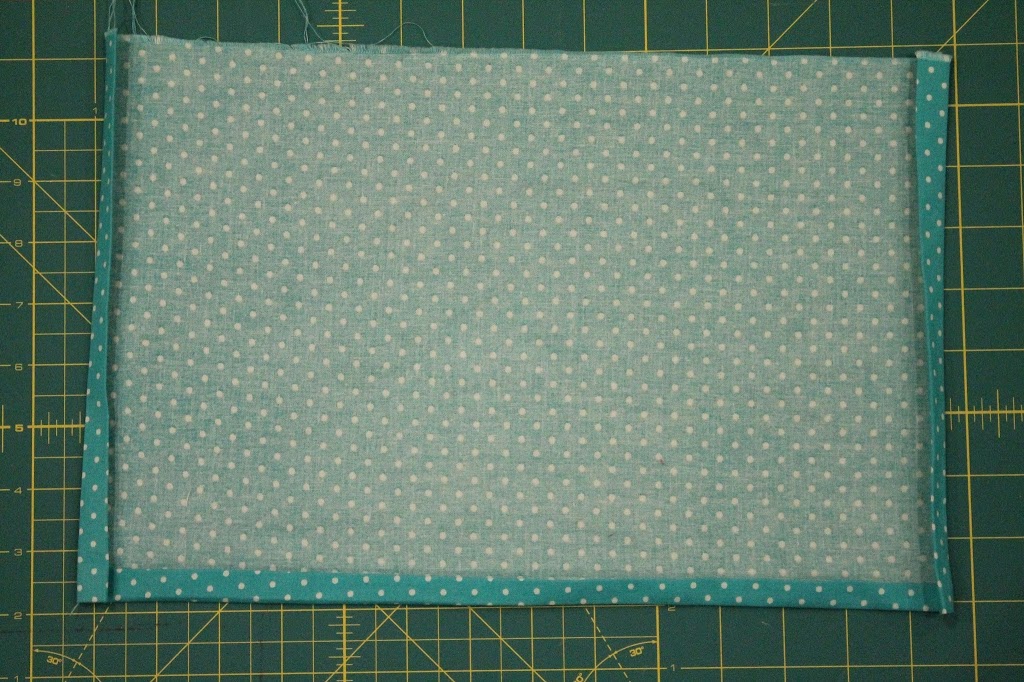
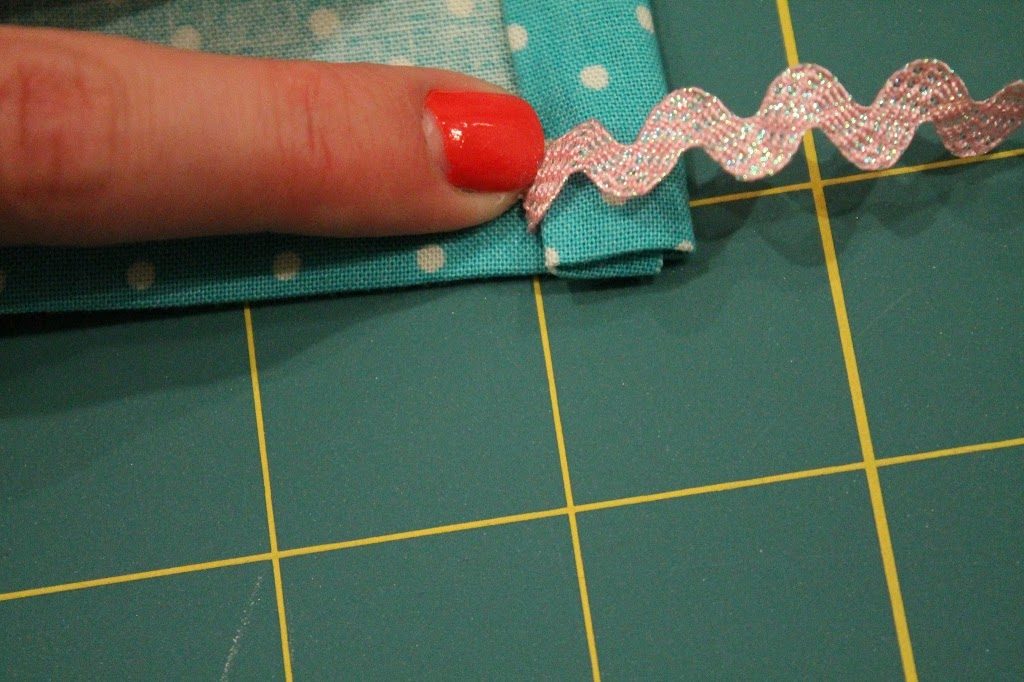
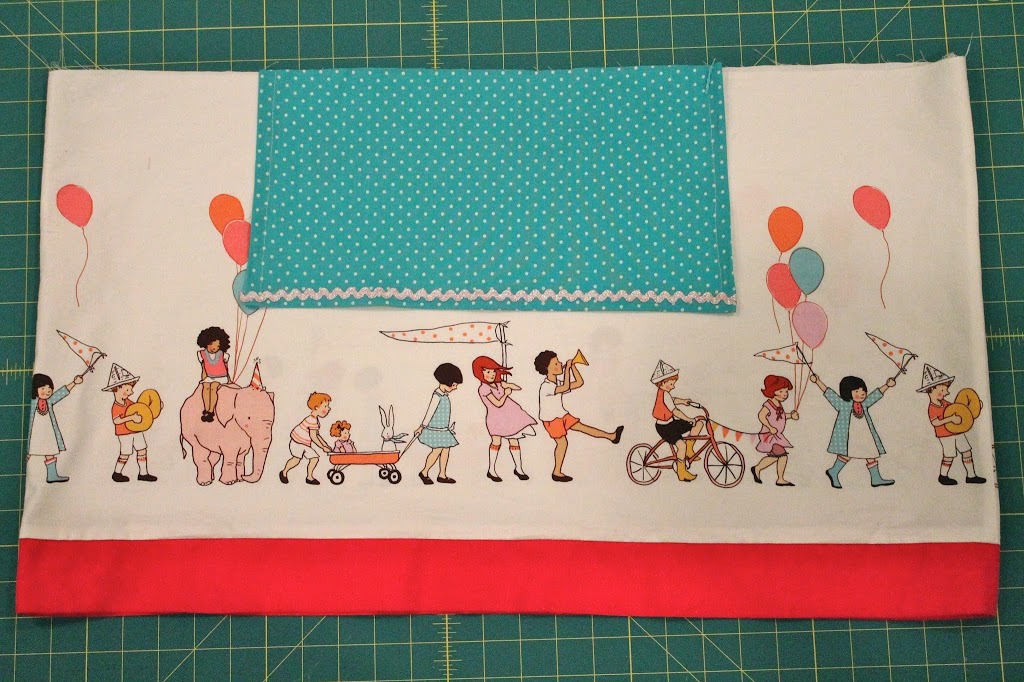
Grab your apron piece and press the bottom and two sides over 1/2 inch and then another 1/2 inch.
Tuck one end of your ric rac under the side fold.
Do the same for the other end.
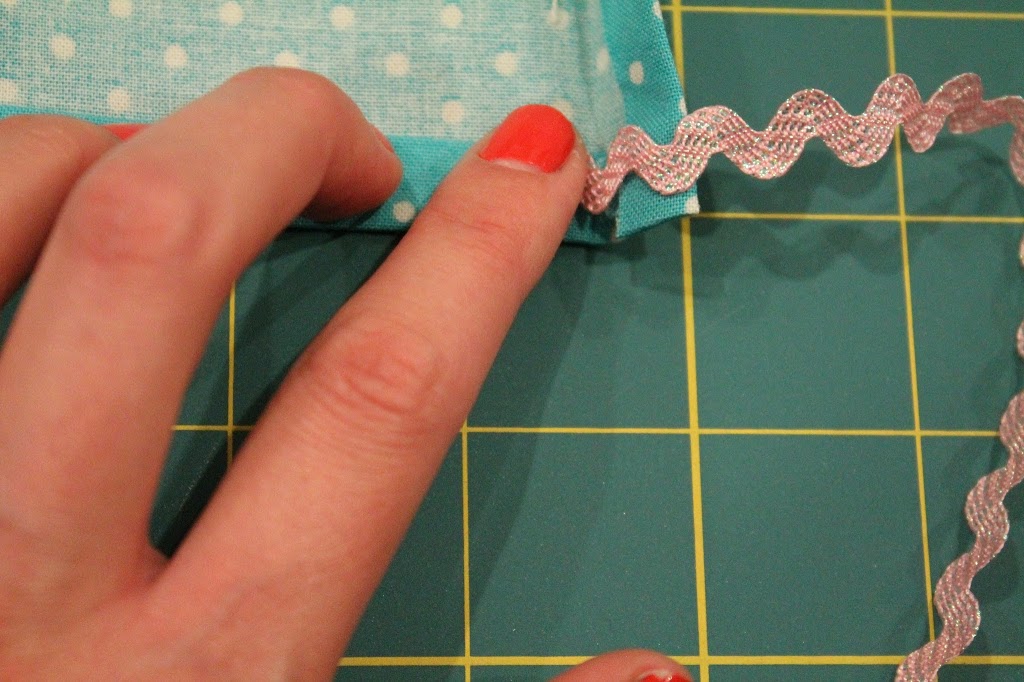
Sew the three sides of the apron.
Then, sew the ric rac to the bottom of your apron.
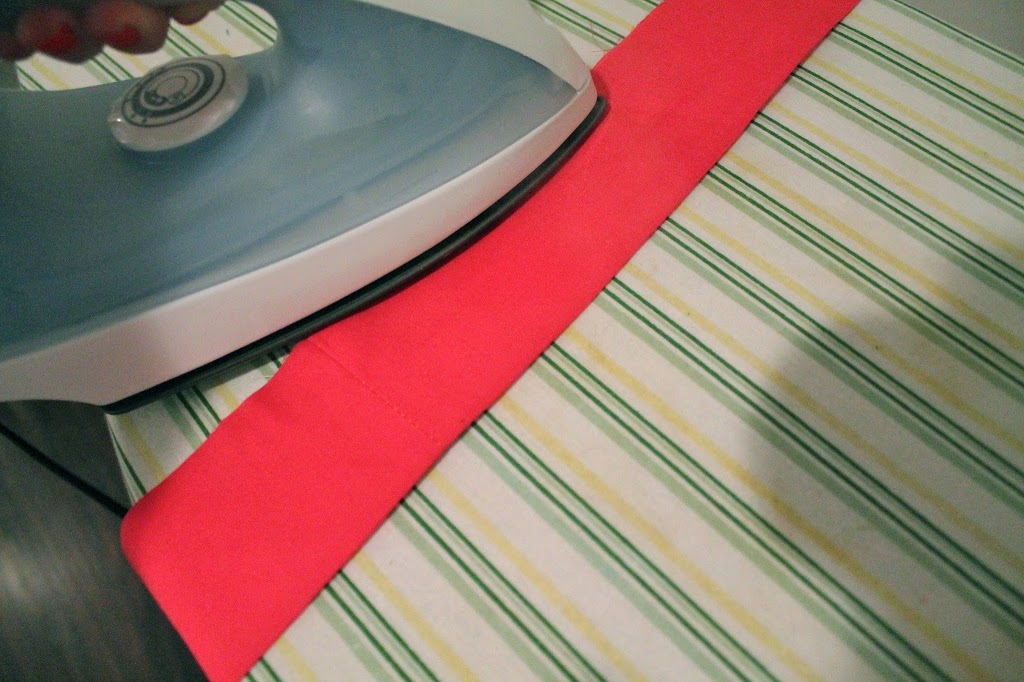
Prepare the border piece by folding in half with wrong sides together. Press.
Time to attach the border piece to the bottom of your skirt.
With right sides together and raw edges matching, sew your border piece to your skirt piece.
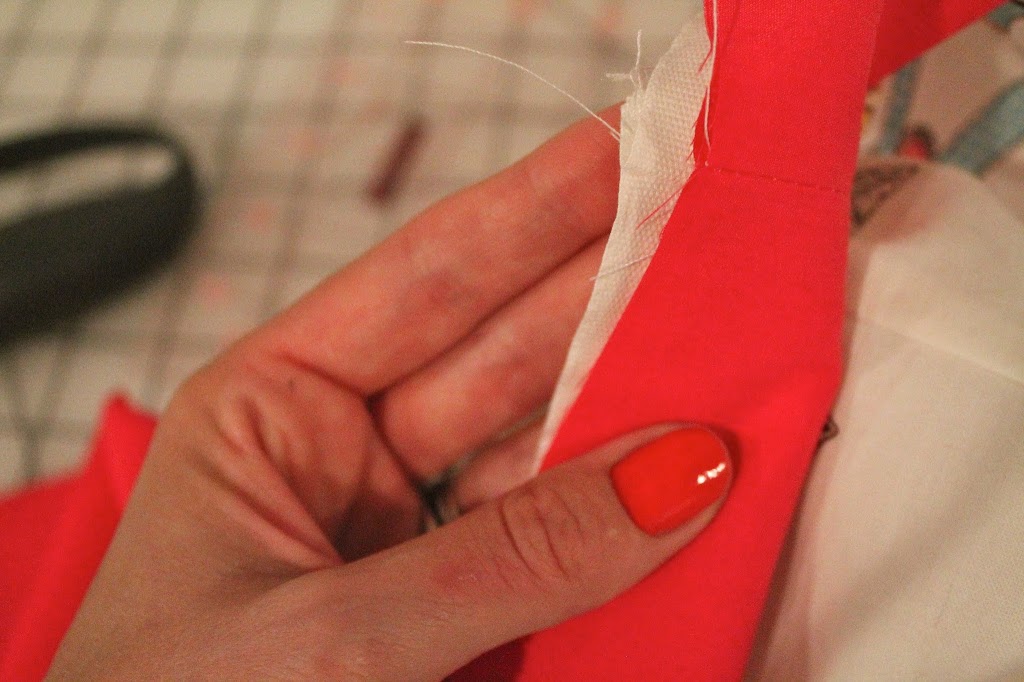
Serge or zig zag to finish the raw edges.
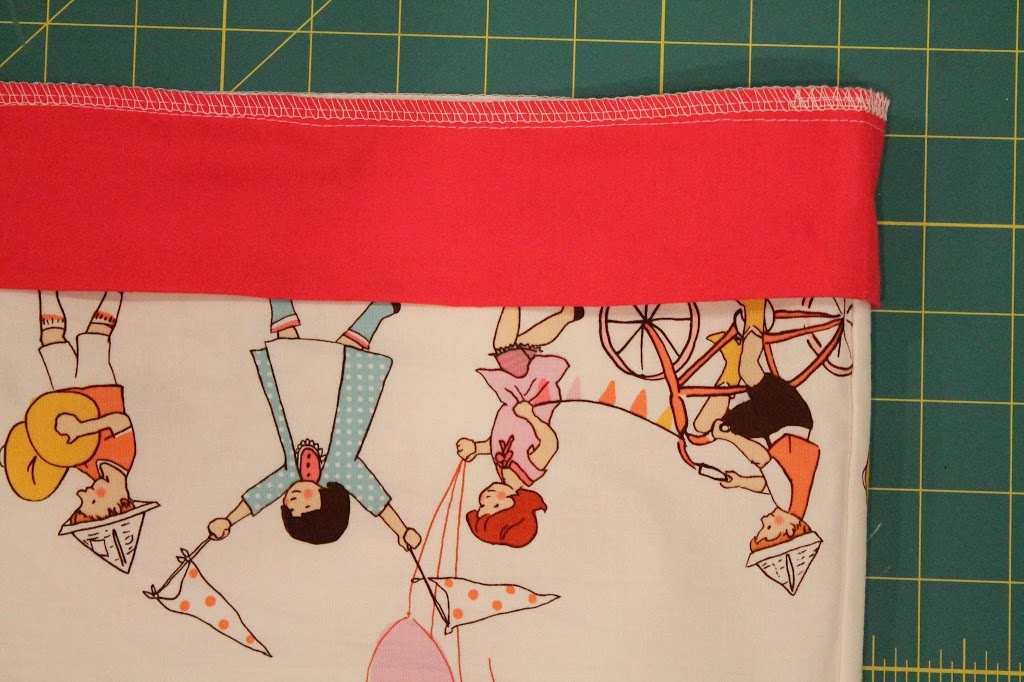
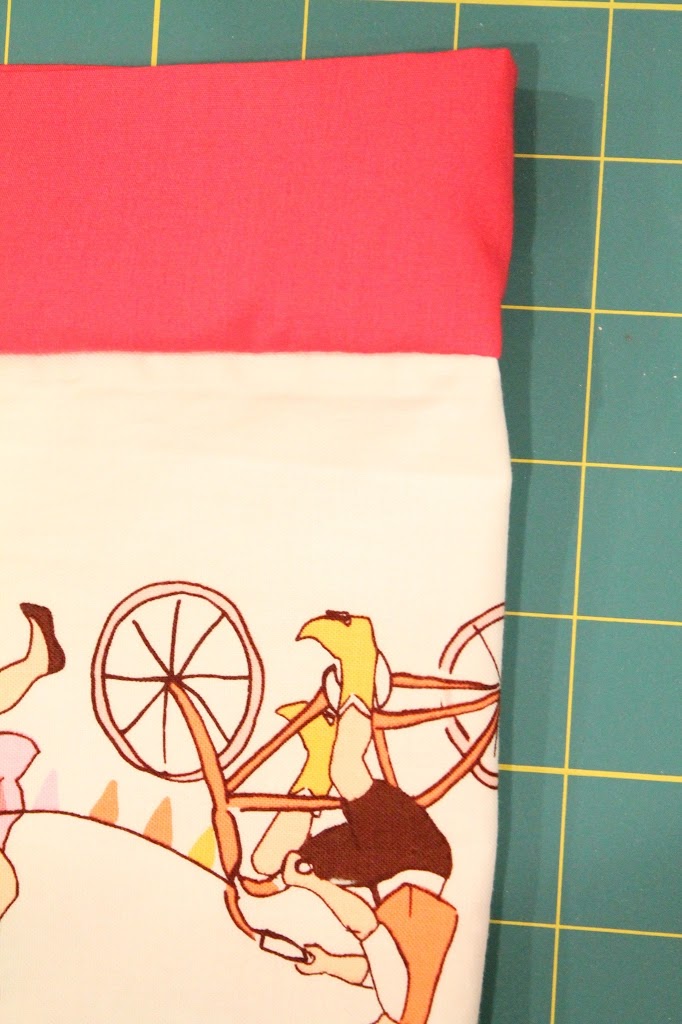
Flip the border down and top stitch along the bottom of the skirt.
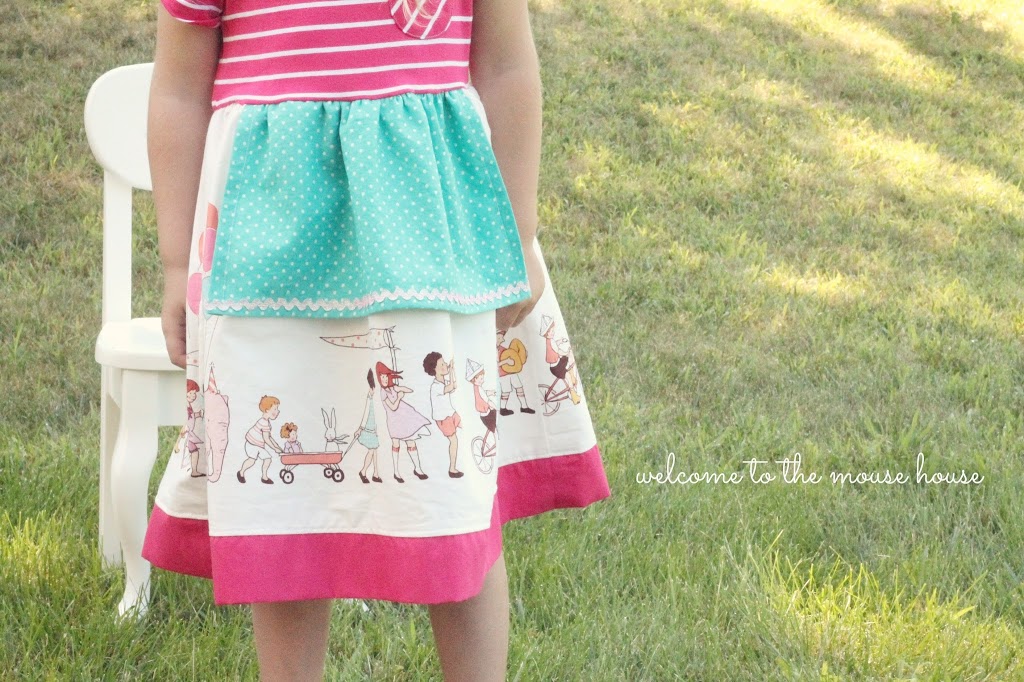
Now it is time to add the apron.
Match up the middle of your skirt and the middle of your apron.
Baste together.
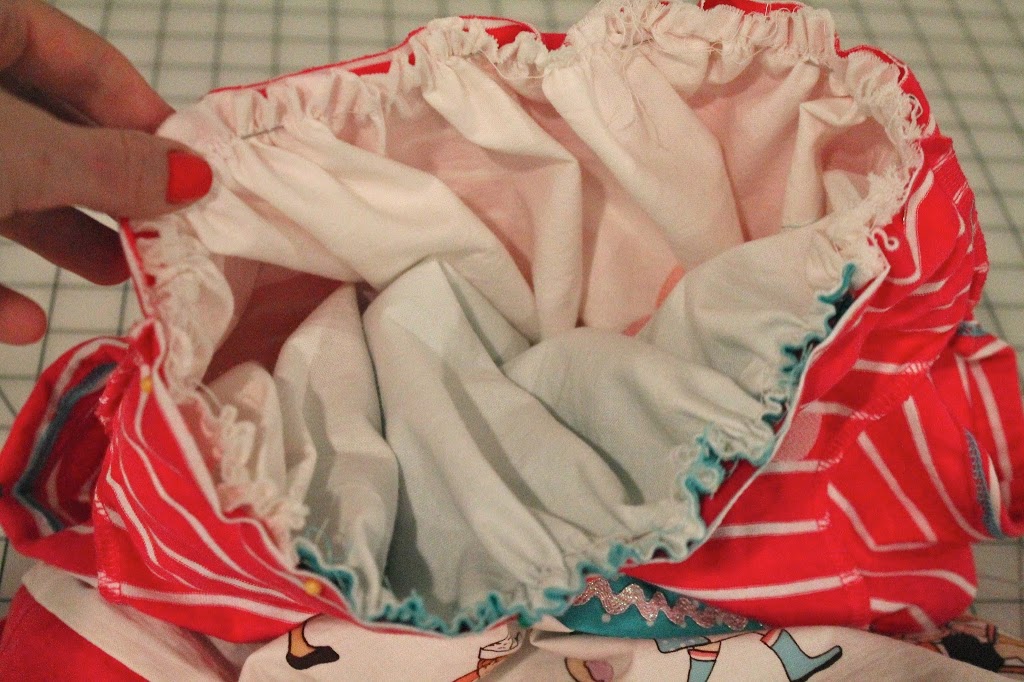
Time to gather your skirt.
My preferred method of gathering with my sewing machine is to crank up the tension all the way and then lengthening my stitch as far as it will go. Your method may be different than mine, so do this as desired.

Gather your skirt until it matches the width of your tshirt.
Make sure your apron remains centered.
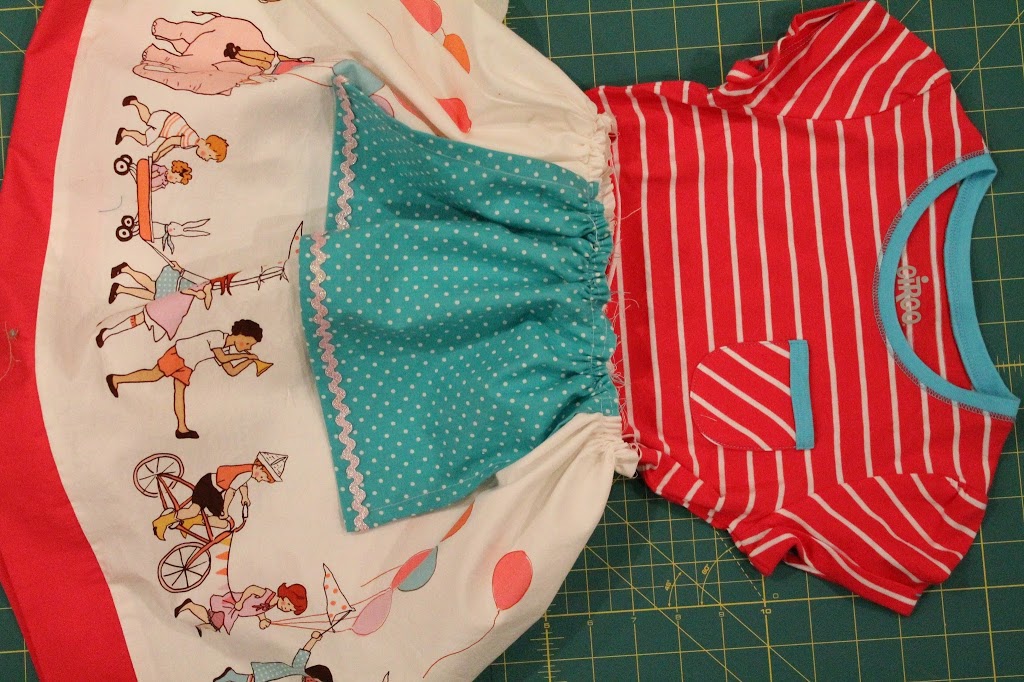
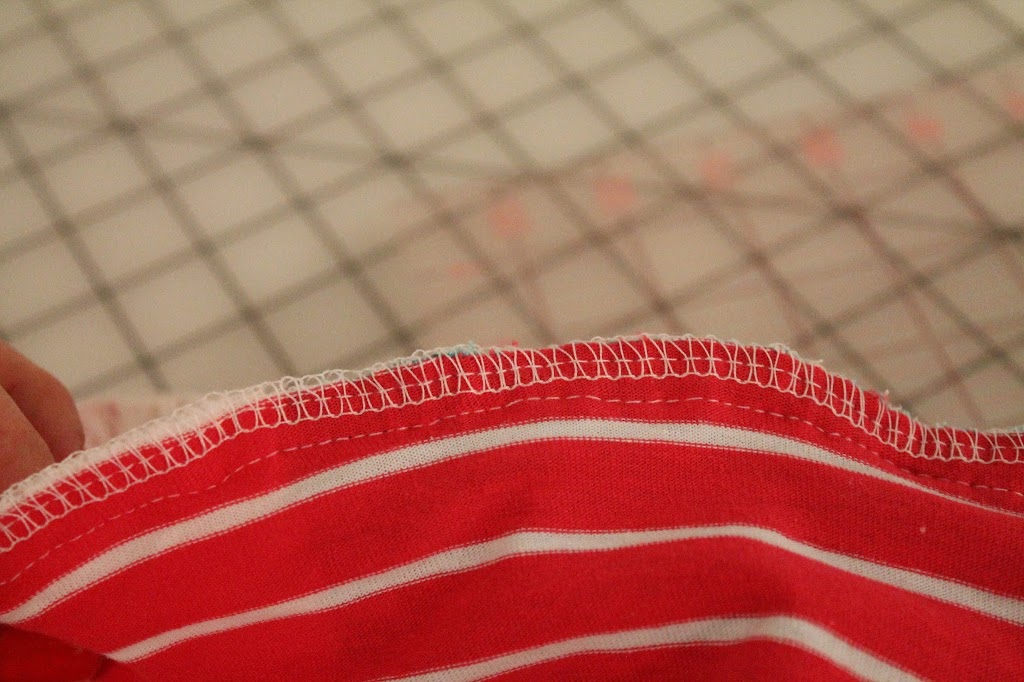
Slip your tshirt over the skirt with right sides together.
The bottom of the tshirt will be matched up with the top of the skirt. Pin together.
Sew together and then serge or zig zag edges to finish.
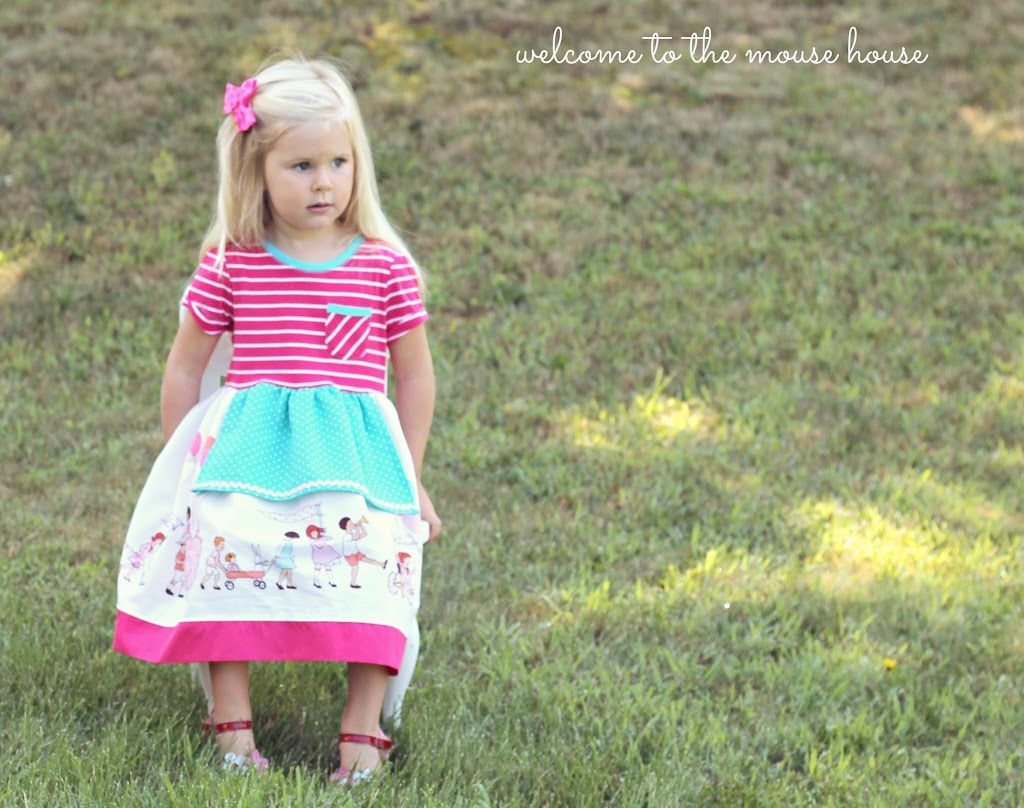
Flip right side out and you are done!
Perfect for playing and climbing.
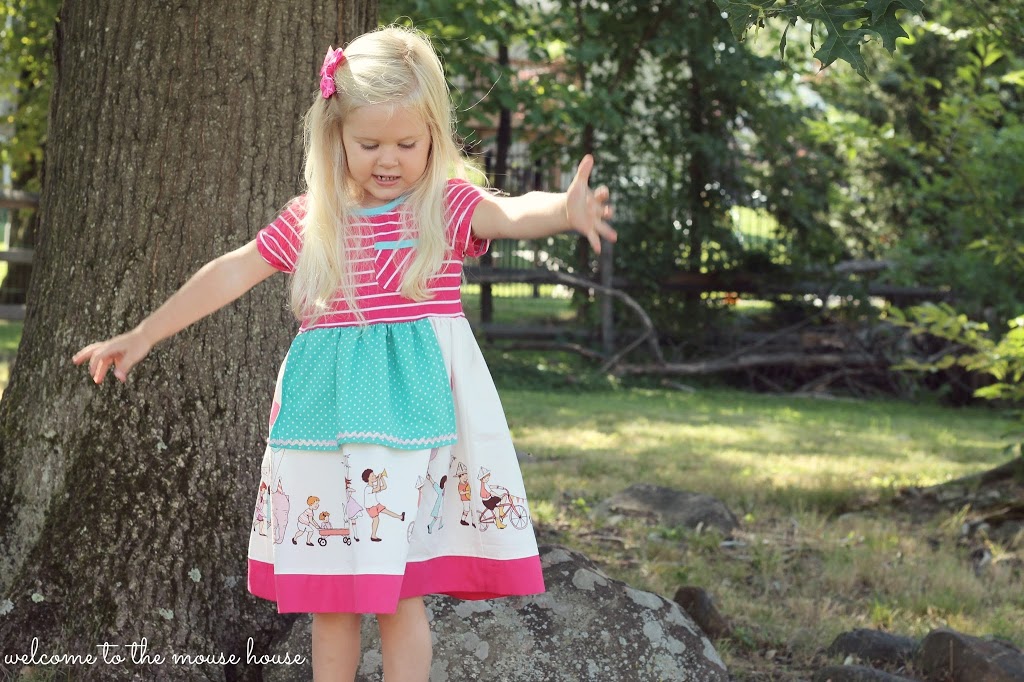
Customize this dress by using a tank top or a long sleeved shirt.
If you wish to leave off the apron, feel free!

Hayley
Hayley Crouse is a wife, mother and multifaceted designer. Her love of sewing, crafting, cooking and interior design infuses her daily life and naturally spills over into her online presence. She pushes the envelope of her creativity and hopes that others will be inspired to do the same. She currently authors the Welcome to the Mouse House Blog, is the pattern designer behind Mouse House Creations and is a collaborative designer with Willow & Co. Patterns.
Latest posts by Hayley (see all)
- Music Room: Home Tour - January 11, 2019
- The Ace Cardigan - July 30, 2018
- Susie Halter Top and Shorts: Project Run and Play - July 18, 2018
This would make an adorable Alice in Wonderland Costume.
Thank you for this tutorial! My tomboyish daughter loves tank tops & now I can add a skirt to them, so now we can both get what we want! Thanks, Hayley!