Simple Fat Quarter Skirt Tutorial: Little Stitchers

Welcome back to Little Stitchers! I took a few weeks off this series to focus on other blog things, such as Shades of Me and now that I have finished with them, we can resume the weekly tutorials!
If you are new, please feel free to catch up on the past weeks:
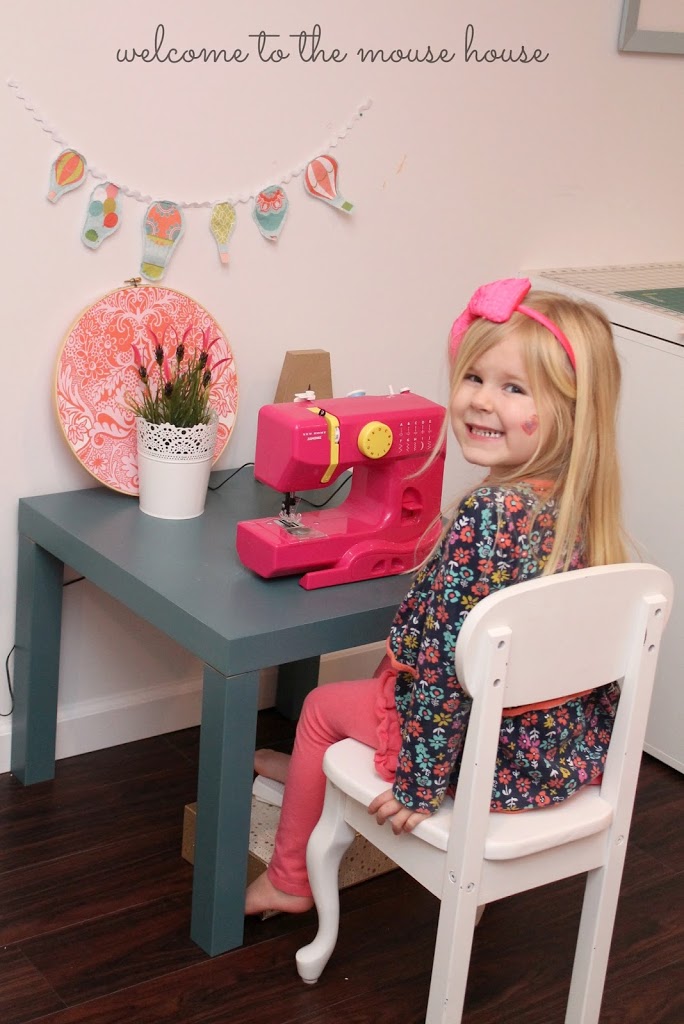
You may notice that we have a new setup for Ainsley! The old table was just a tad too tall for her to work comfortably, so I found a $10 side table at Ikea that is just the perfect height for her. Then, she also decorated it… like mother, like daughter.
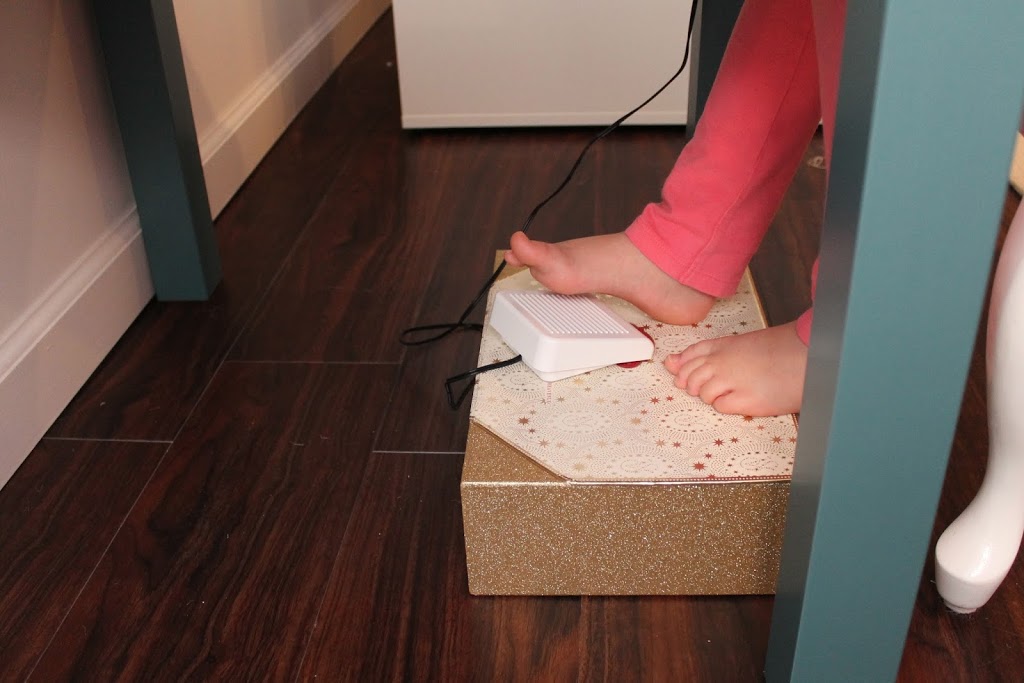
Because the table is lower, it also means that we could use a smaller box to prop her pedal. She chose this sparkly gold box, of course.
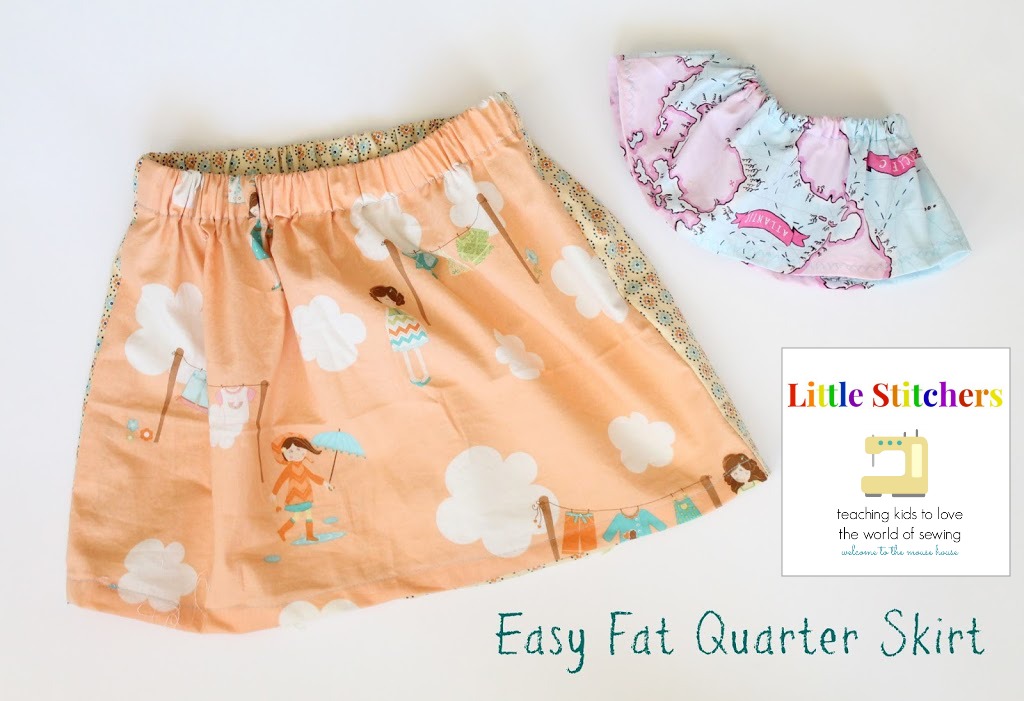
Ainsley has been begging me to start letting her make clothes. One of the easiest items to start with is most definitely a skirt. (I promise to come up with some “boy” projects soon!)
I used two fat quarters and a piece of elastic measuring 22 inches (size 5 waist). Obviously, this works for her size and if you have a differently sized child, you will have different measurements.
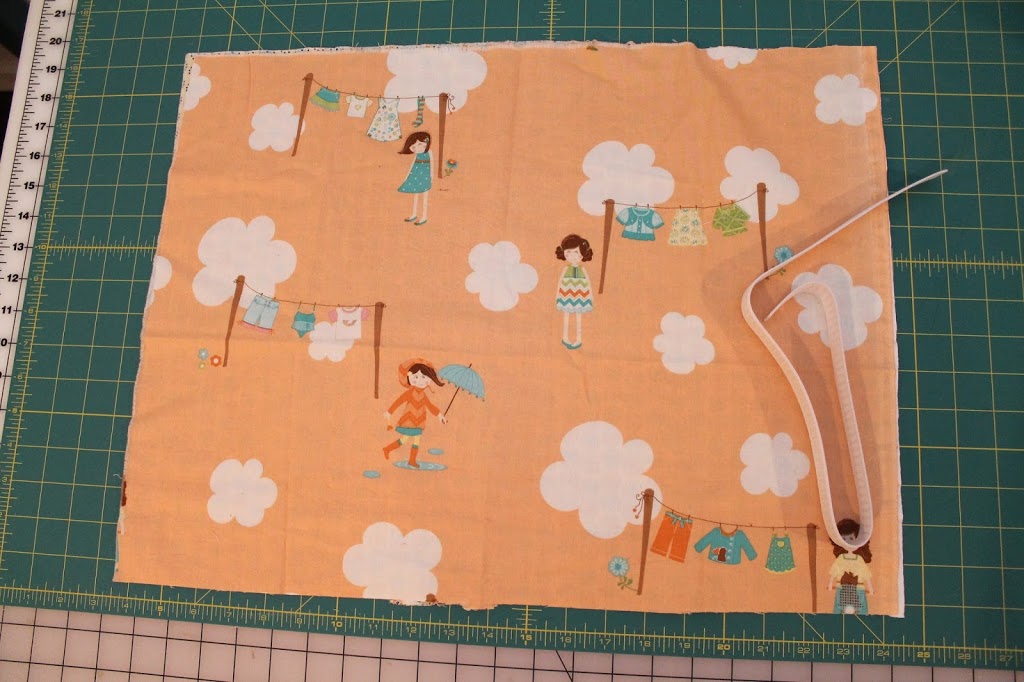
With right sides together, have your child sew the 2 sides together.
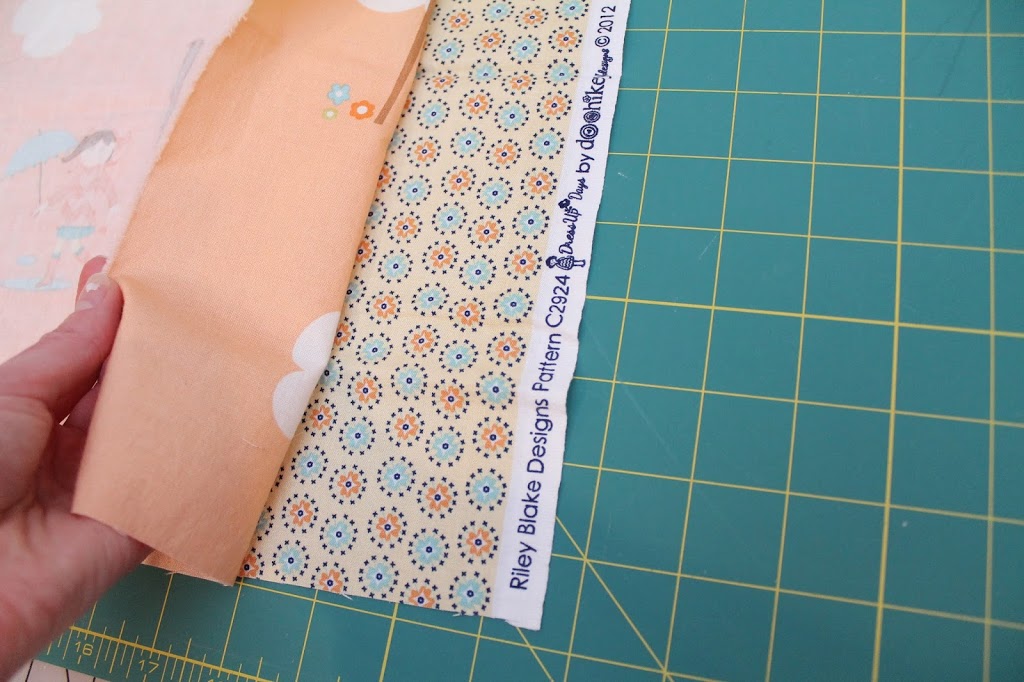
Remind your child about all of the steps we discussed in the Week 2 videos. As they go, they will pull out the pins, very carefully.
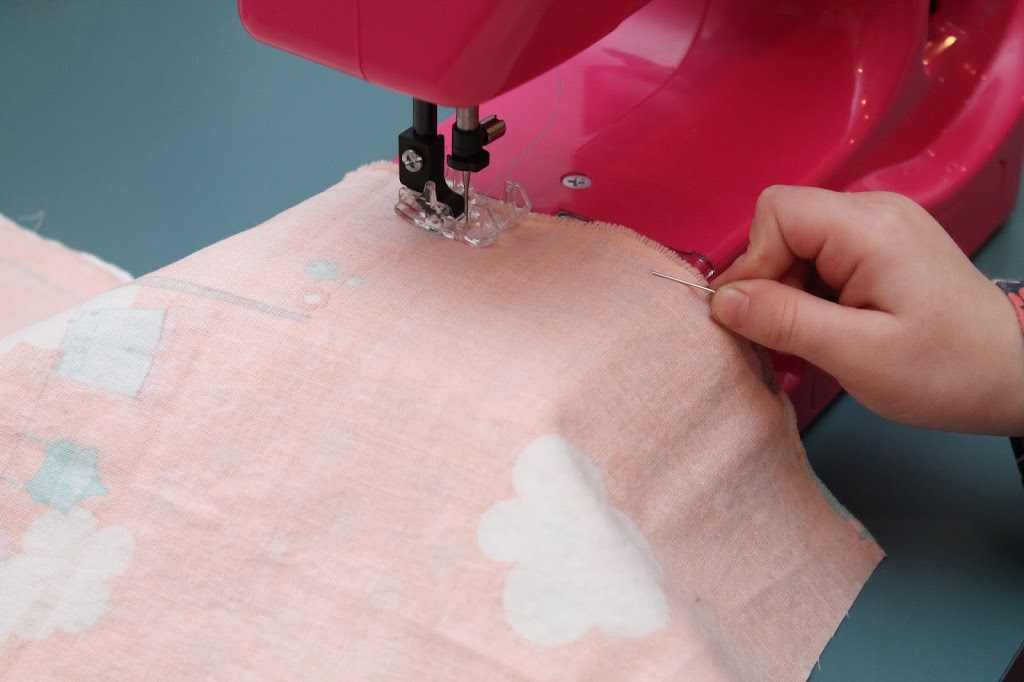
The next step involves ironing, which is a job for YOU.
You need to create the elastic casing at the top of the skirt. To do that, simply iron the top part of the skirt over 1/4 in towards the wrong side. Then, iron another 1 inch over.
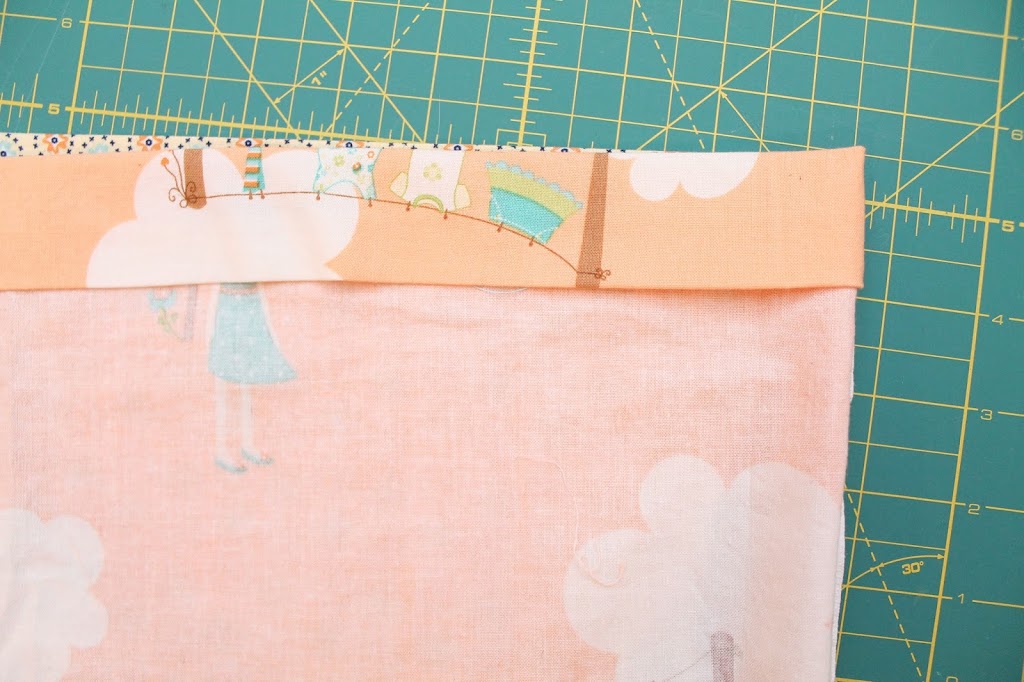
Once ironed, the child will sew the casing almost completely shut, leaving about 2 inches open in the back. (this is where the elastic will get fed through) They will sew as close to the fold as they can get. Don’t worry, it will likely be crooked and crazy and that is perfectly okay. They are learning!
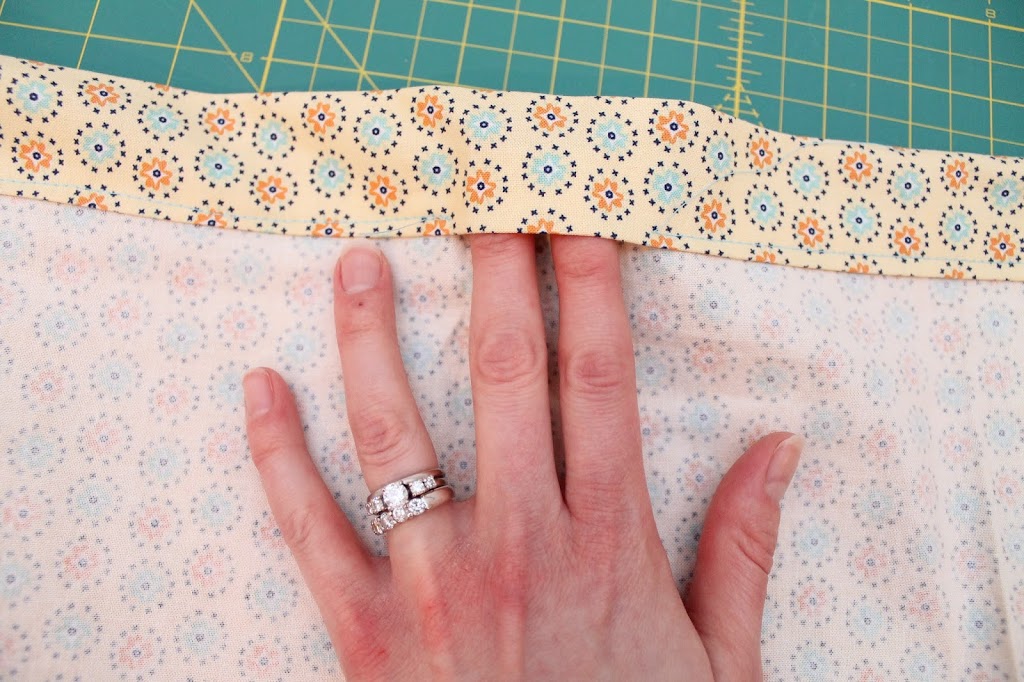
Once again, it is time for you to get involved. Put a safety pin at one end of the elastic and feed through the casing of the skirt. Older children should be able to help with this part, but it takes a bit of coordination.
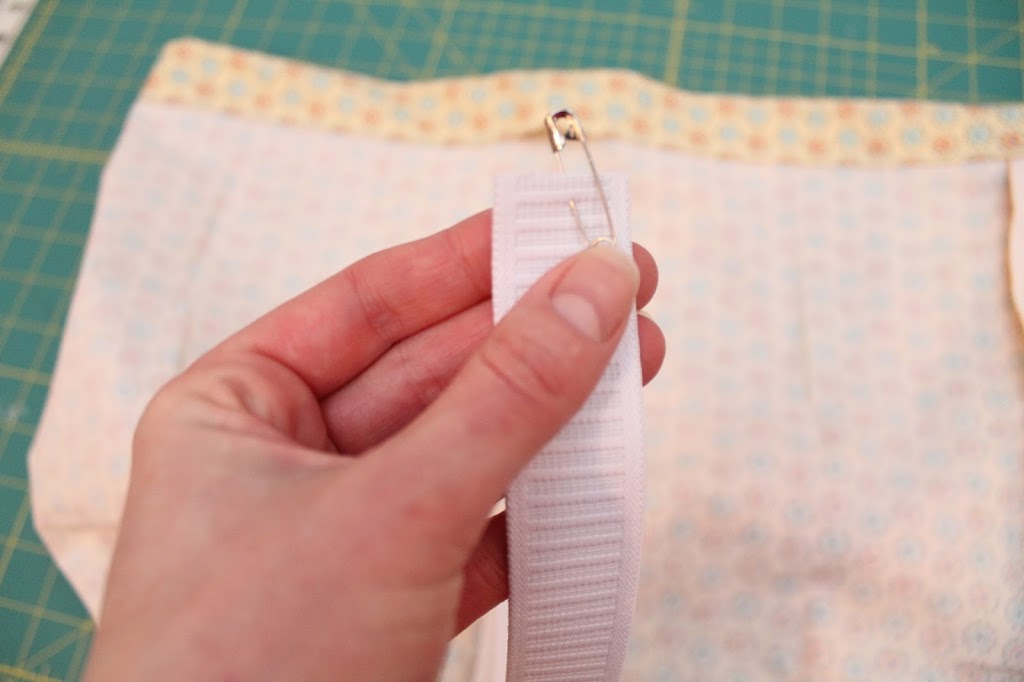
Feed the elastic all the way through and join the two ends together and have them sew it together. Then, sew the casing shut.
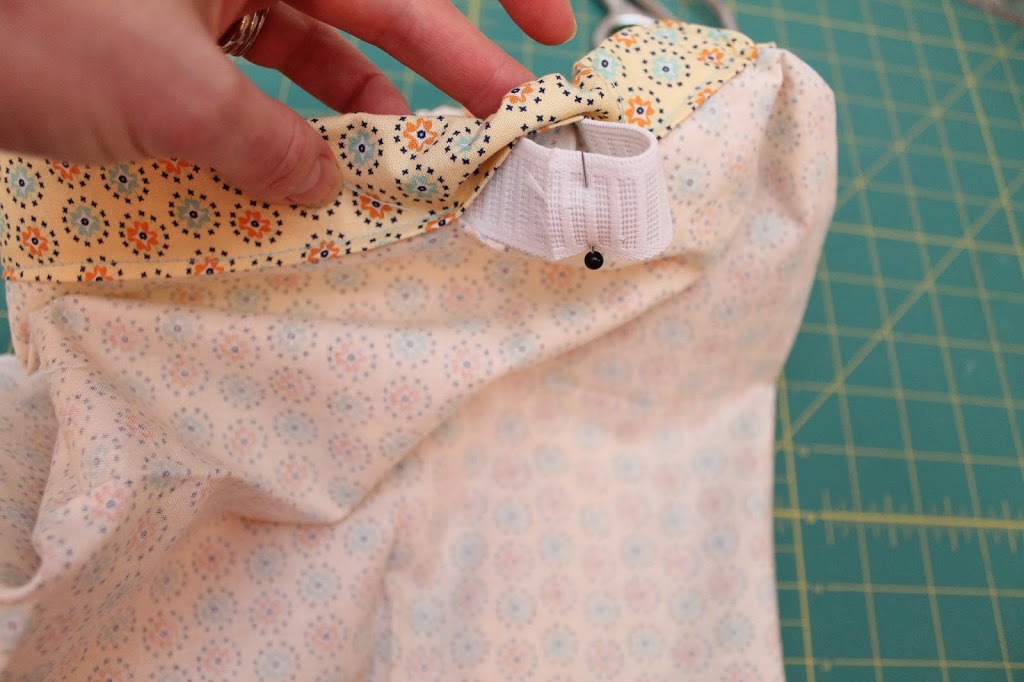
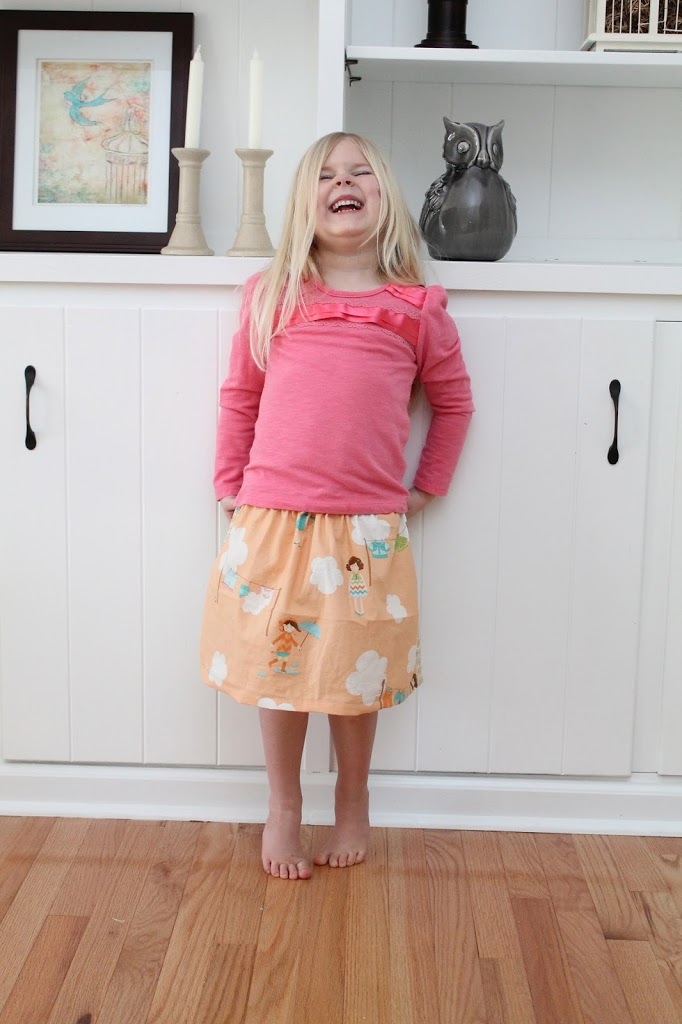
Iron the hem for them in the same manner as you created the casing. Let them sew it and then they are done!
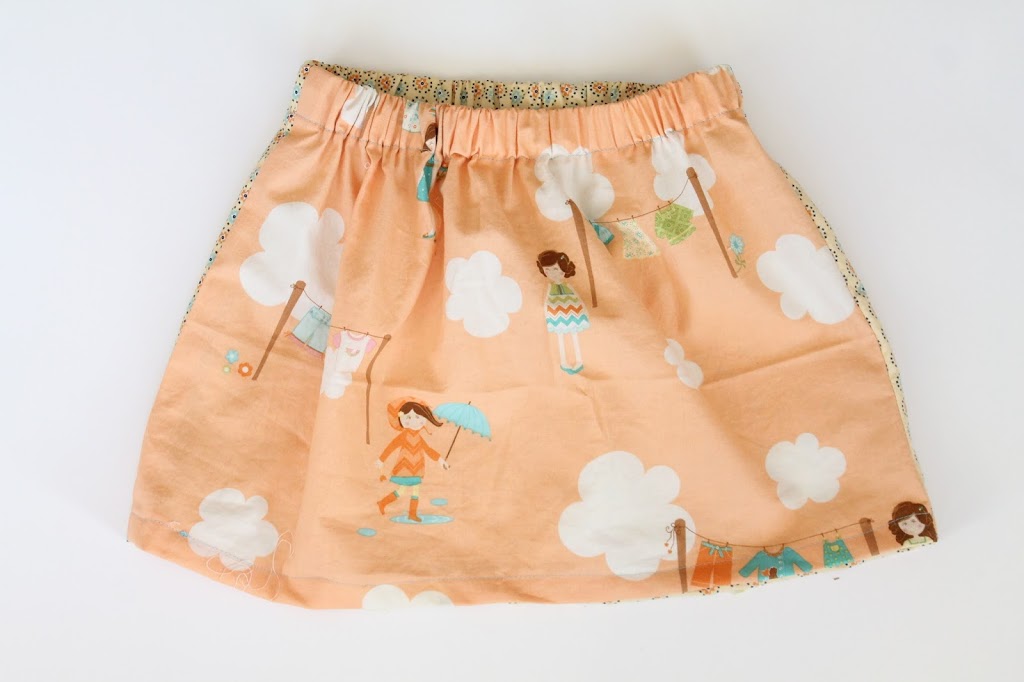
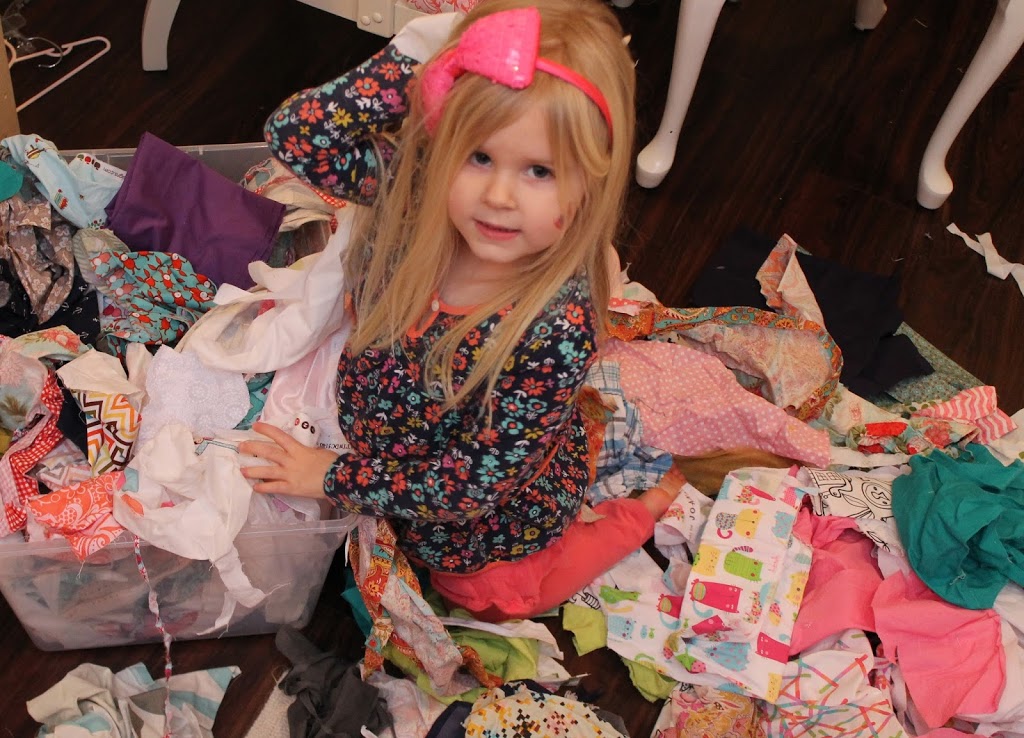
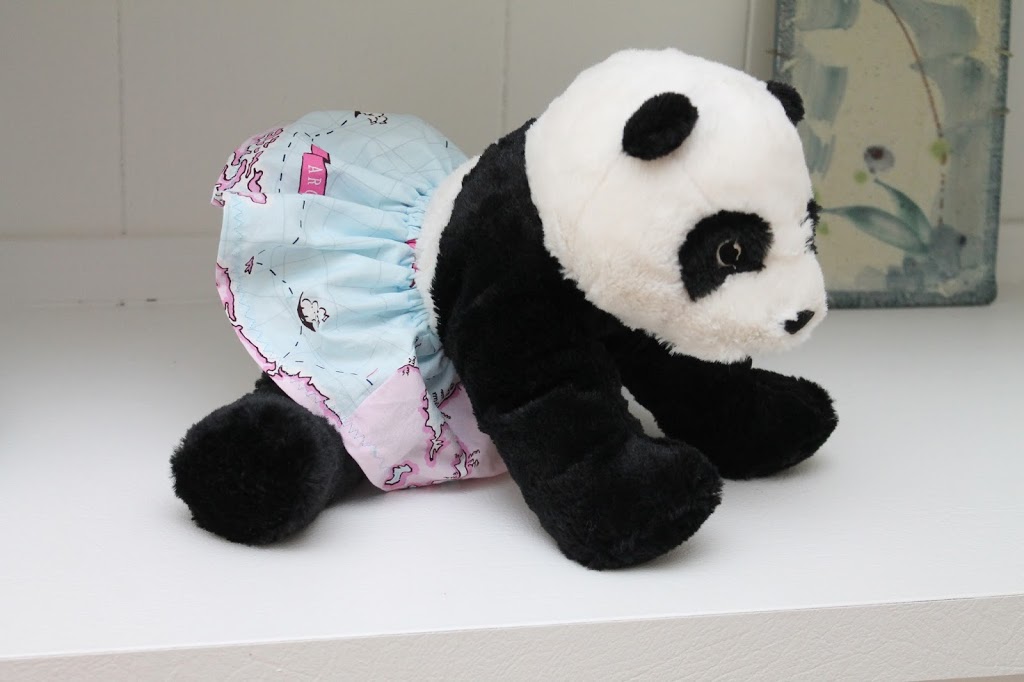
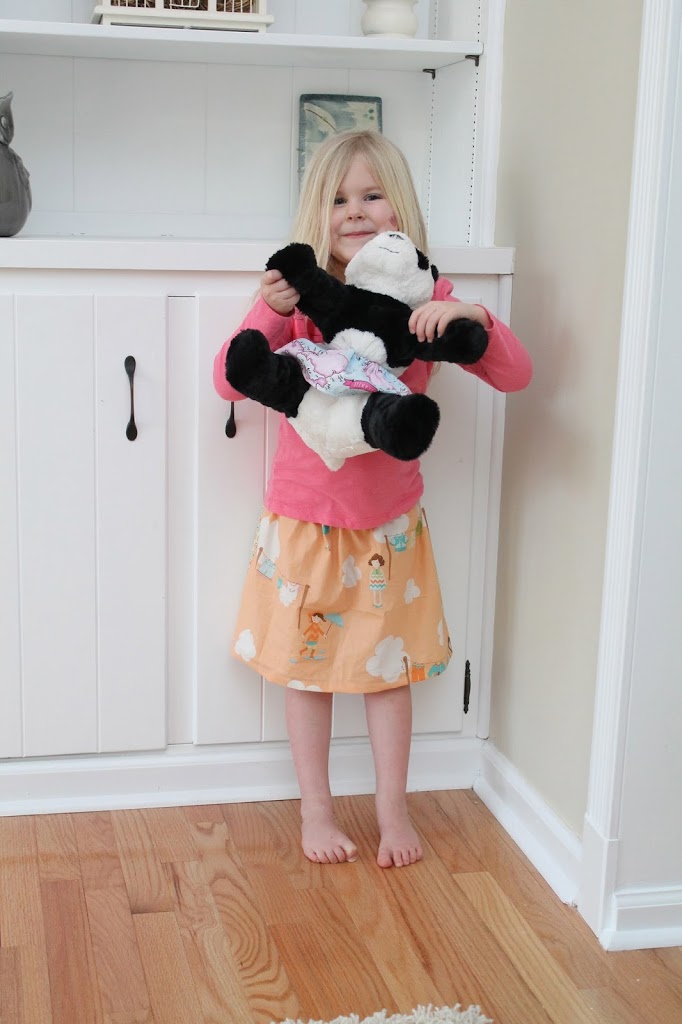
Now, of course, as soon as Ainsley finished her skirt, she wanted to make a skirt for her stuffed panda bear, Lusa. So, I let her dig through one of the many bins of scrap fabric.
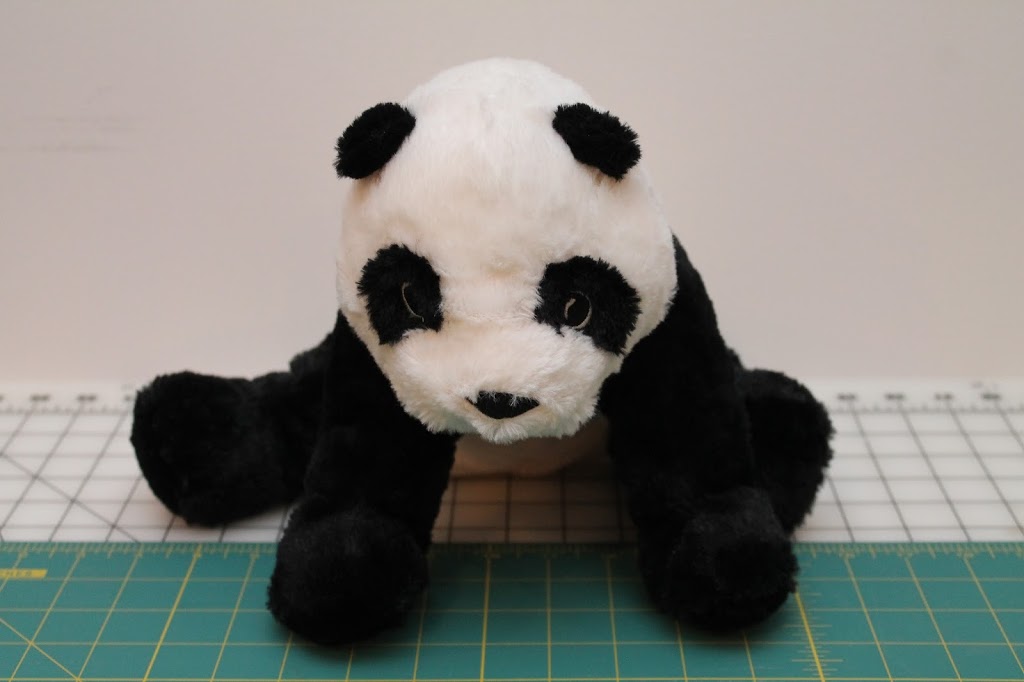
Introducing: Lusa
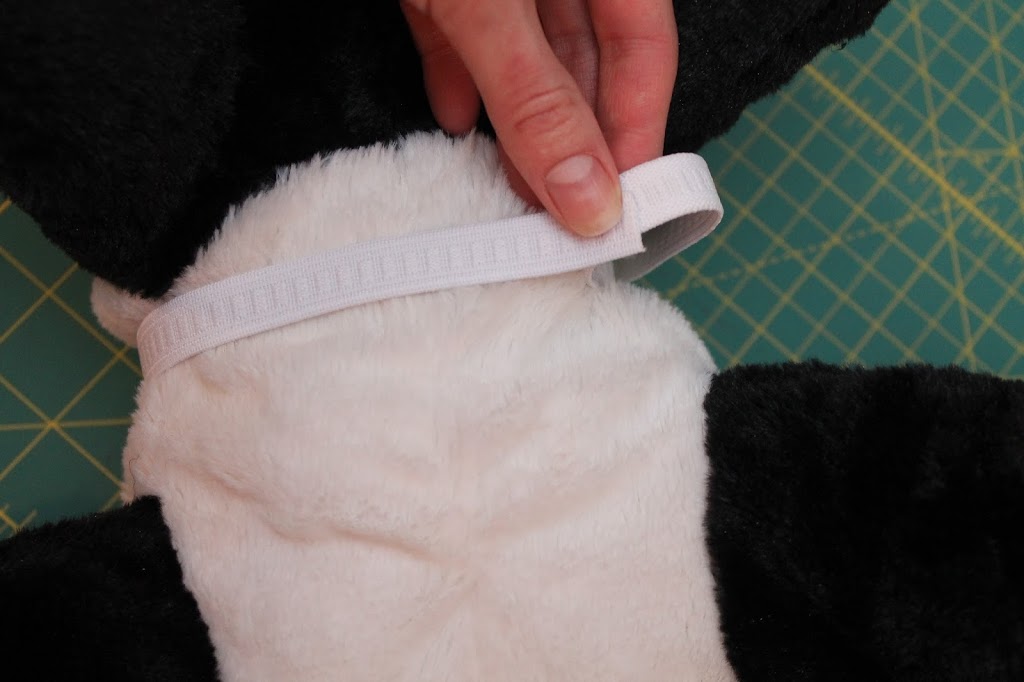
Because all stuffed animals and toys have different waist measurements, the easiest way to figure out elastic length is to take the elastic and wrap it around the waist and cut to size. Lusa needed a 10 inch piece of elastic.
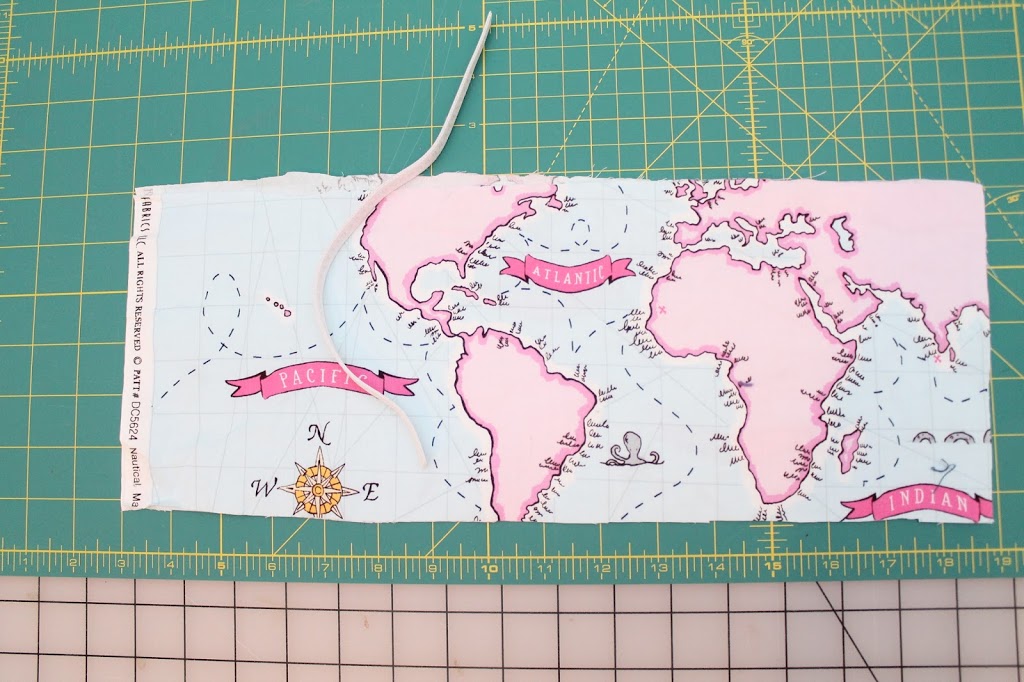
The same goes for the skirt fabric. Simply eyeballing the height and width is fine… after all, it is for a stuffed panda bear, right?
Ainsley got to work, while Lusa supervised.
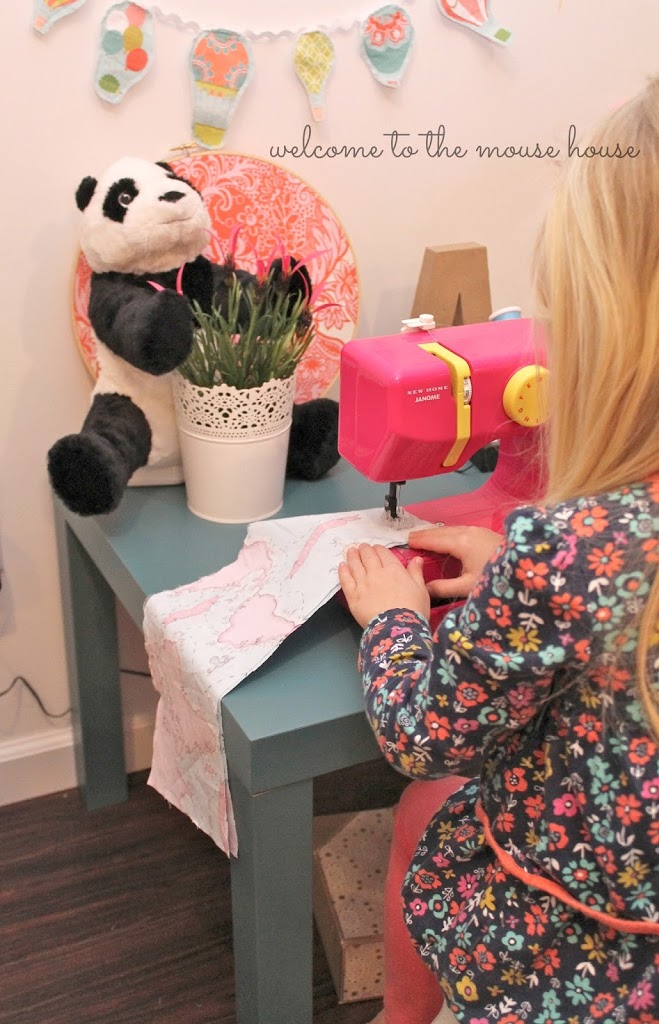
Follow the same steps as the fat quarter skirt to create a one of a kind, possibly upside down panda bear skirt that your kid will love.
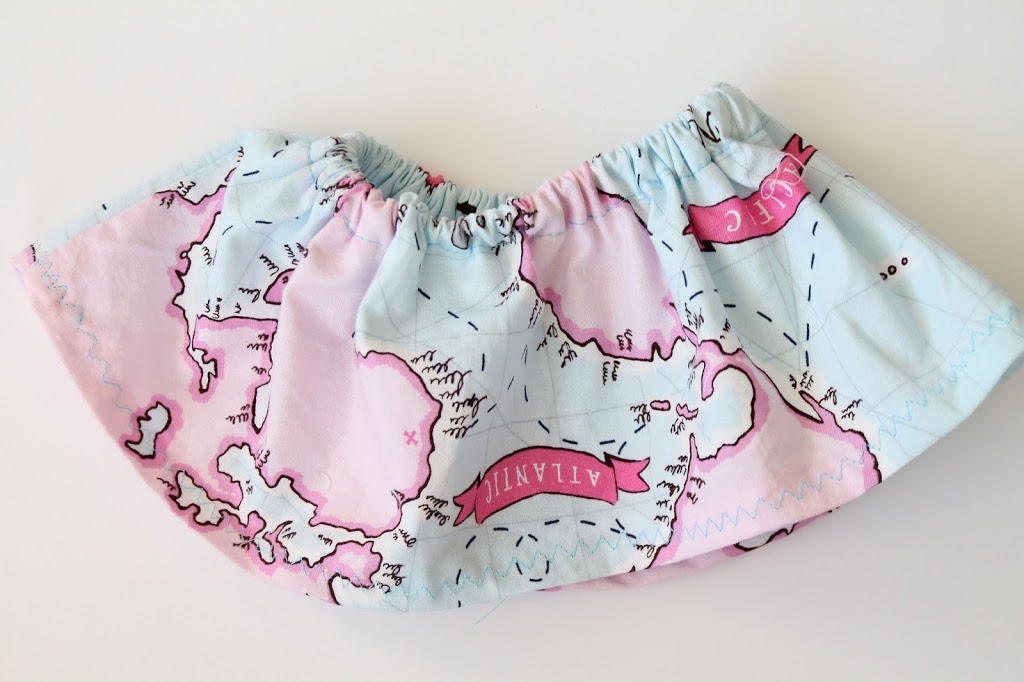
Seems like Lusa loves it too!
Have her try the skirt on and tell her how proud you are!
Stop back next week for more Little Stitchers!