The Chain Stitch: An Embroidery Tutorial

Last month, I guest posted over at A Jennuine Life and I am reposting the tutorial here for you guys!
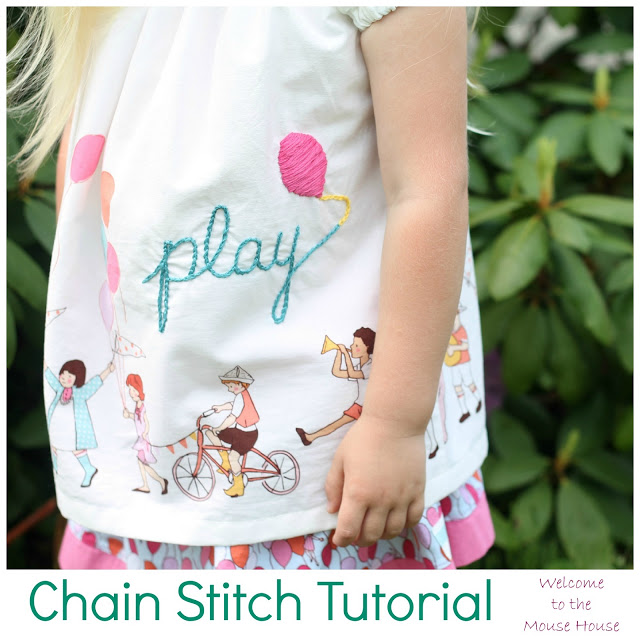
Today, I am going to show you how to do the chain stitch I used for my daughter’s new shirt, so grab your supplies and sew along with me:)

Before I begin, I just wanted to share a few examples of hand embroidery projects I have worked on over the past year:

If you have never hand embroidered, you should really give it a try. It might seem intimidating, but it really is simple and so rewarding.
An easy stitch to start with would be a backstitch. A few months ago, I created a tutorial for a basic backstitch over at Sew Mama Sew, which is a great beginner stitch and you can read the full tutorial by clicking HERE.

Okay, let’s get started on the chain stitch now!
(I will share how to do the balloon another day:)

You will need:
*embroidery hoop
*embroidery thread ( I use 2-3 strands)
*scissors
*water soluble fabric marker
*fabric that you want to embroider
Here is a basic chart for how to make a chain stitch, but I will also describe it in detail below.

Please excuse my chippy fingernail polish… it appears that I am a bit rough on my hands 🙂
Get your hoop, fabric, needle, thread, and scissors.

Trace out the words/picture that you want to stitch with your water soluble fabric marker

Thread your needle with 2-3 strands, tie the end into a knot.

Bring your needle up through the bottom of the fabric and pull all the way through (it will stop because of the knot you made)

Now, go back down through the same hole you just came up through.

But don’t pull all the way through. Stop when you have created a loop.

Bring your needle up through the fabric again… about a 1/2 inch away from your loop.

Lay the loop down and bring your thread up through it.

Tug the thread and you have now created your first chain!

Repeat this process. Go back down through the hole you just came up through, create a loop, come up through the fabric, thread through the loop and tug.

When you are ready to finish your chains, simply go past your last loop and go down through the fabric and knot. This will secure your last loop to the fabric.

Chain Stitch!

My daughter’s shirt went from cute

To super duper cute!

And she absolutely loves it
and that is what truly matters