


Are you ready to make a super cute skirt for under $5??
AND there is NO hemming involved!
(scroll all the way down to see another variation of a tea towel skirt I made, as well!)
Materials Needed:
* Tea towel (I found my tea towels at Target)
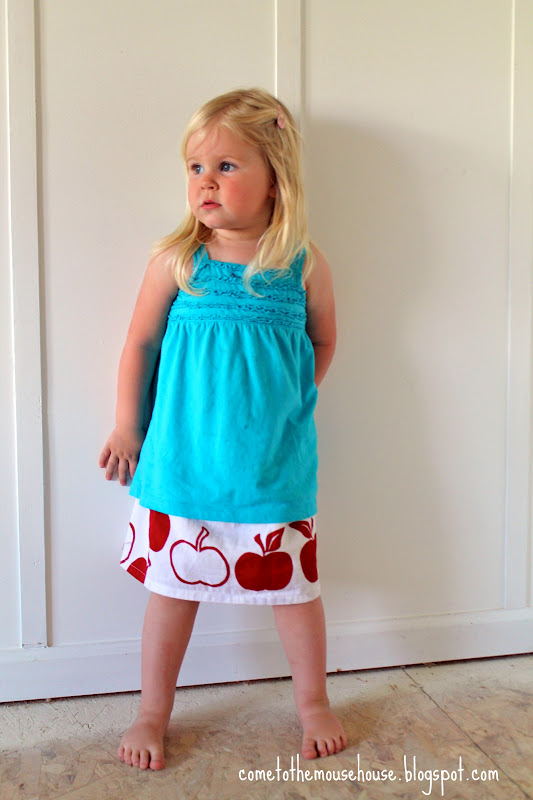
* Elastic (Ainsley is a big 2.5 year old and I used a length of 16 inches)
Other than the basic sewing requirements, that is seriously all you need to make this cute skirt.
(Much Kudos to Lil Blue Boo for the original inspiration.)
Ainsley thinks that is pretty darned awesome!

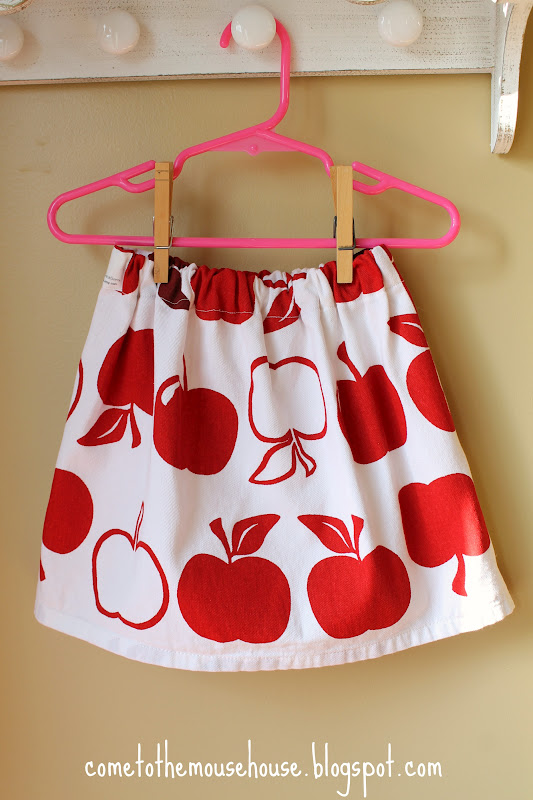
I purchased my adorable apple tea towel from Target for $2.99!
They had other prints, like oranges, pears, cherries, etc.
During holidays, they also carry really fun seasonal prints!

How to Make a 30-Minute Tea Towel Skirt:

1. Prewash your cute little tea towel. (wash and dry!)
2. Fold your tea towel in half to find the center.
At this point, you will notice how crappily made the tea towels are
and that none of the edges are square. You will have to work around this
and realize that it won’t be perfect.

3. Cut your tea towel in half

4. Place your two rectangles together, right sides facing.
Pin along both sides, making sure that both of the pre-hemmed sides are at the bottom

5. Trim off the 2 edges before sewing

6. Normally, I would use a serger for clothing items, but I used my regular sewing machine for this project to show that this can be made by anyone! No special tools needed!
Using a straight stitch, sew both sides where you had pinned.
Finish it off with a zig zag stitch, if desired

7. Time to heat up the iron so that you can make the casing for the elastic.
Around the top of the skirt, fold the fabric down about 1/4 inch-1/2 inch and iron flat.
Do that all the way around.

8. Then, do it again, folding the fabric over another 1/2 inch to 1 inch
(depends on the size of your elastic!)
Iron to set.
You now have the casing ready for the elastic.

9. This is how your skirt will look if turned right side out.
Already hemmed at the bottom, casing for elastic at top, and sewed on each side.

10. Speaking of elastic…. I only had 1/2 inch elastic on hand and really didn’t want to run out to the store, but I would recommend a slightly thicker elastic. Perhaps 3/4 inch or 1 inch (or even bigger).
1/2 inch works just fine, but I just usually prefer slightly larger for a skirt.

11. Insert your cut elastic into your casing, overlapping both ends slightly.
You will sew those ends together.

12. With the two ends of your elastic slightly overlapped, do a few stitches to keep them in place.
(NOTE: This is not the “proper” way to do elastic, but I wanted to keep the project quick and easy.
If you have a preferred method of doing elastic, go right ahead and skip this!)
And let’s be honest… I wanted this to be called the “Thirty Minute Skirt… not the 45 minute skirt 🙂

This is where I attached my tag…. to hide the stitch marks 🙂

13. After the ends of the elastic are secured, you can sew the casing closed,
making sure the elastic stays on the inside.
Go all the way around.
This method is very easy, but I wouldn’t recommend it for professional dressmaking.

AND your skirt is finished!

The best part??
You can totally let your imagination run wild with this!
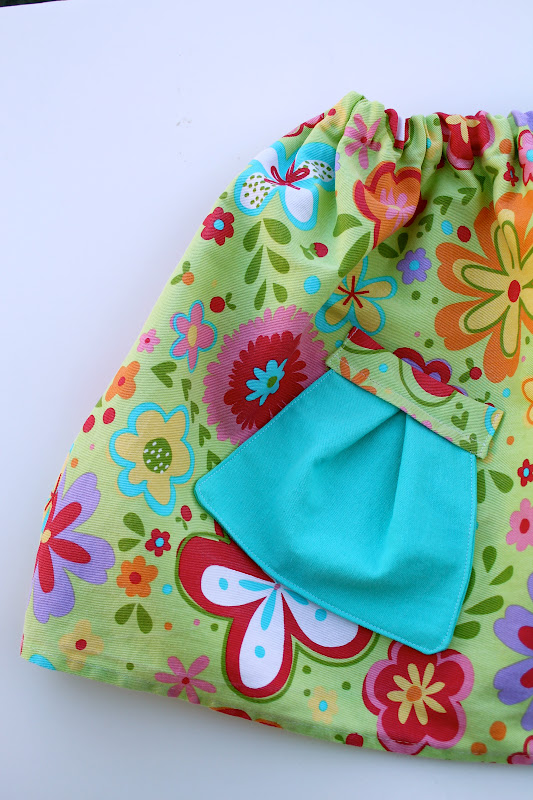
Below, you will see a skirt I made out of Target’s Easter tea towels (clearance! Bargain!)
Instead of one tea towel, I used two!
Makes it a much bigger, fuller skirt and will fit up to a much bigger size.
I would say this particular skirt would work for even an 8 or 9 year old!

And the pockets? Aren’t they adorable?! The blue fabric was from clearance napkins!!! Woot Woot!
Enjoy! And I would love to see your creations! I love when people post pictures on my

P.S. Did you notice that the floors in my dining room are the sub floors? The new floors are being installed this week!!! WOOOOO! Can you tell I am so stoked???

Hayley
Hayley Crouse is a wife, mother and multifaceted designer. Her love of sewing, crafting, cooking and interior design infuses her daily life and naturally spills over into her online presence. She pushes the envelope of her creativity and hopes that others will be inspired to do the same. She currently authors the Welcome to the Mouse House Blog, is the pattern designer behind Mouse House Creations and is a collaborative designer with Willow & Co. Patterns.
Latest posts by Hayley (see all)
- Music Room: Home Tour - January 11, 2019
- The Ace Cardigan - July 30, 2018
- Susie Halter Top and Shorts: Project Run and Play - July 18, 2018
Very cute! I really like the fuller look using two towels and the pockets on the easter skirt are so cute!
I can’t wait to try this for Allie! Thanks for the how-to! 🙂 And…still way jealous of your new floors!
Umm, yeah, I totally just pinned this. Love it!! I’ve been eye-balling those fruity tea towels at target! So cute!!
Thanks for the tute!
Hi,
I followed you over from Chic and Crafty Party and these are so adorable. Makes me want to get out my sewing machine.
I would love to invite you to share this, and any other posts you would like to, at my Creative Thursday Link Party at http://www.michellestastycreations.blogspot.com. (Link up until Monday 4-23-12)
Have a great day,
Michelle
Thanks so much for linking up to Creative Thursday. So wish I would look as cute in the flowered one. hehe
I can’t wait to see what you bring next week. Have a great weekend.
Michelle
I love refashions that don’t requirehemming! What a cute little girl! Thanks for sharing at Sew & Tell!
This comment has been removed by the author.
Gorgeous skirt – love those apples!
So VERY cute!!! And your sweet little one 🙂
xo
Angelina
This tutorial inspired me to make one of these. Since I tried it on my granddaughter, I’ve made three more from the same tea towel design (chinelle) of different colors. Thanks for the inspiration and tutorial!
how big around was your daughters waist here? I haven’t really worked w elastic so I’m not sure how much to use. My daughter wears a 12 month waist for pants, if that helps.
Do you suppose to purchase a regular towel or a kitchen towel