


Today, I am here to share a pattern and tutorial for Purse Pockets.
Yes, Purse Pockets. If your kids are anything like mine, they adore pockets. Ainsley will put up a fuss if her clothing doesn’t have any, so I thought of a cute way to add a pocket…The Purse Pocket! (you still with me??;)
Did I say pocket enough yet? Just wait.
The first person to correctly guess how many times I say the word “pocket” is my best friend for life.


I giggle every time I see these photos.
Would it be weird if I made a Purse Pocket for my own clothes?
Okay, here is what you need to make one of your own:
*print out the Purse Pocket templates HERE
*grab a dress (either handmade or store bought)
*fabric (enough for the lining and the main fabric)
*button
*ric rac
*piping (optional)

Print out the pattern/template and then cut your fabric accordingly.
Using white fabric as the lining is best because there is no “right” or “wrong” sides and it makes it so much easier.
All seam allowances are 1/2 inch, unless otherwise noted.

With right sides together, put the purse pocket main fabric and one of the purse pocket lining fabrics together.

Sew around…. leave a 2 inch gap at the middle top.
Make sure you backstitch at both ends.

Trim seam allowances and clip curves and corners.
Turn right side out through the opening.
Press.
Topstitch the top straight edge (not shown) to close the opening.

Time to make the pocket flap.
Grab your pocket flap main fabric and the pocket flap lining. Also grab your piping, if you want to use it. I adore piping, but you can certainly leave it out or even add some ric rac.
Place the right sides together (and sandwich the piping in there, if you decide to use it) and sew where I have drawn the squiggly, amateur line.

Turn right side out, press and top stitch.

Find the middle of your pocket flap and add a buttonhole.

Grab your last 2 purse pocket lining pieces and your newly made pocket flap. Sandwich the pocket flap between your two pocket linings. Sew according to my awesome pink line, making sure to leave a 2 inch gap at the bottom… backstitch at both ends.

Trim seam allowances and clip curves and corners.
Turn the purse pocket inside out through the gap you left and press. Stitch the gap closed (not shown).
Excuse my wonky sewing… this was done with two kids running around me at high speeds 🙂

Now, we have to join the pocket pieces together.
*Lay the pocket with the flap attached so that the flap is wrong side out. Get your pocket front and place it on top so that the right side is out just like in the middle photo.
*Sew them together with a 1/2 inch seam allowance, right where my pink lines are drawn in the middle photo.
*Last photo shows the stitching.
Make sure not to stitch the pocket closed along the top!

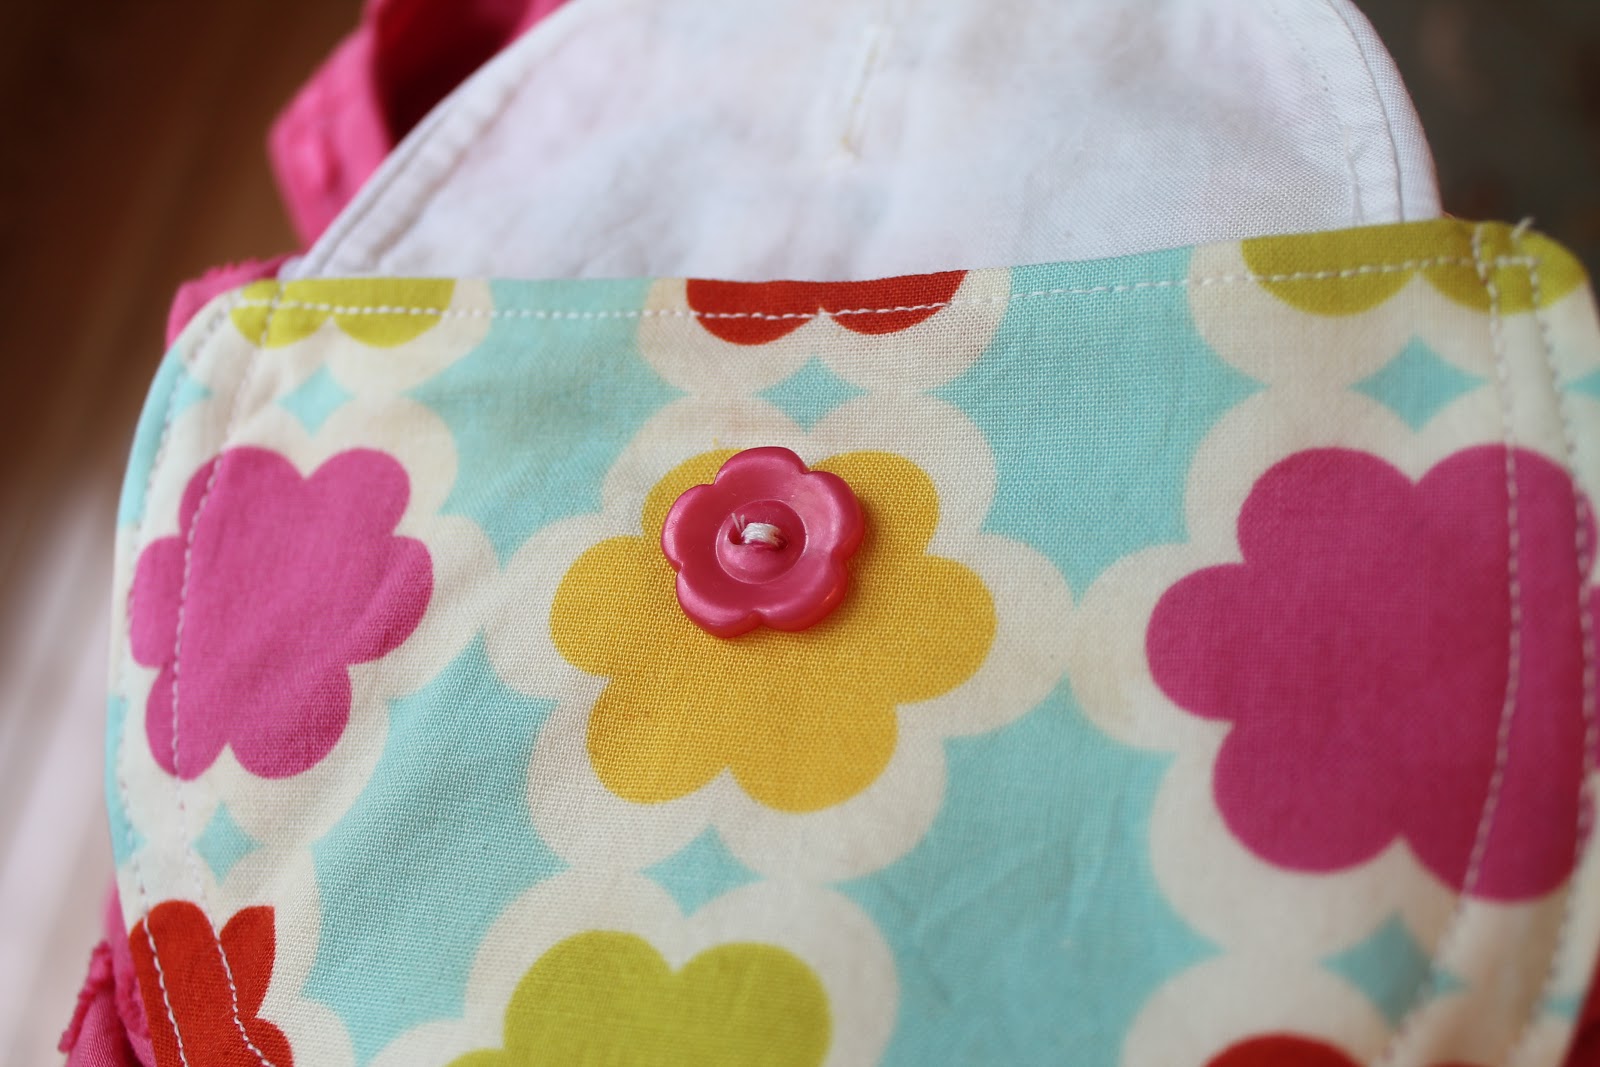
Stitch the button onto the front
Now, we have to add the ric ric (aka… purse straps!)
Get your ric rac and start pinning from the front to the back.
It goes up from the waist, over the shoulder and down the back. Just like a real purse!

Use your Purse Pocket to ensure the width of your straps is correct. You want the straps to be just slightly inside of the edges of your purse.

Once you are sure of the location of the ric rac, sew it to the dress


Now, you need to attach the purse to the dress.
Sew as close as you can to the edge of the pocket and go all around the curve. Reinforce your stitches at the beginning and the end to make sure the pocket is secure, even with grabby kid hands.

Your pocket should be able to open
(make sure you never sew it shut! That would be sad)

Sew a straight line where the flap meets the pocket lining to attach it to the clothing. It is just a straight line across so that your pocket doesn’t dangle. That wouldn’t be fancy.

Close the flap with the button and giggle at how cute it is.


It’s a purse…
It’s a pocket…
It’s a Purse Pocket!
And she loves it


Hayley
Hayley Crouse is a wife, mother and multifaceted designer. Her love of sewing, crafting, cooking and interior design infuses her daily life and naturally spills over into her online presence. She pushes the envelope of her creativity and hopes that others will be inspired to do the same. She currently authors the Welcome to the Mouse House Blog, is the pattern designer behind Mouse House Creations and is a collaborative designer with Willow & Co. Patterns.
Latest posts by Hayley (see all)
- Music Room: Home Tour - January 11, 2019
- The Ace Cardigan - July 30, 2018
- Susie Halter Top and Shorts: Project Run and Play - July 18, 2018
This is fantastic! I am going to sew one to a dress of mine. I’ll let you know how it turns out!
oh yes, let me know if it works for you!
I HAVE to do this for my girls. A purse they can’t set down and lose at the store is definitely a win. BTW yes you can pull this off to. 😉
I know, right?!
That is so cute! Did she ask for one on each of her dresses, because I am pretty sure my girls would.
yes, she definitely wants as many of these as she can get!
Hayley, this level of cuteness…well, it should be illegal to be this cute! 🙂
hahaha!
Adorable! What a great idea. That shade of pink looks lovely on Ainsley!
oh my goodness! this is so cute! i have never seen anything like it. LOVE!!!
I think my daughter would looove this. Thank you for the tutorial Hayley!