


Hello, everyone! It’s Erin here, from Children’s Fashion Workshop, and I’m excited and honored to be here today with Hayley to talk about refashioning with block patterns.
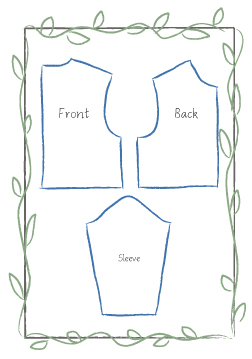
Now, a block pattern, first off, is just a basic pattern that fits a certain size person. What makes the block pattern into a cute style is what you do with it. So you can change the neckline, put in different sleeves, add or take away ease to make it fit closer or more loosely, etc., but you know that it’ll fit correctly if you start with that block pattern.
I happen to have made a set of block patterns that I use to draft everything I design, but don’t let my shameless bit of self-promotion make you think that my block patterns are the only way to go. You really just need to start with a pattern that fits well, and however you can get your hands on that works just great.
Once you’ve got a basic pattern, you can fiddle with it in a ton of ways to make it yours. That’s why using a block pattern goes so well with refashioning. When I find something at the thrift store that begs me to turn it into a cute outfit for one of my kids, there are constraints on the amount and shape of the material that aren’t there when I’m just working with flat yardage. Sometimes (more often than not) I need to change my design as I go to work with the original garment. Maybe I don’t have enough of a solid block of fabric anywhere to cut the puffed sleeves I originally envisioned, but I have enough of this embroidered edge to make double-ruffle angel wing sleeves, and if it’s my design, I can change my plan on the spot.
So the whole process becomes more fluid, with design melding into drafting into cutting and construction. Often I’m still making design tweaks a step or two from finishing the sewing on a project. Each project sort of takes on a life of its own in this way, and it’s really a thrill to find out what the finished product will be. I think, on reflection, that this is a very right-brained, creative approach to clothing design and sewing. If you like things to come out precisely the way you’ve planned, and unexpected challenges give you hives instead of making your heart beat a little faster, it might be best to make all the changes to the pattern that you’re going to make and then use flat fabric yardage to do your cutting.
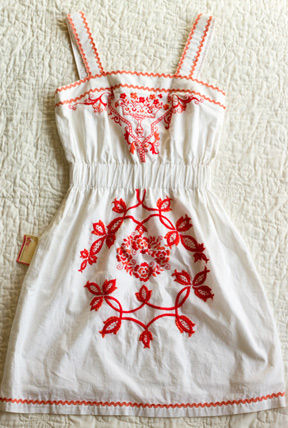
Whew! All of that is just to introduce what we’re going to work on today. We’ll be turning this:
And instead of giving you carefully-thought-out steps to making one on your own I’m going to lead you through my thought process a little. Since your own project won’t be anything like mine, giving you steps to complete it wouldn’t be very useful, would it?
Here’s my first little design drawing:
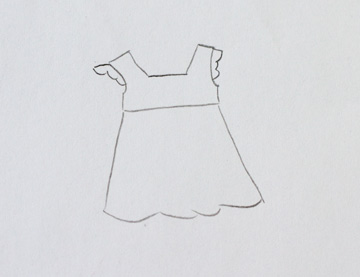
It’s just a very basic sketch of what I’m shooting for: yoke style, ruffle sleeves, square neck. When I refashion things, I like to try to keep some part of the original design as well as just using the fabric. Then the final garment has a little more of its life story left in it, I think. Besides, since it already looks a certain way, I don’t have to think too hard about coming up with a totally new look for it!
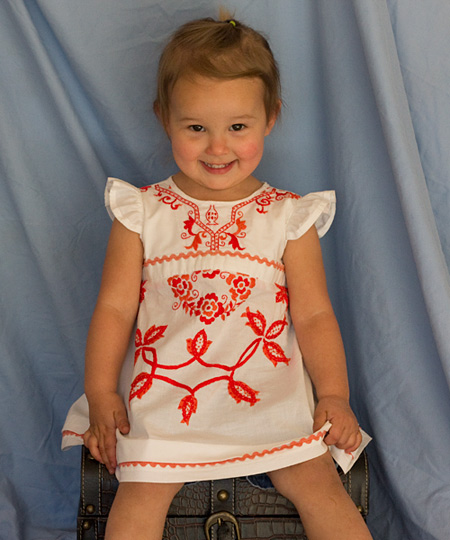
I want to make a top for my two-year-old, and I want it to be similar in shape to the original garment. It can be simple in design because all the embroidery’s really going to be the star of the show.
Now watch closely. This is going to look complicated, but I promise it isn’t, really. It’s just harder to explain than to do. I’m going to do four things in this photo and explain them afterward: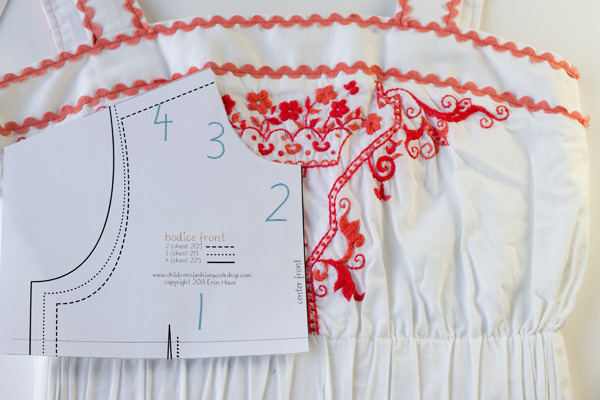
(I’m using the size 2 pattern)
1) I’ve shortened the pattern so that the waist seam is 1″ below the bottom of the armhole. Then I added a seam allowance. This will let me see whether I like where my new waist seam will fall. I can tell by looking at it here that that seam at the top of the elastic casing is going to run right along my new seamline. I’m okay with that.
2) I cut the pattern down the center front. I know it’s going on the fold, and that I won’t need a seam allowance or anything else there.
3) I cut the neckline 1/4″ larger than it was on the original neckline, but didn’t change the shape. Already I’ve departed from the design drawing. I wanted to keep that jagged line of embroidery, and I think the round neckline will do that better.
4) I know I won’t be changing the shoulder seam up or down, so I added a seam allowance and cut the rest of the paper off.
(All of these pattern alterations are carefully outlined in my alteration lessons, so don’t worry about getting all this. If you’re interested, you can learn more slowly and methodically than this!)
What I still need to know is what to do about the armhole and what to do about the side seam. I know that I don’t want any extra ease in the side seam, and that the bottom of the armhole needs to come up a little bit, because the ruffle only covers the top of it. So I’ll bring the bottom of the armhole up 1/2″ so it doesn’t gape open. I’ll also add seam allowance to the side seam and cut that paper off.
Here are those things done: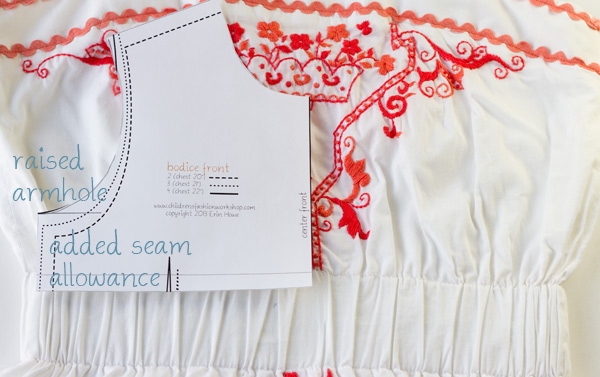
Excellent! There’s the pattern for the bodice front done.
Deep, deep breath now, I’m going to cut along the bottom of that elastic casing…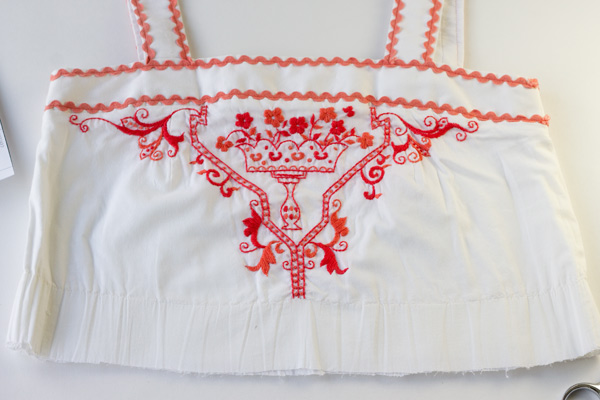
And cut my bodice front out of the front:
Good! Now I’ll need to make the same changes to the bodice back pattern that I made to the front. I’m not going to add a closure of any type, I’m just going to make the back extra wide and add a big block of elastic shirring in the middle. So I’ll need to take my bodice back pattern piece and cut it out, adding that width at the center like this: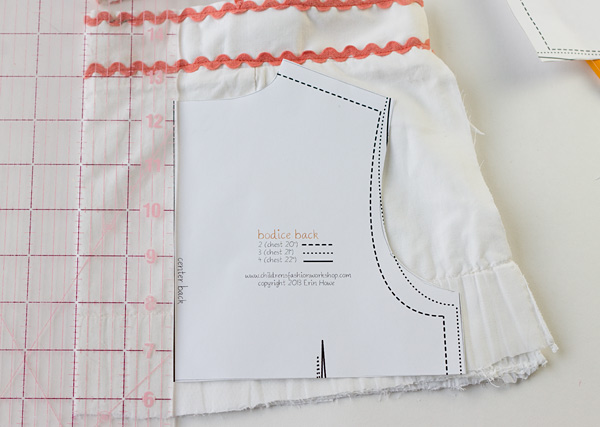
giving us this: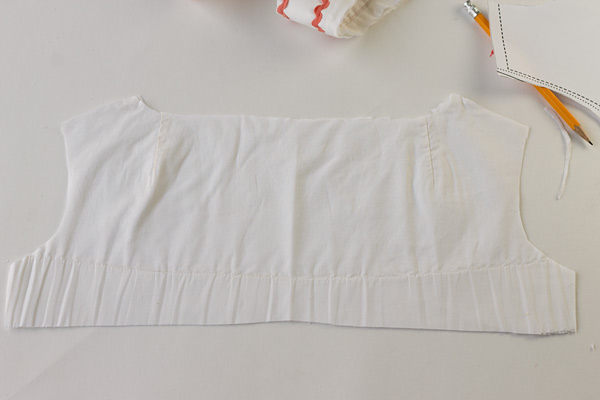
Now I have the bodice front and back. I need a skirt.
Luckily, I already have a skirt just sitting there waiting for me, I cut it off back up there when I was making the bodice. Just need to make sure it’s the right length.
Measuring the skirt shows me that I’ve got 18″ from top to hem. The entire target length of my top is 17″, and the bodice minus seam allowances is 6″ long. So I need the skirt to end up 11″ long. Hm. We need to lose 7″. 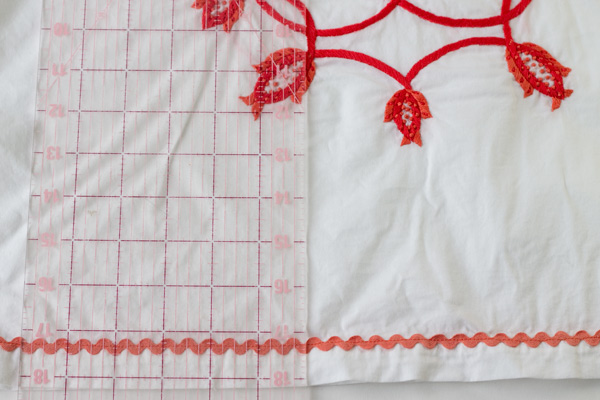
I’ve got these four bare inches between the rickrack and the embroidery here. It’s almost like it’s begging for me to make a nice tuck. A 1″ tuck will take out 2″ of fabric. Let’s do the tuck first and then see how much we need to cut off at the wast. That way we won’t have to hem the skirt again.
So I’ll fold the hem up 3″ all the way around: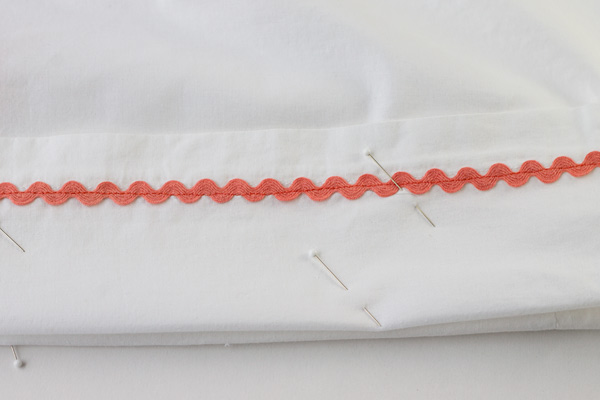
and sew 1″ from the edge.
Pressing that down gives me this: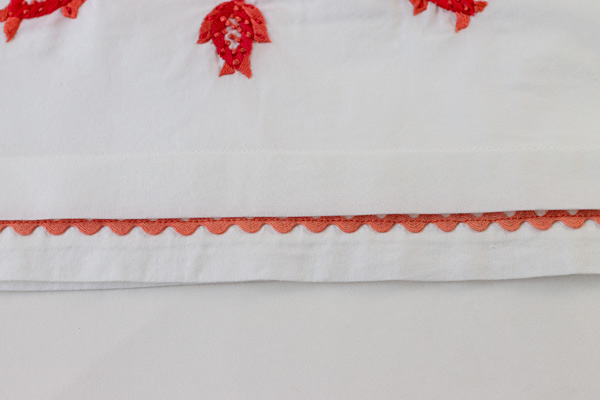
and the rickrack became all peek-a-boo! Cute!
Now I’ll measure it and take off what I don’t need at the top: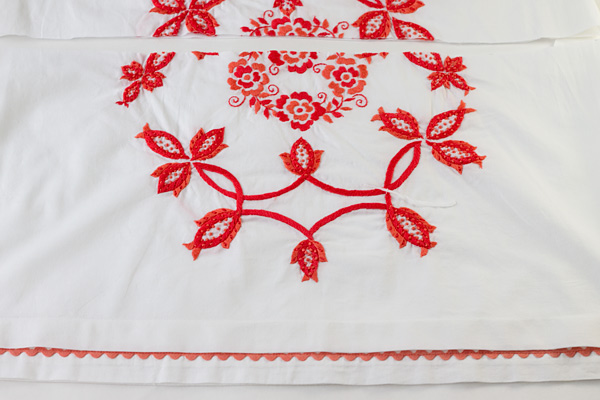
I’ll run gathering threads around the top of the skirt and set it aside. (Tutorial on gathering threads here.)
Now to put the bodice together.
First, I’ll sew the shoulder seams.
Then I’ll deal with the sleeves. Luckily, the skirt of the original top was lined with the same fabric as the top itself, so I have extra fabric to work with. I’ll need it for the sleeve ruffles and the neck and armhole bindings.
First I’ll cut out my sleeves. I’m just using the hem that’s there, and making them about 1 1/2 times as long as the part of the armhole I want them to fill. 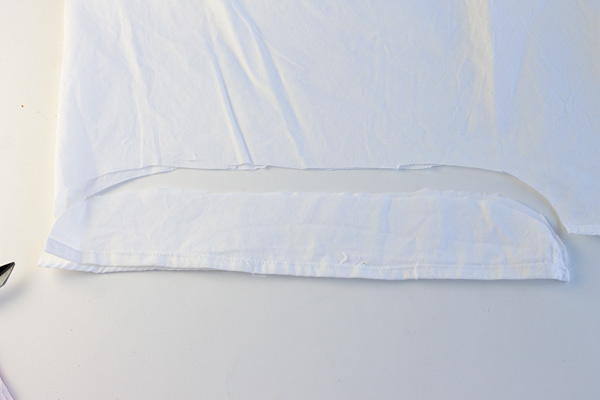
Then I’ll run gathering threads around the top edge of the sleeve, like so: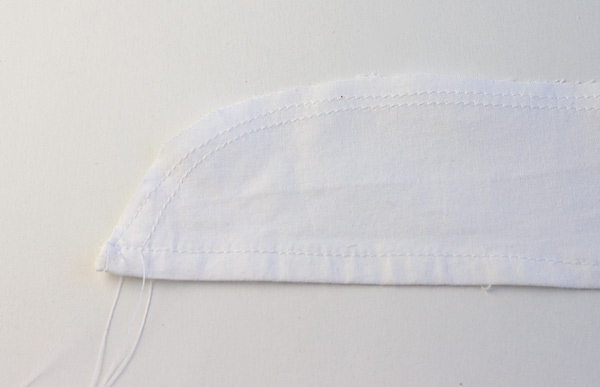
Now, the sleeve isn’t going to go all the way around the armhole, so we’ll put a little clip into the front of the armhole where we want the sleeve to begin, and a corresponding clip on the back where we want it to end. My clips are about halfway down the armhole, at the same level on front and back.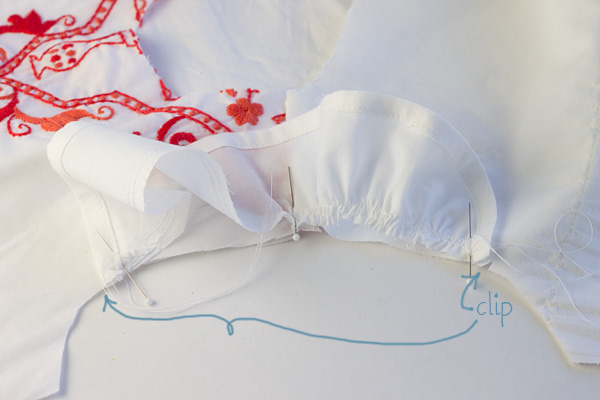
Now we’ll match the center of the sleeve to the shoulder seam, and the two ends to the clips. Right side of the sleeve is to the right side of the bodice. We’ll pull up the bobbin threads to make the sleeve a) ruffle and b) fit the space we’ve make for it. Then we’ll stitch that in place.
Now we’ll bind the entire armhole, right over the sleeve seam, using a double-fold binding: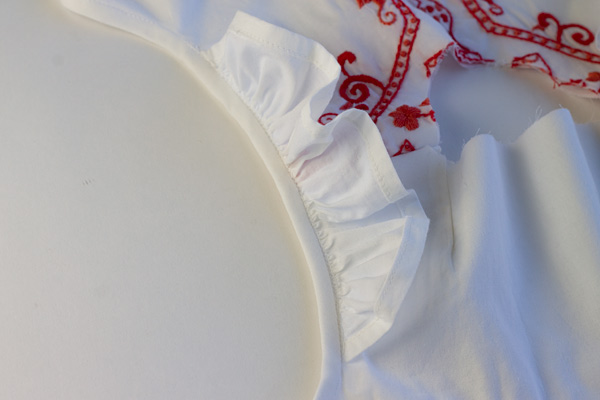
Tutorial for double-fold binding here.
Then, because the sleeve is going to want to poke toward the bodice, which is the way we don’t want it to go, we’ll need to fold it toward the armhole, press it gently, and edgestitch right along the very edge of the sleeve, through the binding and everything: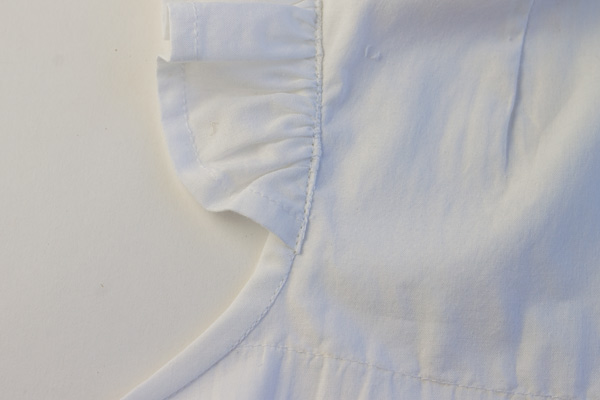
See that little row of edgestitching? That holds the sleeve down quite nicely. Edgestitching tutorial here.
On the front, there’s still that line of stitching that’s tough to press down right, and is less than totally lovely. 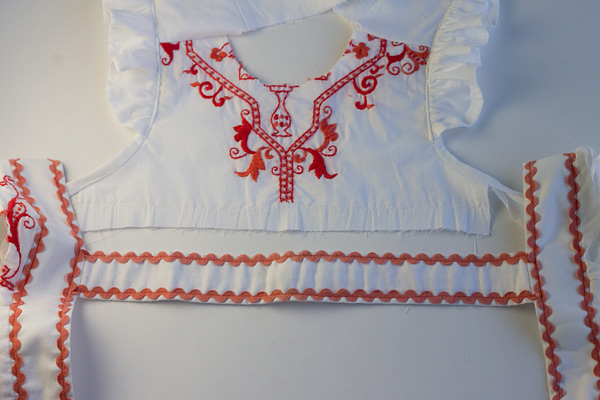
I still have the straps from the original garment, so I’ll just cut one to the right length, and baste it along the lower edge of the bodice front there to cover that and add some rickrack pretty. 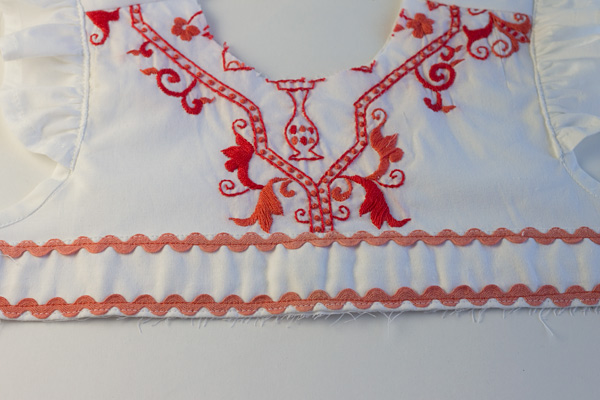
That lower row of rickrack will get lost in the seam. I’m cool with it.
Now let’s bind the neckline so that it’s one less thing to worry about. I’ll bind it the same way as in the double fold binding tutorial, folding back the end like this so that it makes a clean finish. 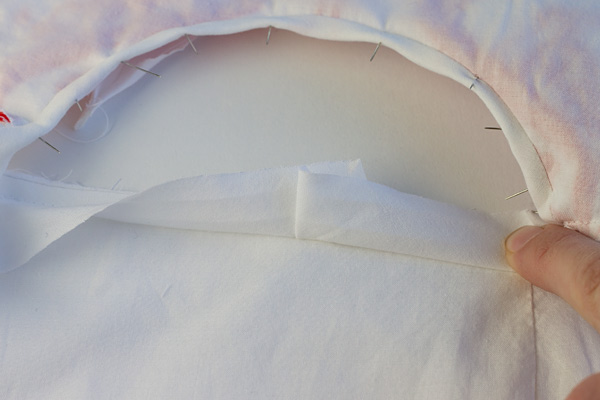
Here’s the back, that we cut extra-wide so that we could add a block of shirring: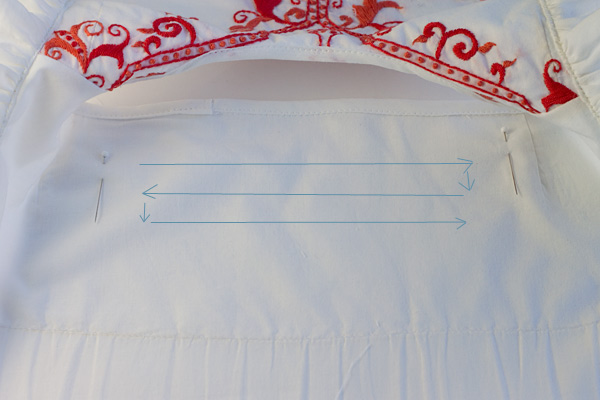
We’ll add several rows of shirring, going in a rectangular serpentine fashion down the back. So, sew a row from one marking to the other (the pins in the above photo are my marks), pivot, sew a couple of stitches downward, pivot and sew back to the first mark, pivot, a couple of stitches downward, etc. Backstitch with a narrow stitch at the beginning and end. Shirring tutorial here.
We’ll end up with the back looking like this: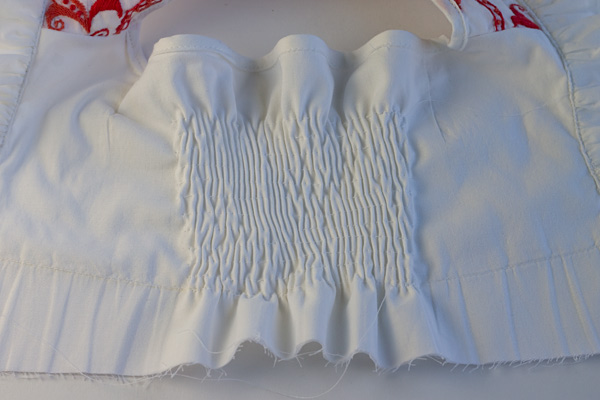
Now the bodice is entirely finished except for the side seams. No mystery there, we’ll just sew the side seams, making sure the armhole binding matches up.
That finishes our bodice: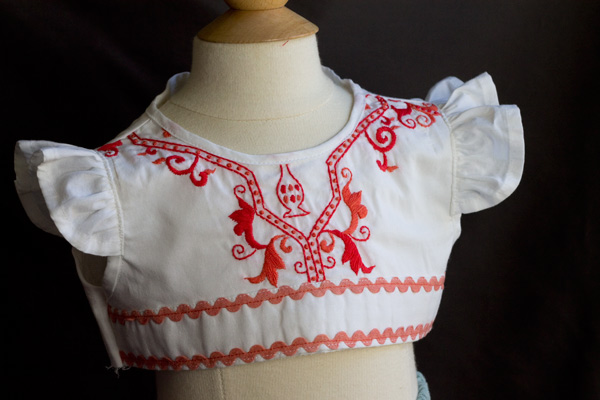
and now all that’s left is to add the skirt.
Since we did the skirt earlier this is the final step. Believe it or not, I have a whole tutorial on adding a skirt here, so I won’t explain the mechanics of that, except to say this. Because there’s heavy embroidery on the front of the skirt, I left it flat and pulled all the fullness in the skirt to the back. So the back is very gathered and the front shows off that embroidery nicely.
There’s our bodice and waist seam: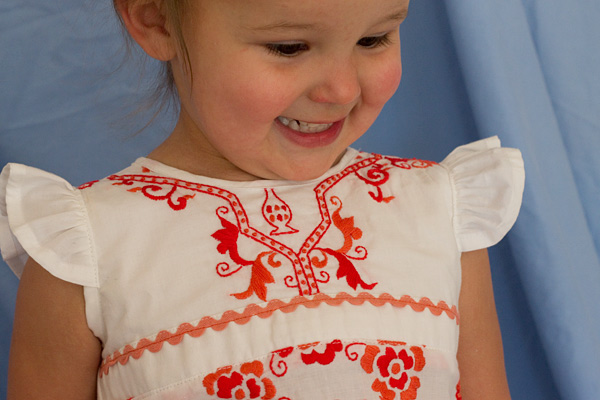
And here’s the whole thing, front: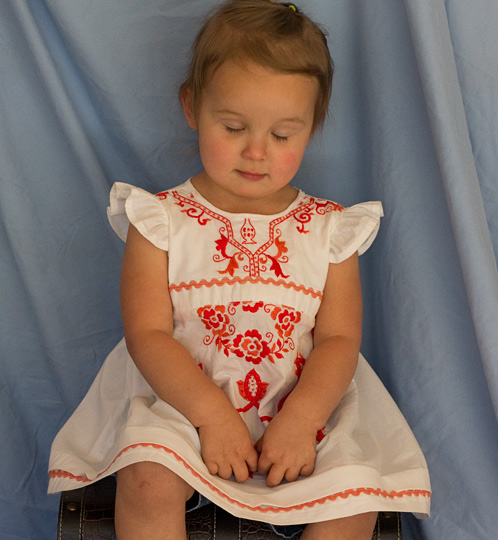
and back: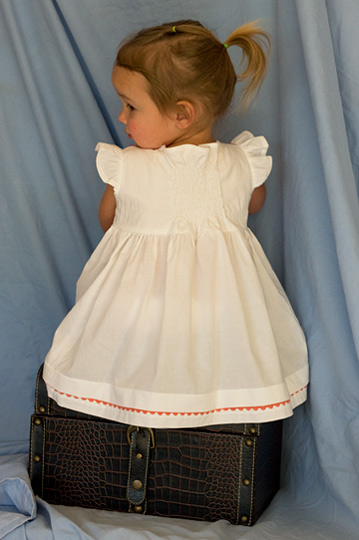
And that’s it! Thanks, Hayley!
~Erin~

Hayley
Latest posts by Hayley (see all)
- Music Room: Home Tour - January 11, 2019
- The Ace Cardigan - July 30, 2018
- Susie Halter Top and Shorts: Project Run and Play - July 18, 2018
Very clear and detailed explanation of your process. The dress is adorable on that little cutie!
That turned out beautiful. You kept the best of the original shirt.
That turned out gorgeous! Thanks for taking us through your process! 😀
That is so adorable!!! Great tutorial.
Esther
http://www.dollycreates.blogspot.com
Thanks again, Hayley! This was so much fun.
That’s gorgeous! I have a few tops with detail like that in my ‘cut up pile’ but have been intimidated to cut into them. Might have to take another look at them now! Again, it’s gorgeous! 🙂
Super!
What a great tutorial! I love how your dress turned out.
White House | Black Market
Branded Women’s Clothing and Accessories
Hello to all, it’s actually a fastidious for me to paay a visit this
web site, it includes valuable Information.
Hey Such a fantastic blog that you have shared and really managed very well. Especially for the tutorial that you have mentioned and of cose many of the customer Will definitely shared .
Thanks for the lesson.
Very Beautiful apparel .