DIY: Make Your Own Photography Backdrop


By no means am I very good at photography, but I have to start getting serious about taking decent product photos for the relaunch of my etsy shop (which I am hoping to reopen Mid February!) During my time off, I have been sewing and crafting, but also learning how to take better pictures. I came across some really neat photography backdrops and floor coverings that you can buy online, but the price was definitely out of my reach, so I did what I do best… created my own!
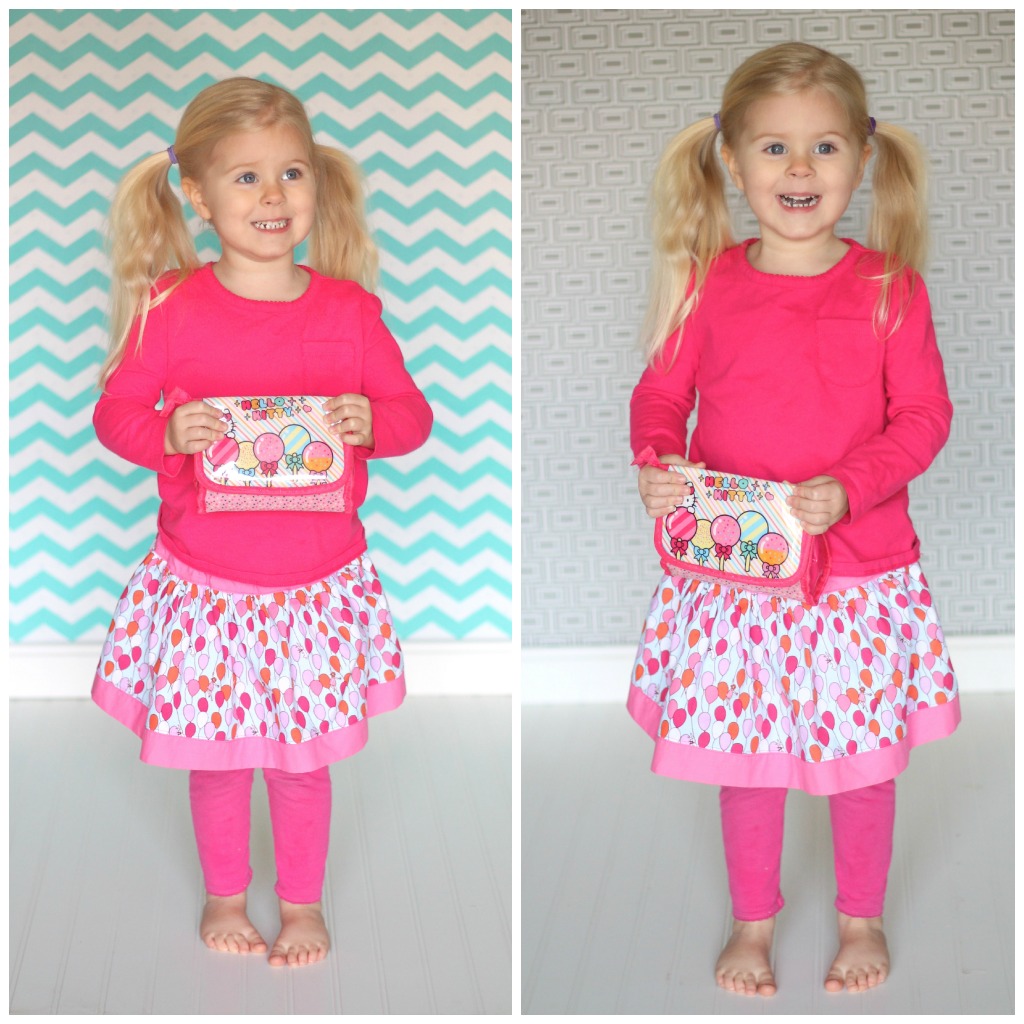
For under $25 (give or take) you can make your own too! The one I am about to show you is also double-sided… Score!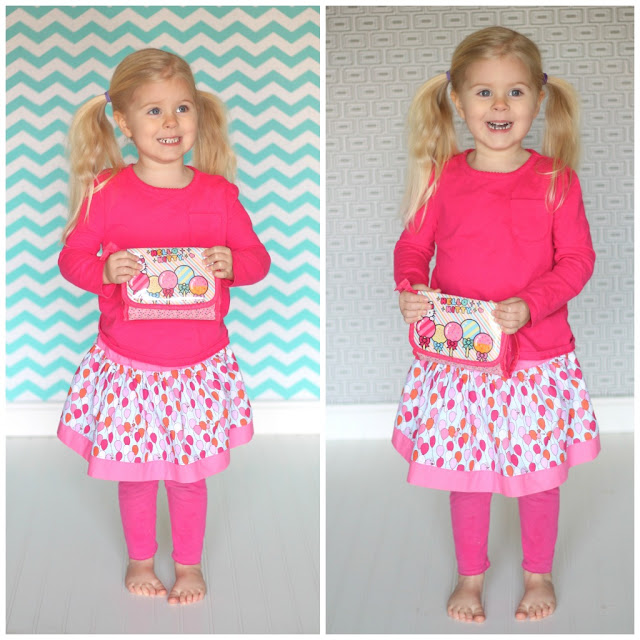
Supplies:
*1 large sheet of wood (we already had leftover peg board at home, so that is what I used, but you can find very cheap sheets of wood at your local hardware store and they will even cut it to the size you need. OR you can maybe ask a friend if they have any leftover scrap wood sheets that they don’t need!)
*vinyl shelf paper with cute designs (I bought these two designs at TJ Maxx. Each one was only $5 and I have a ton left over for another project)
*1 piece of pre-primed baseboard trim (we already had a piece of this leftover so it was free!)
* 1/2 sheet of pre-primed beadboard (again, we already had this laying around so it was free, but you can find this for under $10 at your hardware store)
How to:
This is such a simple and easy project, I promise!
*Cut your backdrop wood (peg board, in our case) to the height you need it. I didn’t need mine very tall because Ainsley is only 3 years old…. if you are using it for older children, yours might need to be a lot taller. We just used a jigsaw to cut it, but you can ask the nice people at your hardware store to cut it for you.
*Get a pair of scissors and grab your vinyl shelf paper.

*Cut your paper to size and start attaching, making sure to remove any air bubbles as you go and keeping it as straight as possible.
The most difficult part is matching up the pattern when you start a new row, but just take it slowly and you will be fine.

*Cover both sides with the shelf paper and trim the edges.
You now have a double sided backdrop!

*Figure out a good place in your home to store all of this equipment. You will need a place that gets good light and also large enough that you can set it all up for your photo sessions.
(I decided to set it up in our garage. Yep, our stinky, yucky garage that we never keep cars in because it is too filled with junk. BUT it gets good light when you open the garage doors!)
*So, now to show you how I assembled it all!
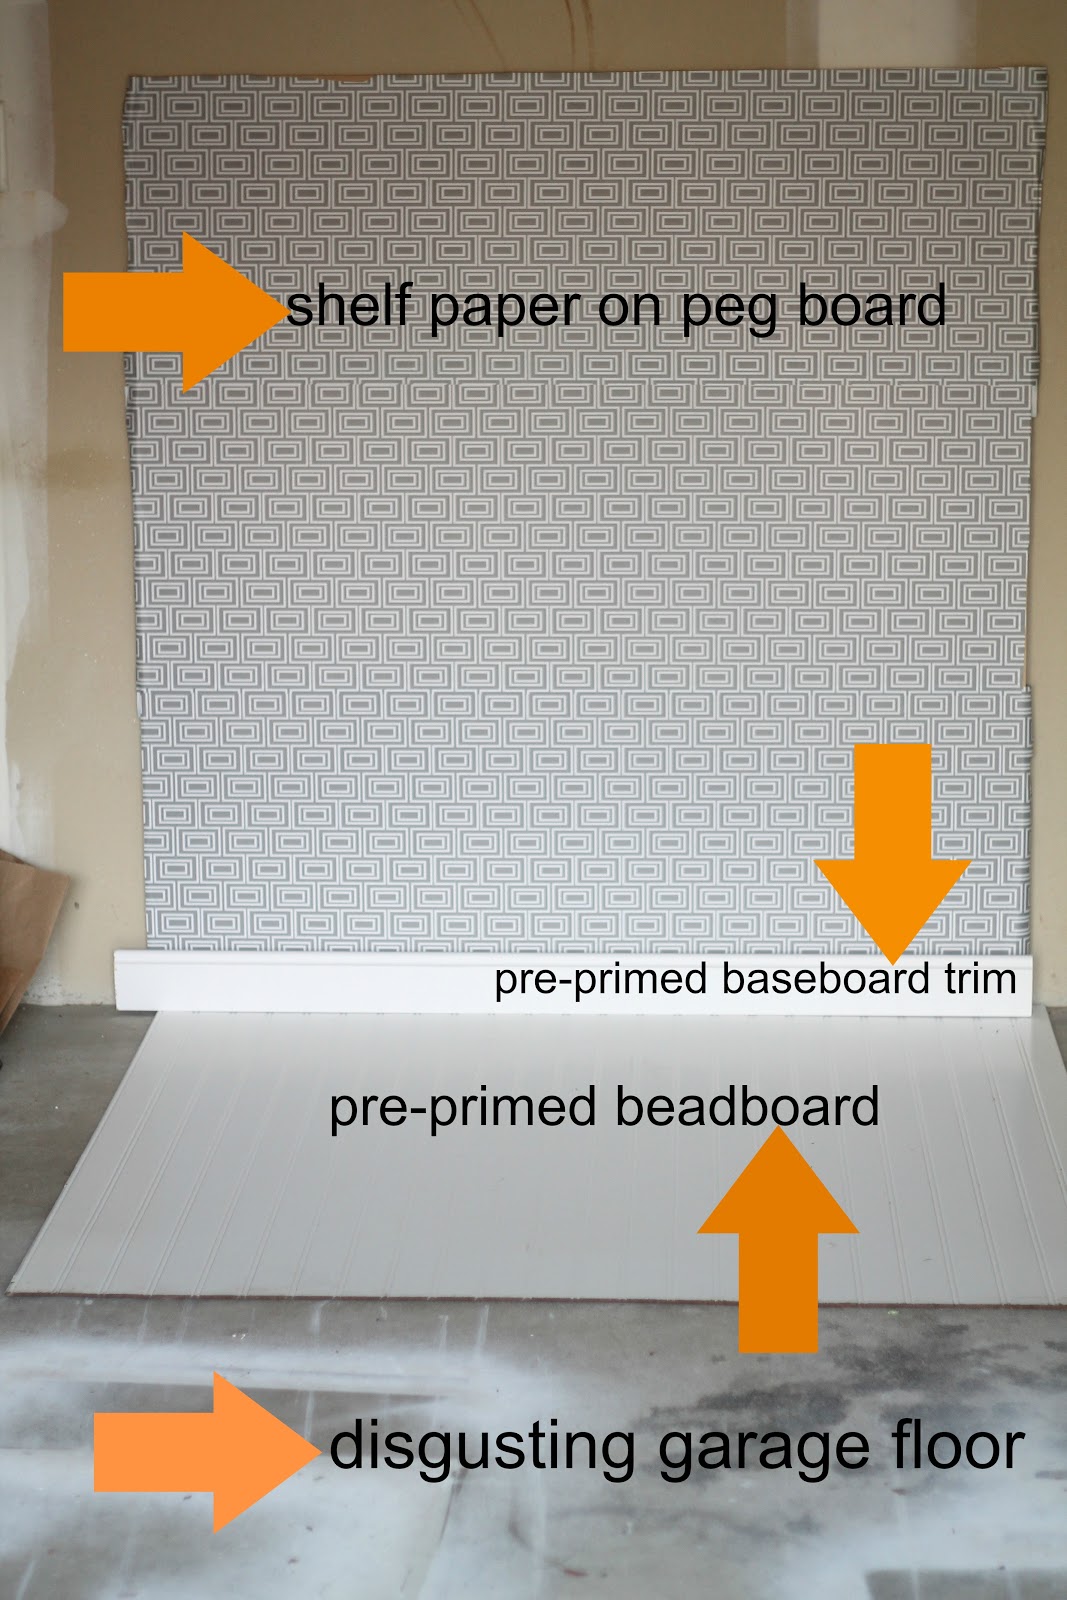
Easy peasy, right???
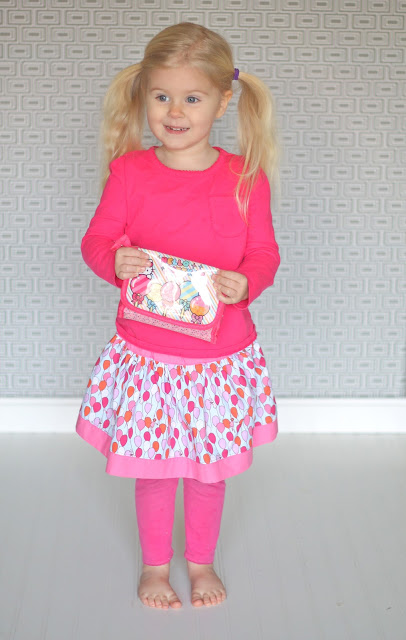
*Simply pick the side that you want to use as your backdrop, prop it up against a wall or a support, lay the beadboard down on the floor and place the baseboard trim over top! Creates an instant “room” for your photos.
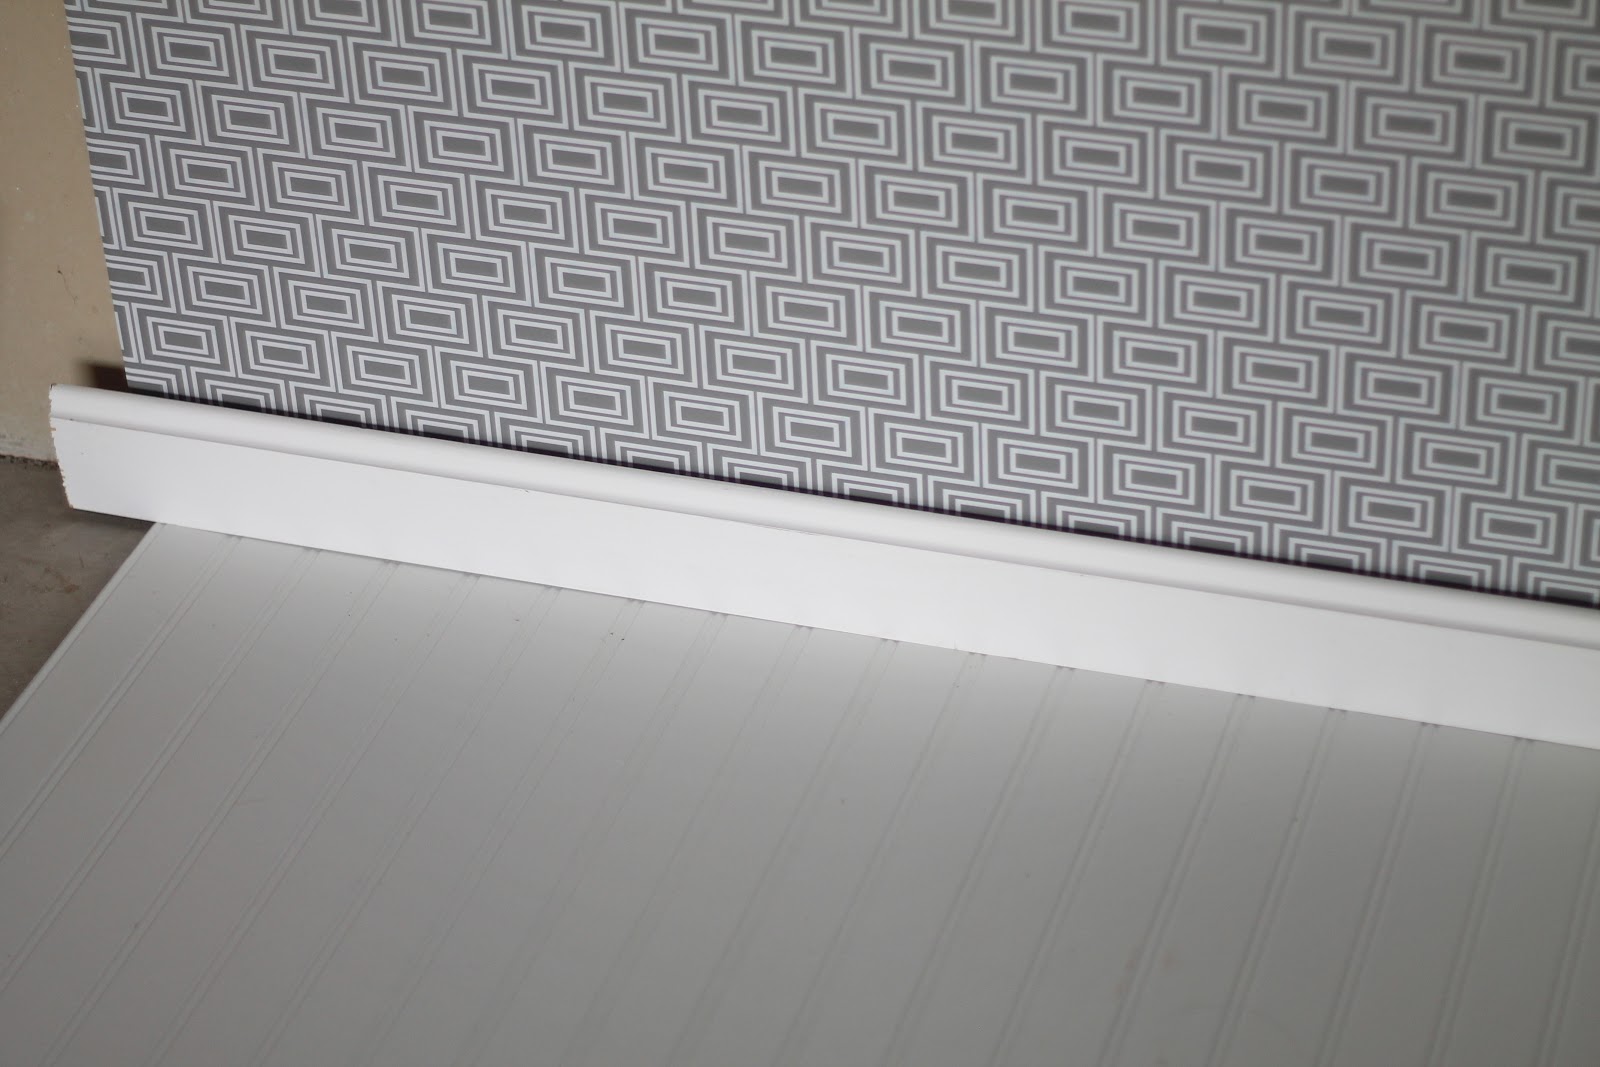
Best part is that you can flip the backdrop over for a totally new look!

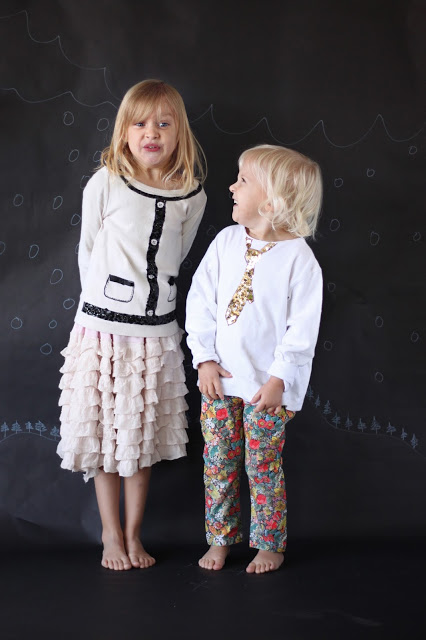
See what a difference the two backgrounds make?
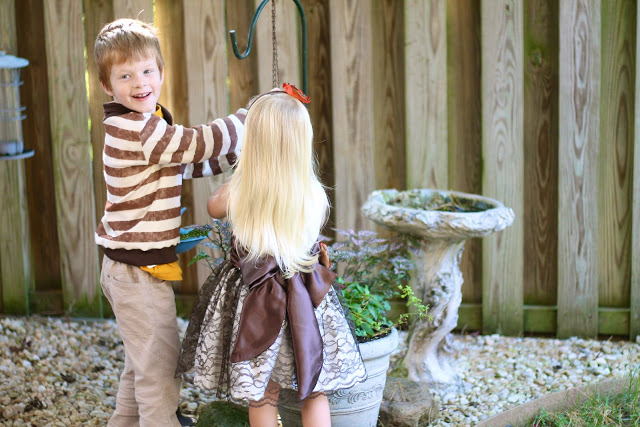
And some more photos of my rather uncooperative model. I even bribed her with chocolate…she was just not in the mood


So, now that I have these backdrops, I plan to make some plain ones by just hanging some solid color fabric on the wall and using the same baseboard trim and beadboard flooring trick!
In the meantime, I really have to learn how to take better photos because I can just see how out of focus these are!
Hope this helps you guys!