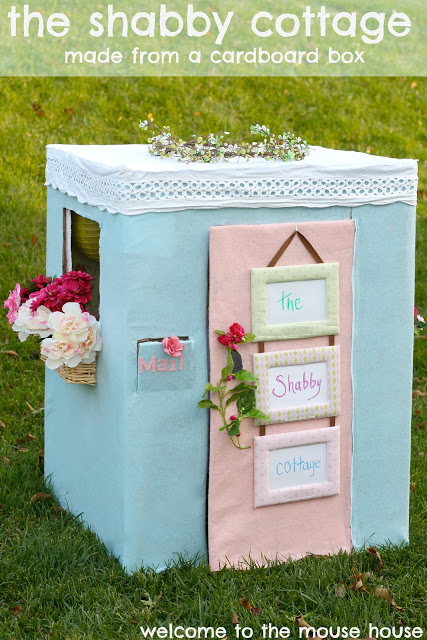
The Shabby Chic Cottage: DIY Cardboard Box Fun

Just recently, I had posted a DIY project on my Mouse House Facebook page and I have never received so many messages and emails in my life! Apparently, this was a hit with people and they wanted to see more. (and if you aren’t a fan of my facebook page yet, consider doing it because I tend to keep it updated more than my blog!)


It all started when our dishwasher died 2 weeks ago. If you are my close friend and have the *pleasure* of knowing me personally, you would attest to the fact that I moaned and groaned that we would have to “endure” almost a week of hand washing dishes, lol! I couldn’t WAIT for our new dishwasher to be installed.
Then, the box arrived. It was a magnificently large box and it brought back memories of my childhood. I specifically remember playing with a refrigerator box for months when I was about 4 years old. {I think I may have turned it into a post office? You will have to ask my Mum about that…} Immediately, Ainsley and I screeched with joy and started playing with it! I asked her what we should do with it and she said “I want it to be a clubhouse!” A cute clubhouse you shall receive, young lady!

Considering we are talking about a cardboard box, I only wanted to use supplies I had on hand: felt, box cutter, hot glue gun/glue, flowers, etc. I didn’t buy anything new for this project… at all. However, if you have to buy the supplies, it wouldn’t cost more than $10, as long as you use your imagination! The entire project took me under 3 hours… bonus!
Everyone wants to know how to make their own…
So simple!
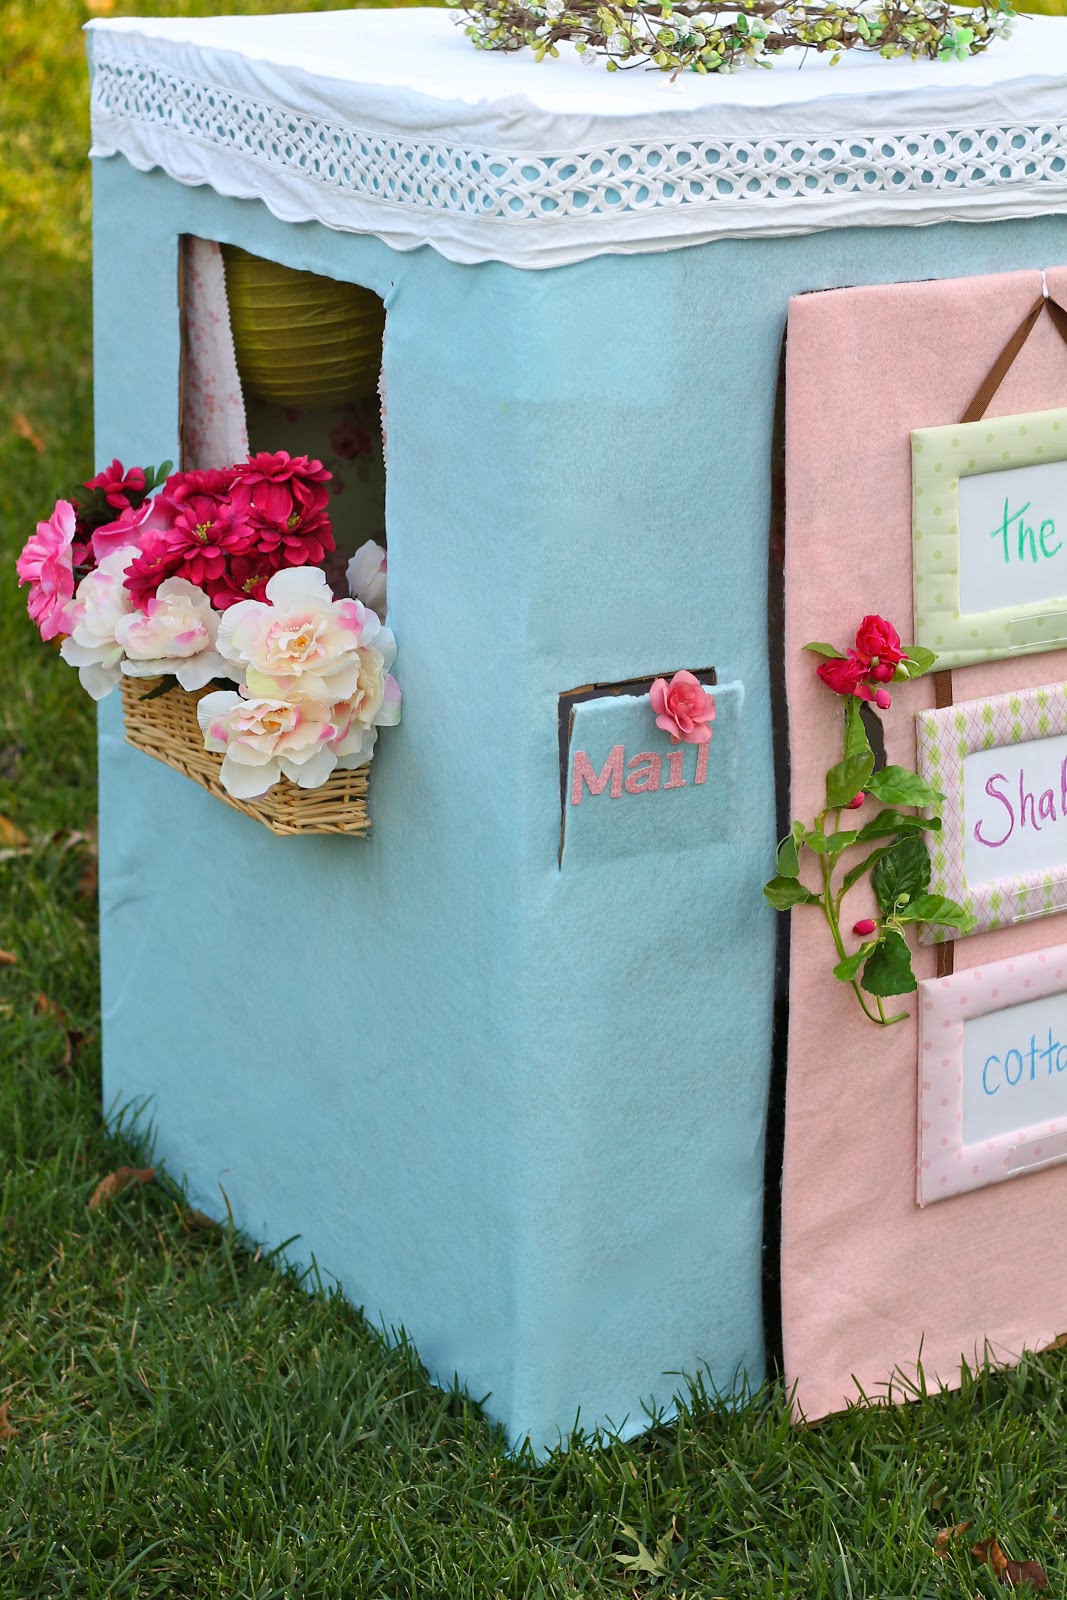
I used a box cutter to cut out the windows (one on each side), the door (I cut three slits and then bent the rest to create the door, plus a semi circle cut-out for the door opener!), and the mailbox (again, three slits and bent it down).
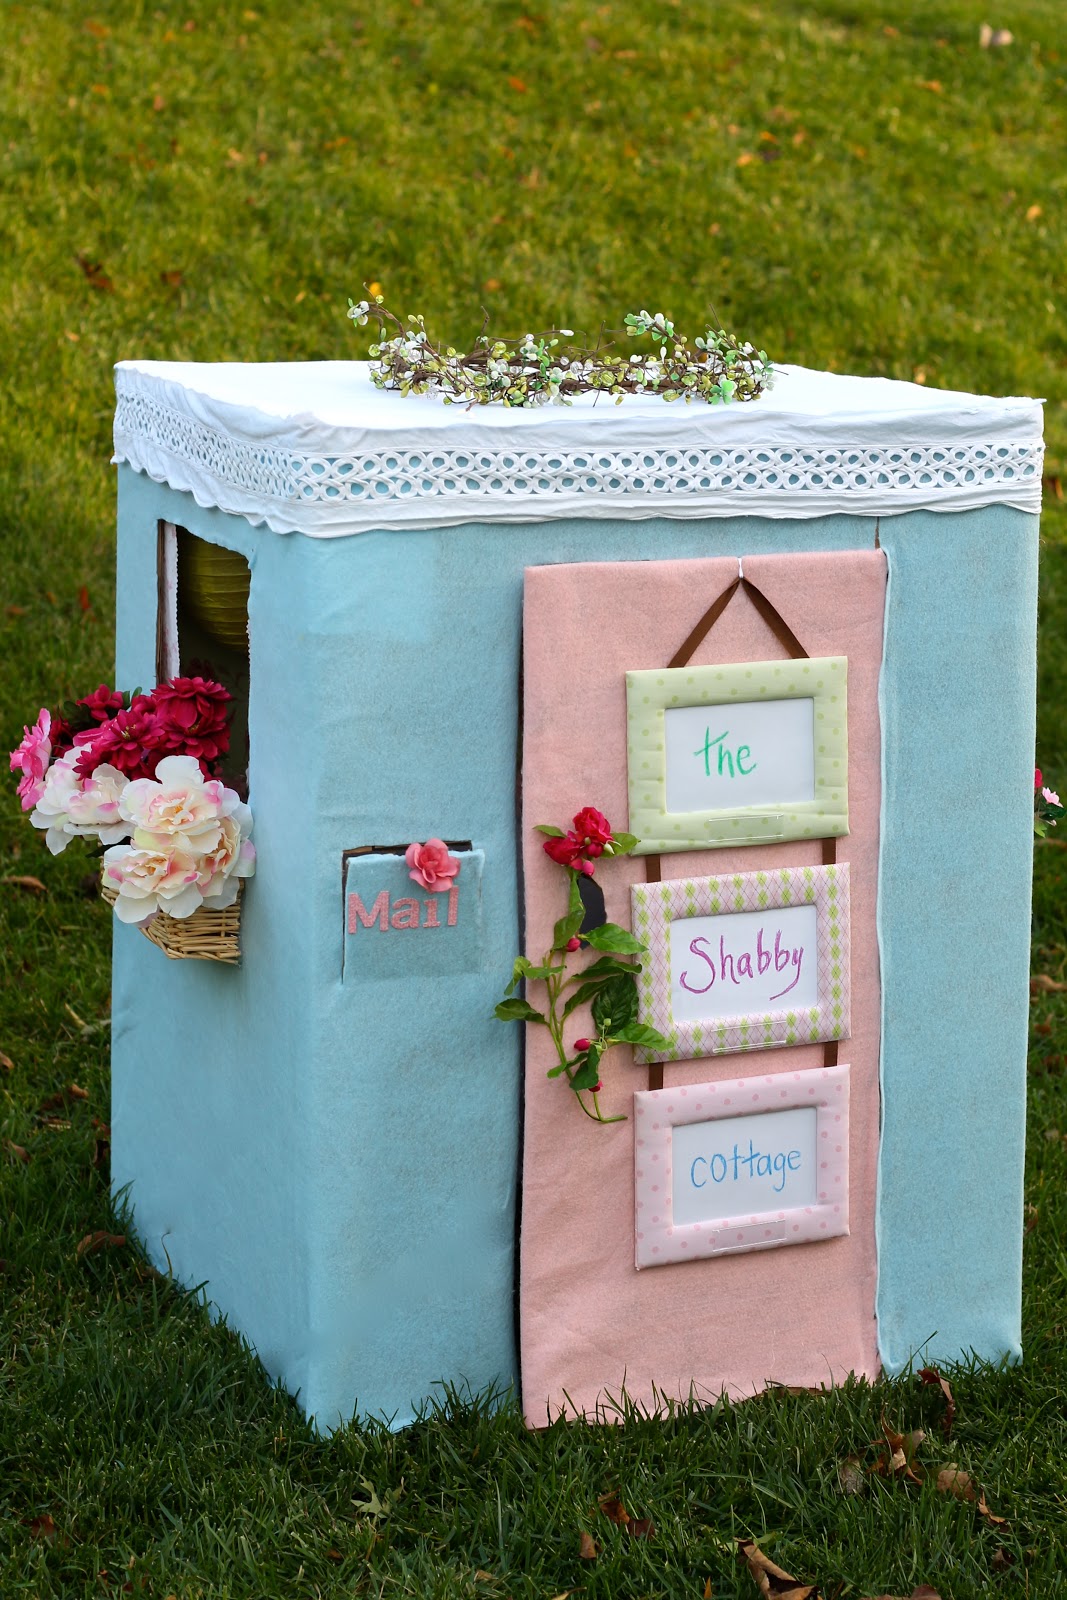
I covered the entire box with blue and pink felt, adhering it with a hot glue gun. Again, I had this felt at home, but you can buy this at a craft store for super cheap (use a coupon!)

The mailbox was adorned with some silk flowers I had in Ainsley’s room and chipboard letters that I wasn’t using. Super easy!
(and by the way…. I am in the process of making her some felt “mail”, but in the meantime, she is using regular white paper envelopes with construction paper “mail”)

I just so happened to have these frames in storage at home to hang on the front door. “the shabby cottage” was written by me with some crayons found on the floor, haha.
Search some local thrift stores for some similar frames!


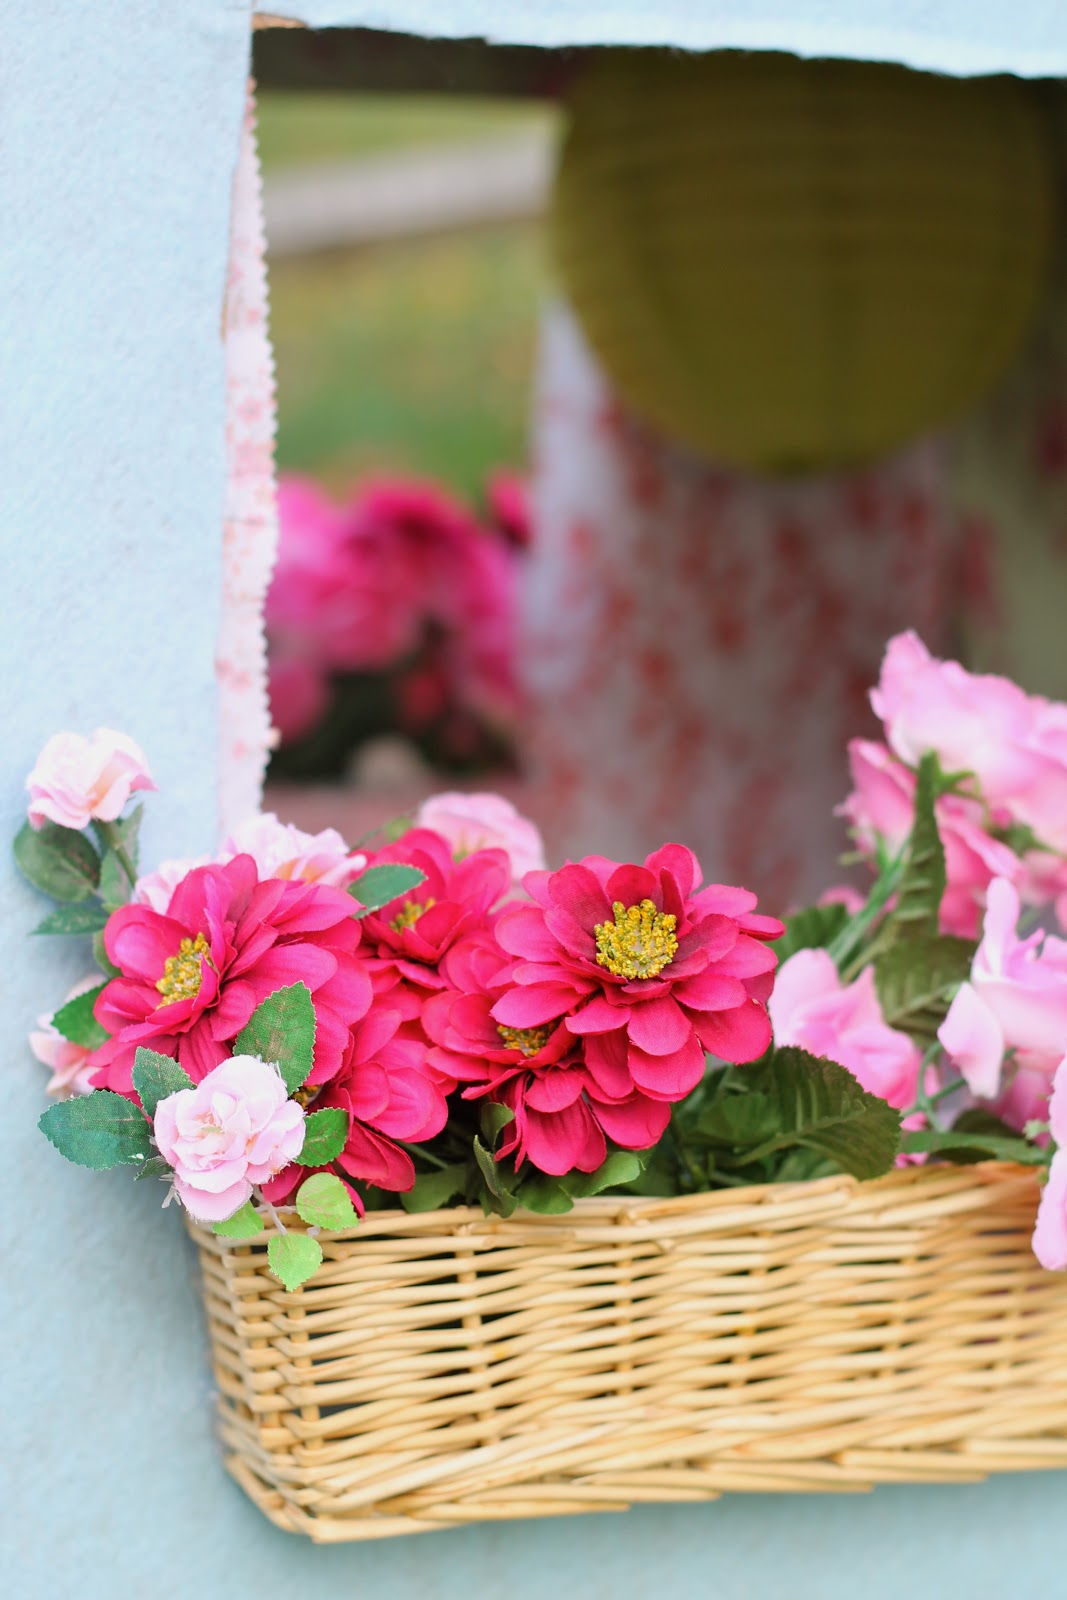
My most favorite part was adding the flower boxes! I crack up every time I see these!! There is one on each side and all I did was cut a shallow basket in half and adhere it with hot glue! It was a basket that hasn’t been used in years and I am so happy to see it being loved again.
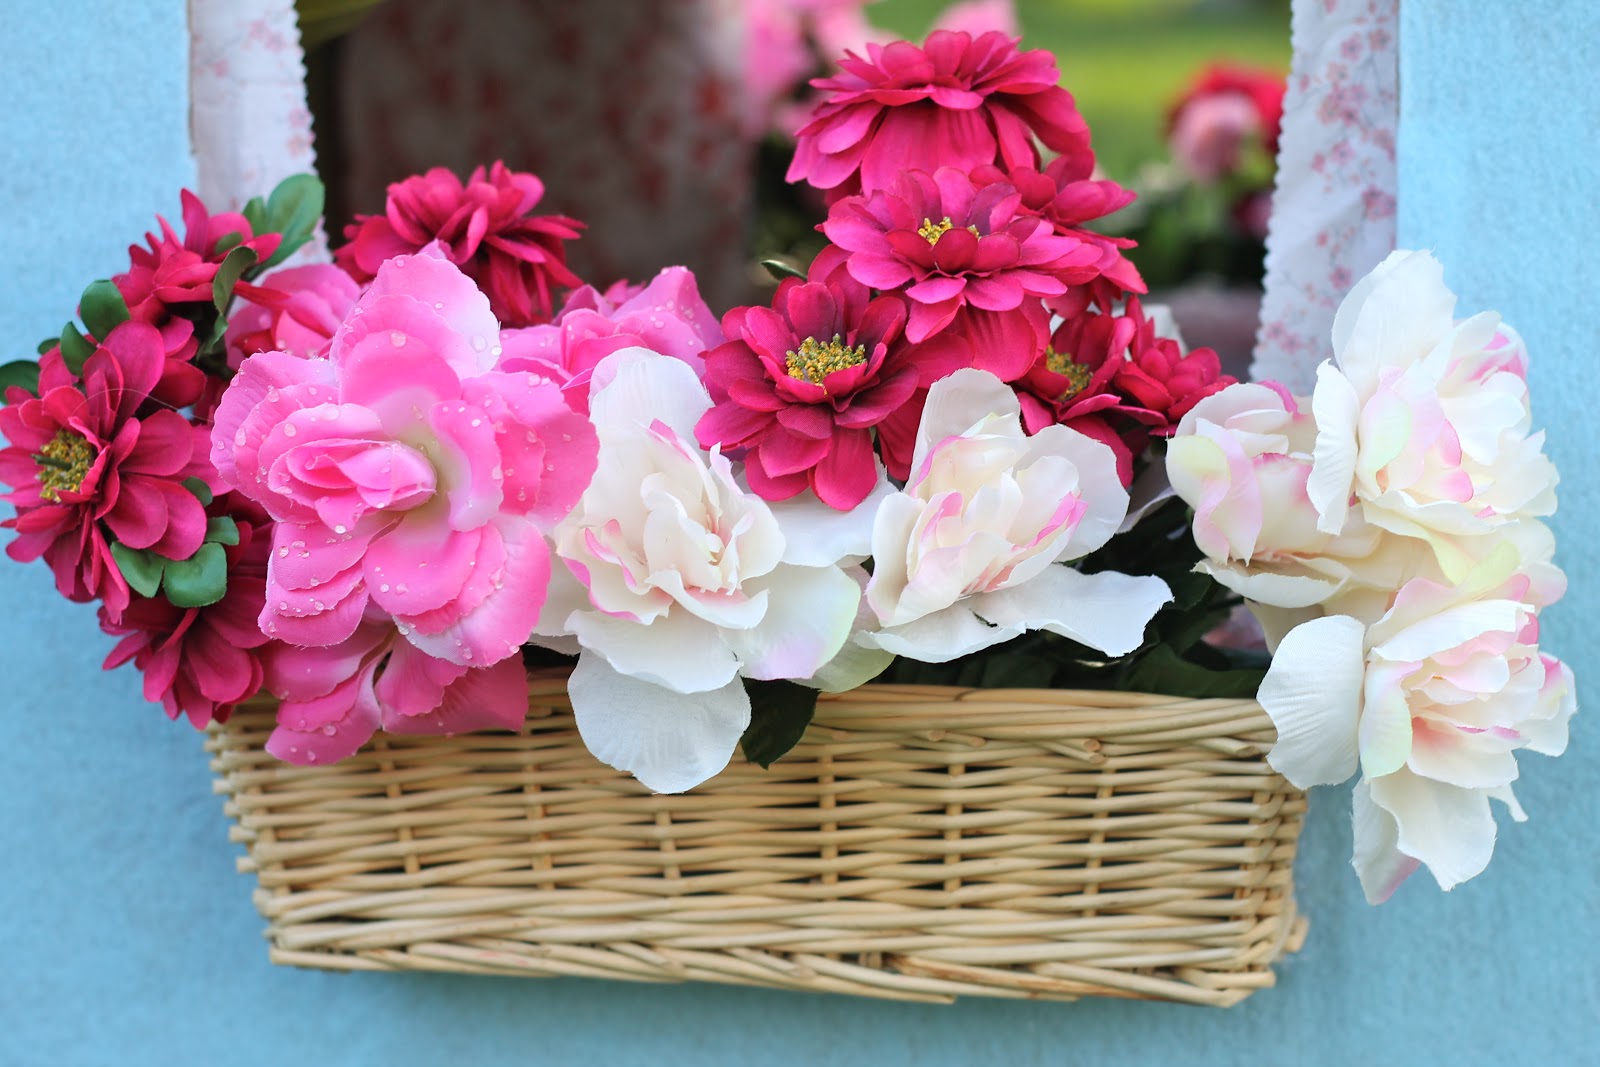
The flowers are silk flowers from Ainsley’s room, but she had plenty of extras! They are removable from the flower boxes and Ainsley goes “flower picking” several times a day now.
The “awning” around the top of the house was made from a dust ruffle given to me from my mum, but didn’t fit our bed!

Ainsley loves taking out the flowers and rearranging them.
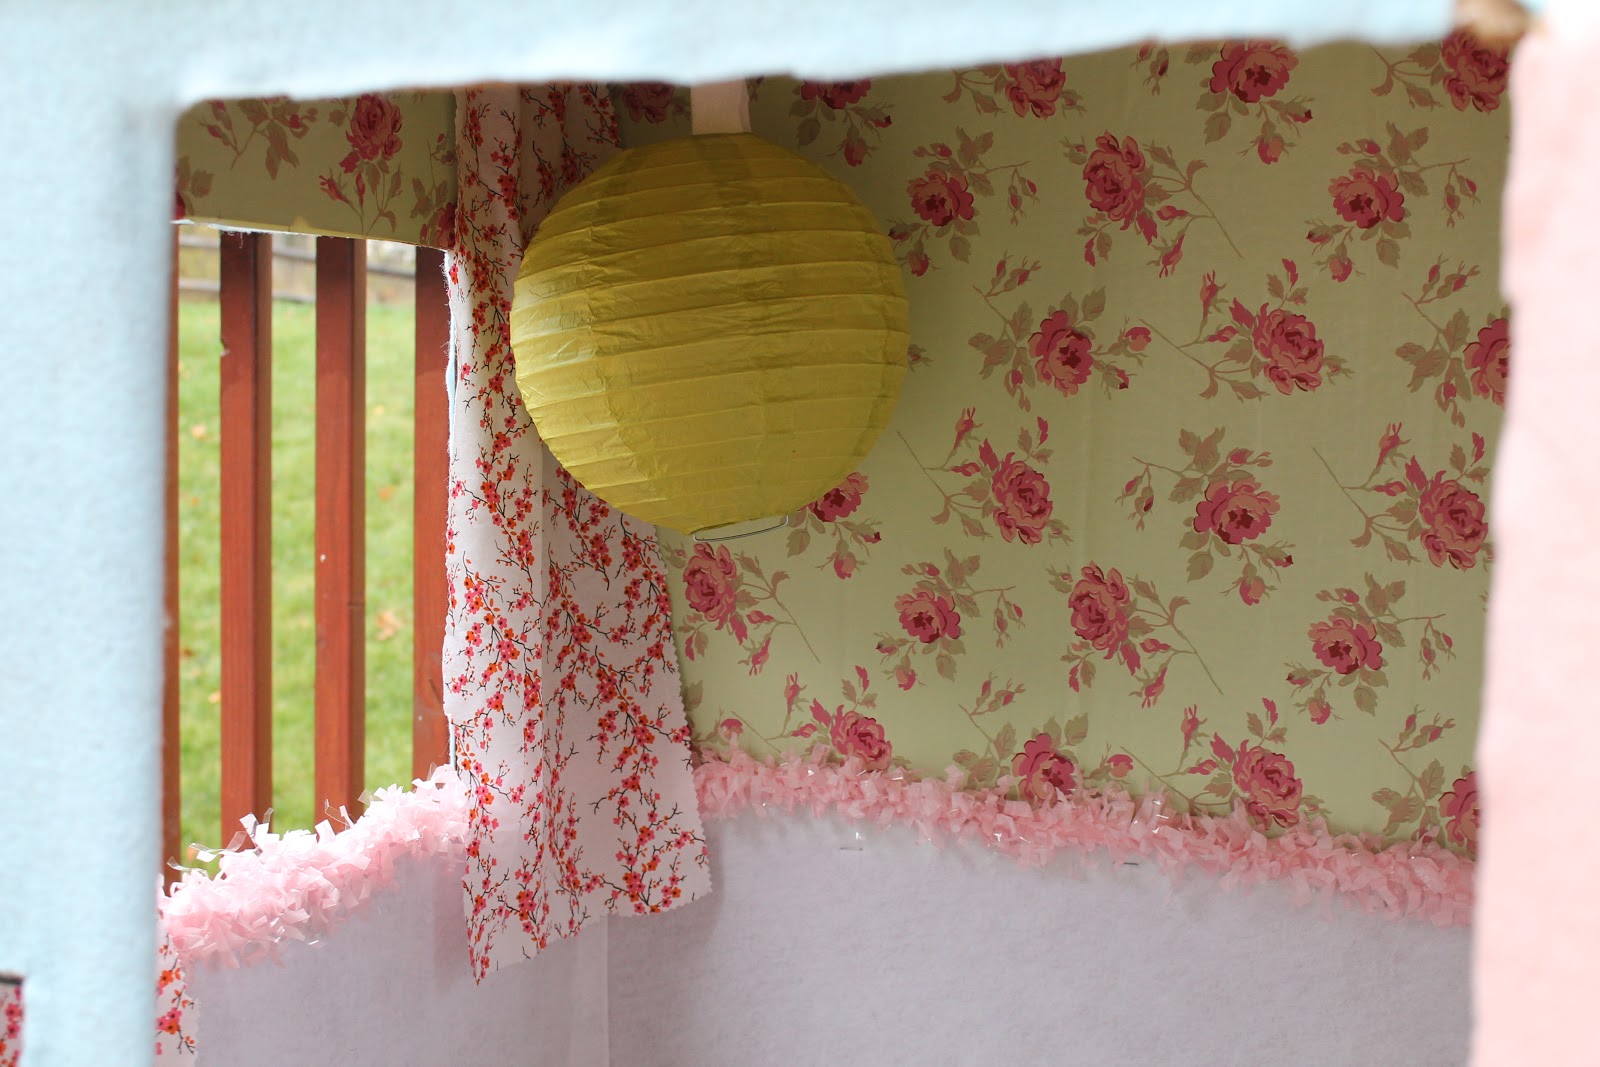
The interior might be my next favorite!
I used old “shelf paper” as the wallpaper. If I remember correctly, I purchased the shelf paper at Michaels 2 years ago on clearance? I used it to make art for Ainsley’s room found HERE. It is sticky on the inside, so I simply cut it to shape and hung it up.

Then, I used white felt as the “wainscoting” and fluffy pink ribbon as the “chair rail”. So cute! I hung a green lantern and made some faux floral curtains.

And of course, it wouldn’t be complete without the apple tree in the back!

Again, I used what I had on hand (which is apparently lots of felt!)
I cut out the green part of the tree and the red apples from felt. The trunk of the tree is from some brown corduroy I found in my stash!

I didn’t take a picture of it, but each apple is velcroed to the tree. You can take each apple (and leaf) off and put them in the apple bag. Ainsley LOVES the fact that she can go “apple picking”. 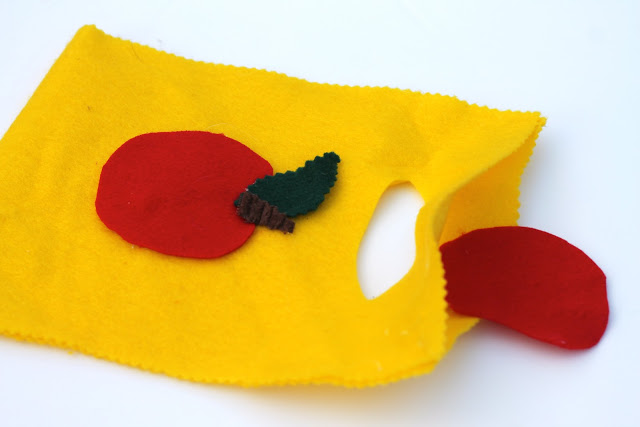


I hope this explained my thought process a bit more. I thoroughly enjoy all the emails and messages I get!