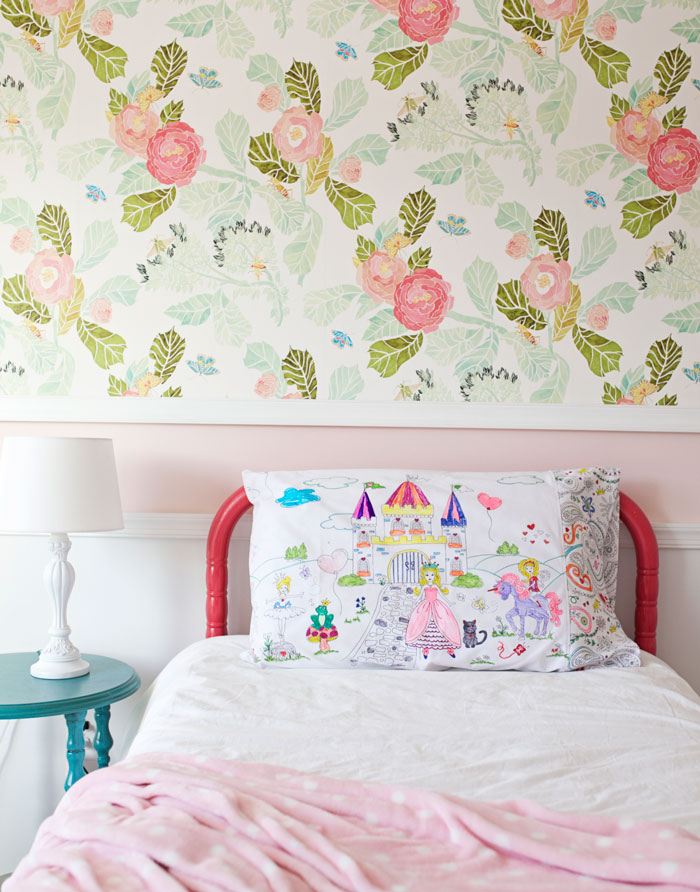
Easy Pillowcase Tutorial: Featuring Color Me Fabric

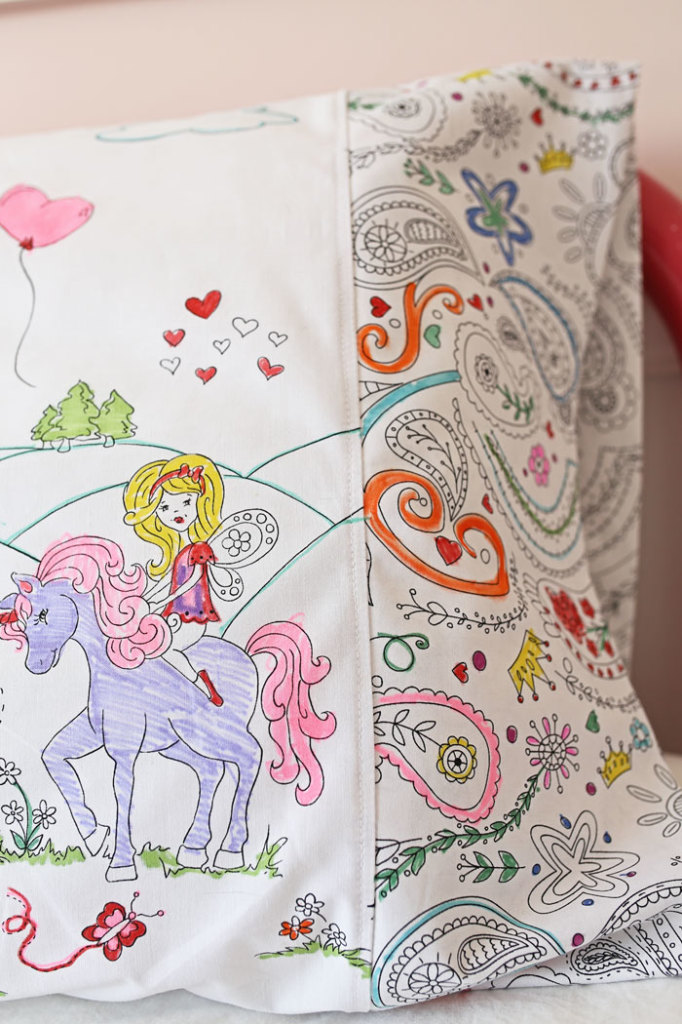
Today, I am sharing how to make a super duper easy pillowcase, as shown in my Color Me Fabric post from Friday. These pillowcases are so easy to whip up that you will want to make a bunch for friends, family and even charity!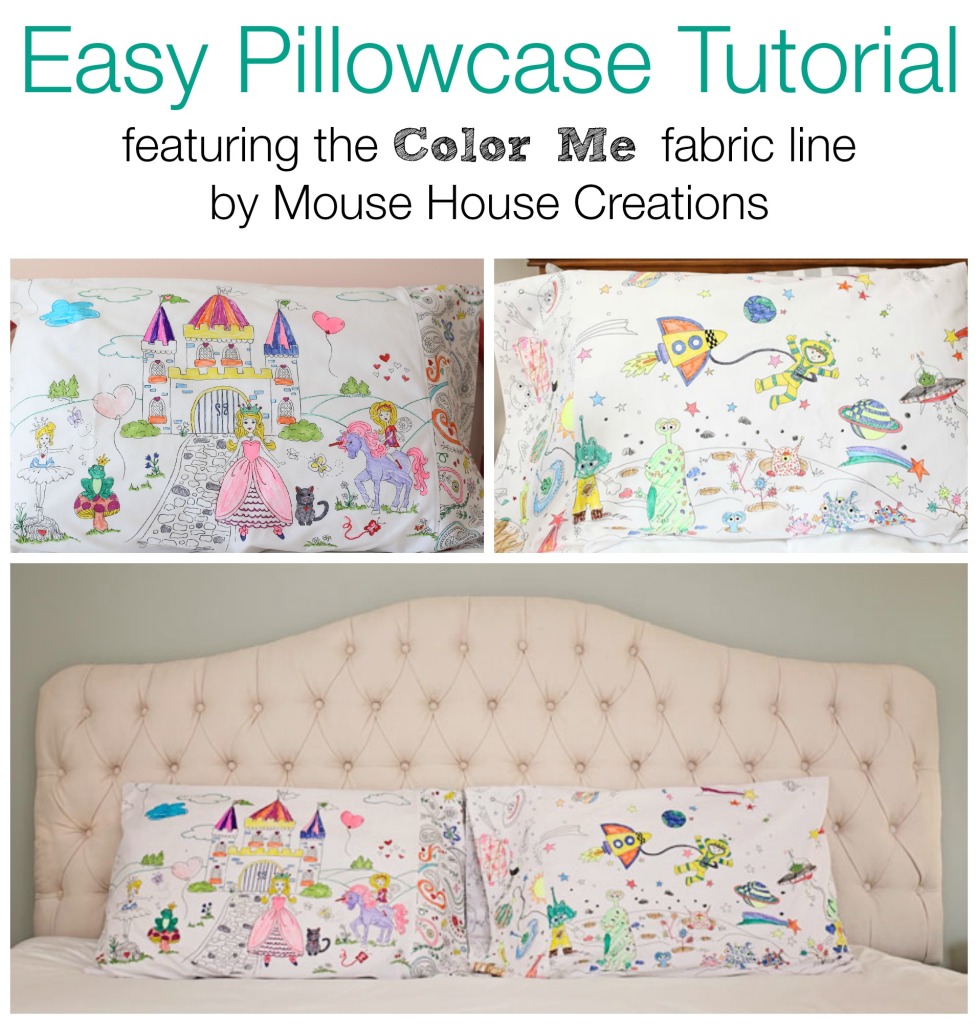
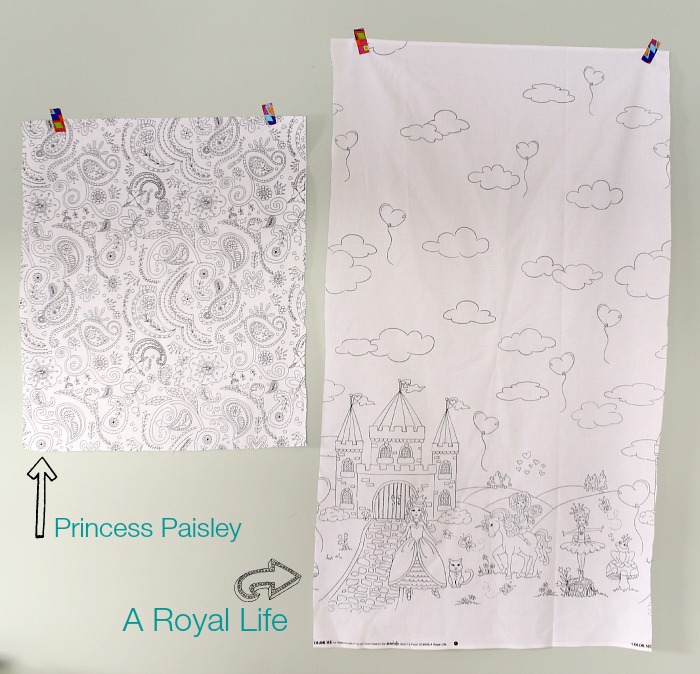
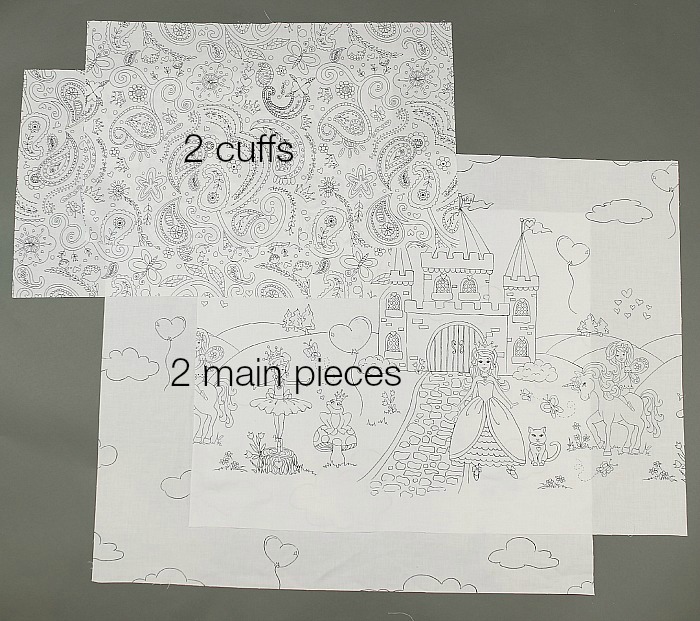
The border print fabrics from my fabric line run from selvedge to selvedge, as shown in this photo. The best part about this is that you can cut that fabric in half and use the main picture as the front of the pillowcase and then the upper part of the fabric for the back of the pillowcase! Then, the allover print can be used for the contrasting pillow case cuff.
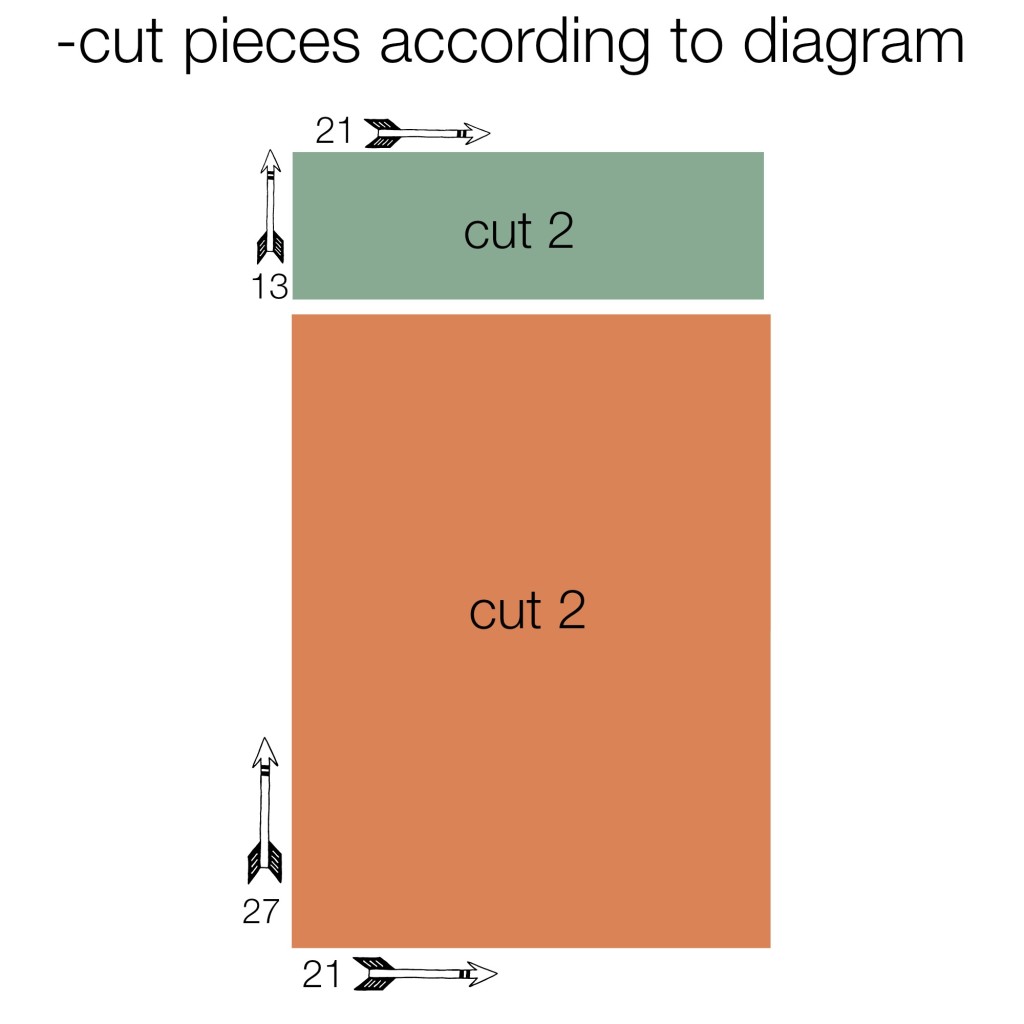
You will cut:
-2 cuff pieces: 13 inches tall by 21 inches wide
-2 main pieces: 27 inches tall by 21 inches wide
For the main piece, be sure to pay attention to which way the picture is running. You will want the picture to run side to side of the finished pillow case.
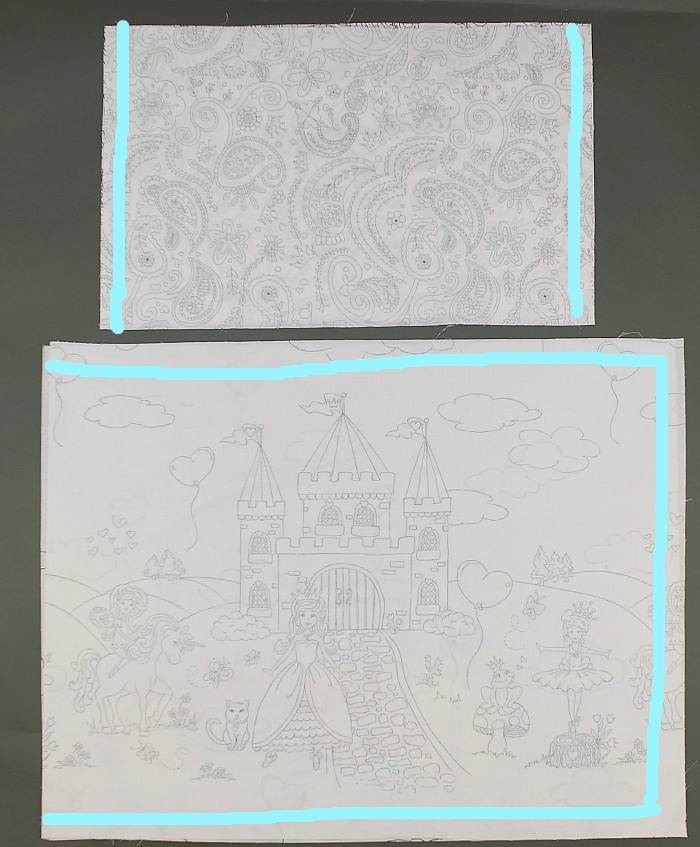
With right sides together and a 1/2 inch seam allowance, sew the cuff pieces together along the 2 short edges, as shown by the blue lines. Finish the seams by using a zig zag stitch or serger. Turn right sides out and press seams.
With right sides together and a 1/2 inch seam allowance, sew the main pieces together along the 3 sides, as shown by the blue lines. Be sure to leave 1 short end open. Finish the seams by using a zig zag stitch or serger. Turn right sides out and press seams.
Once the cuff pieces have been sewn together, fold it in half with wrong sides together. The cuff piece will now be 6.5 inches tall. Press seams.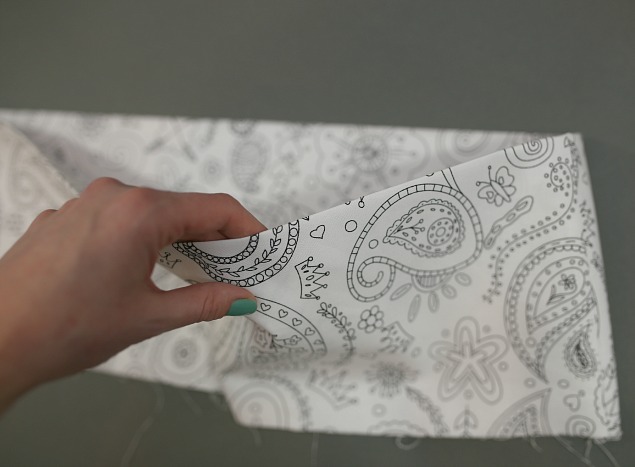
Slide the cuff piece onto the open end of the main pillow case. Make sure to line up the raw edges of the pillow case and the cuff. Sew together with 1/2 inch seam allowance. Finish seam with a zig zag stitch or serger.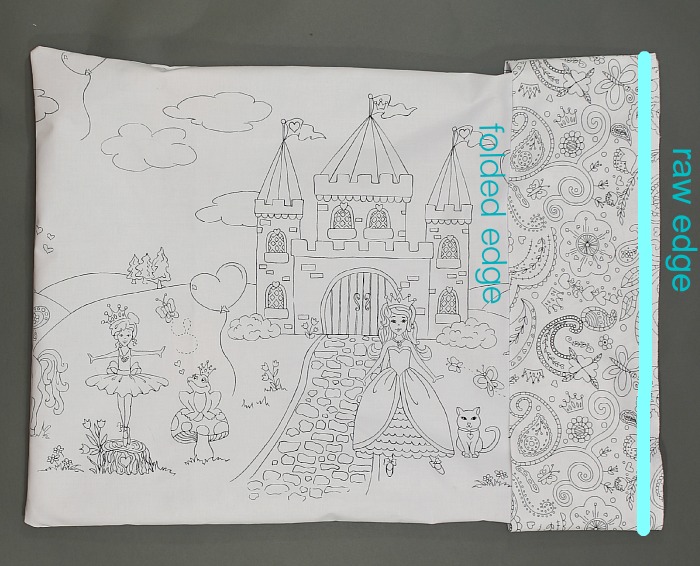
Flip the cuff up. Press seam towards the main pillowcase. Topstitch the seam.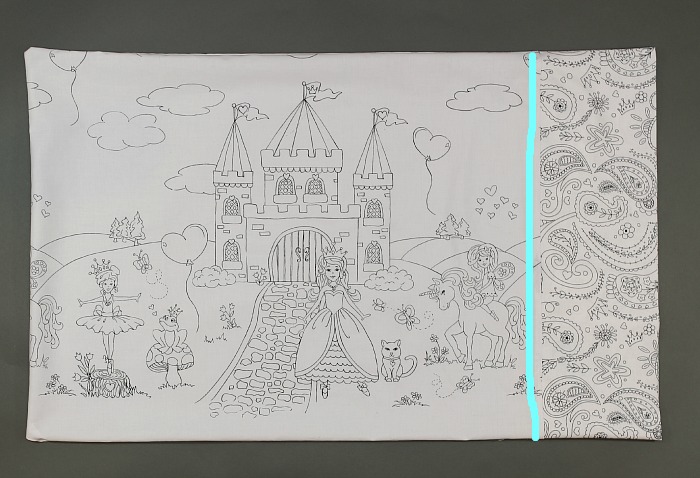
Close up of the topstitched area.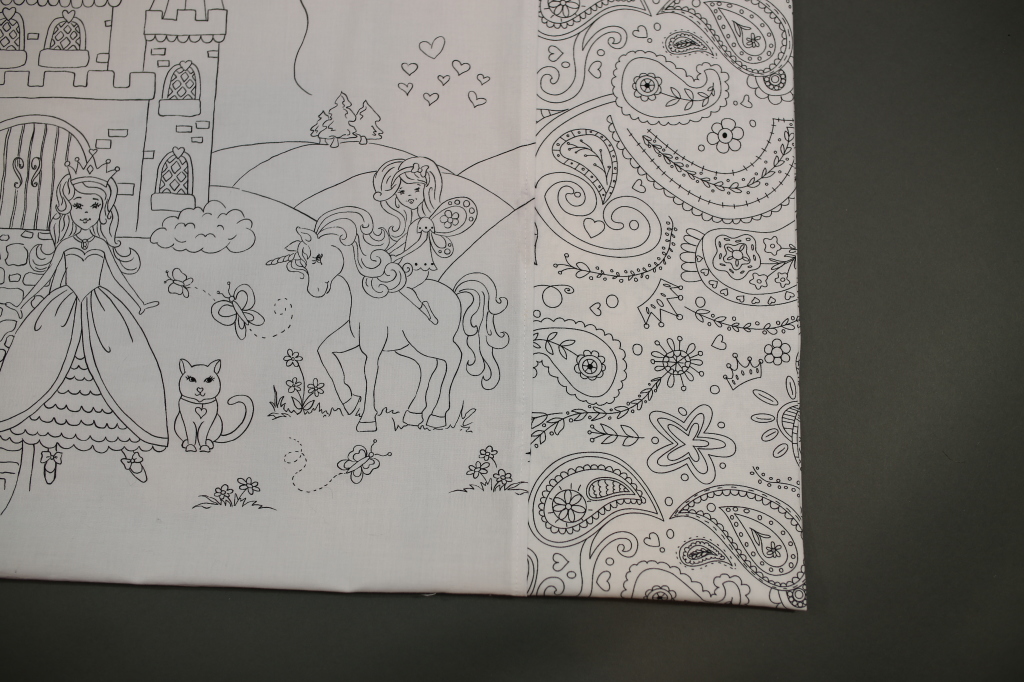
You are all finished! As always, let me know if you are confused or have any questions. I am always happy to help!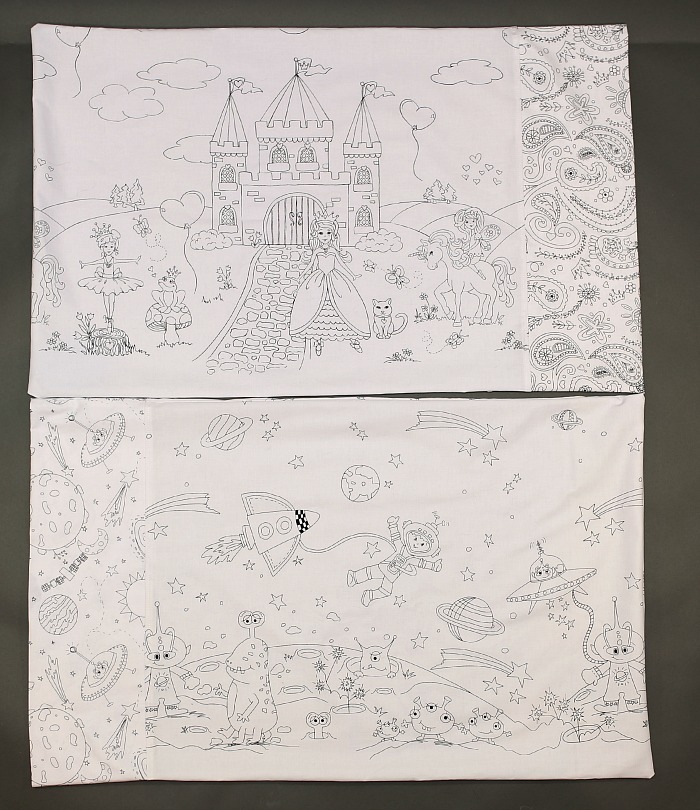
Here is what the backs look like.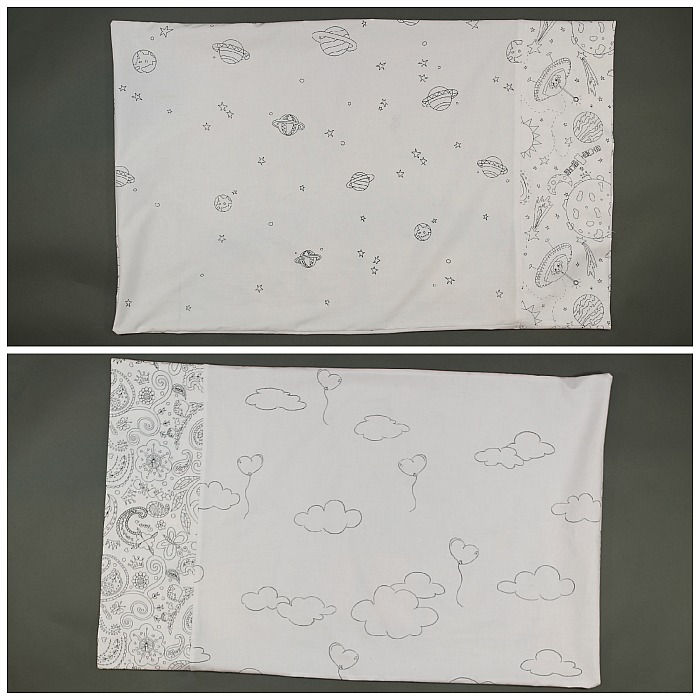
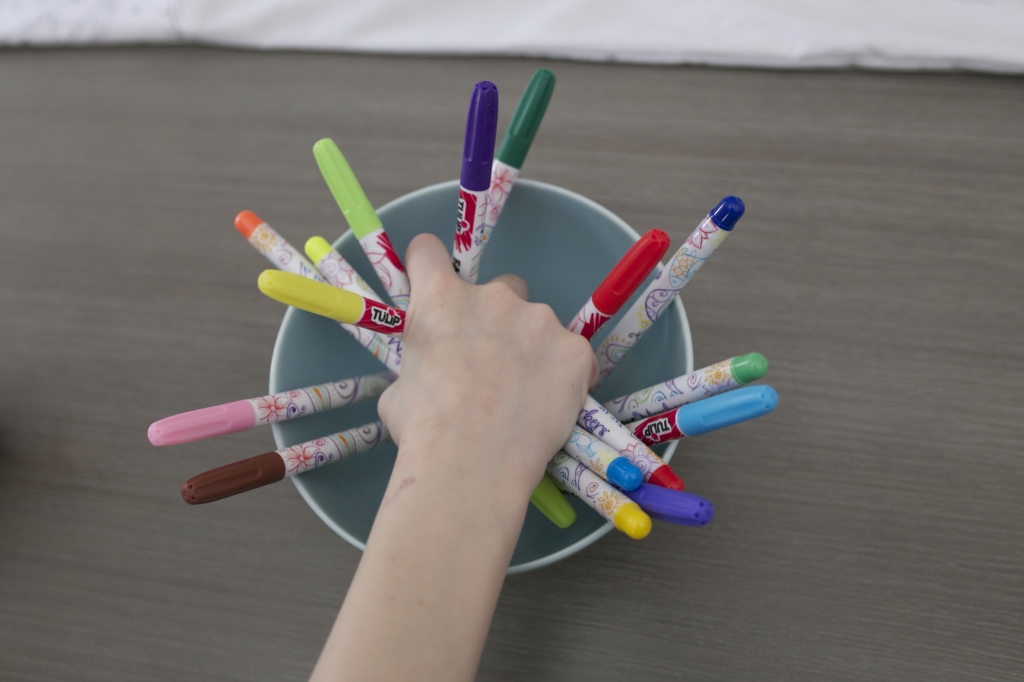
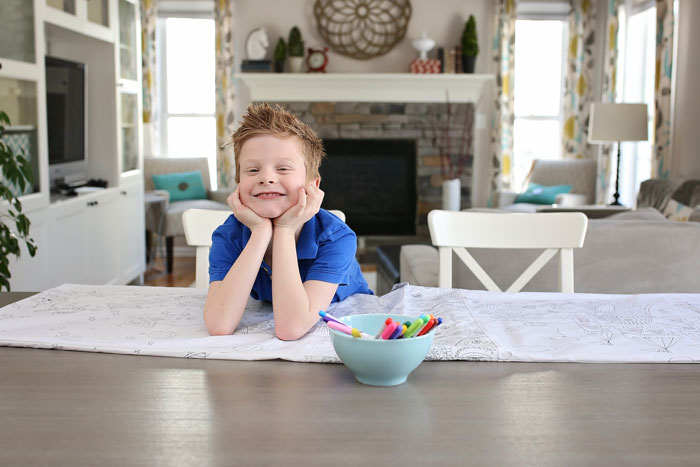
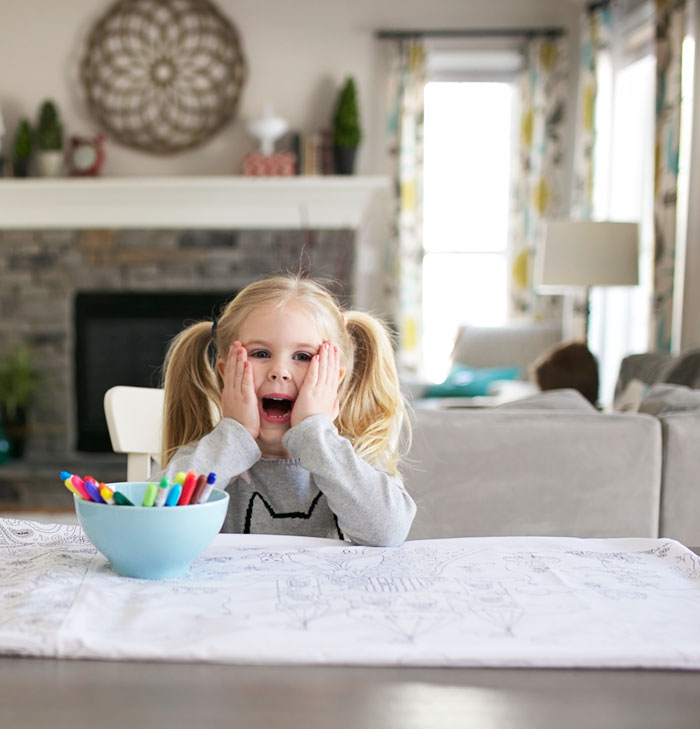
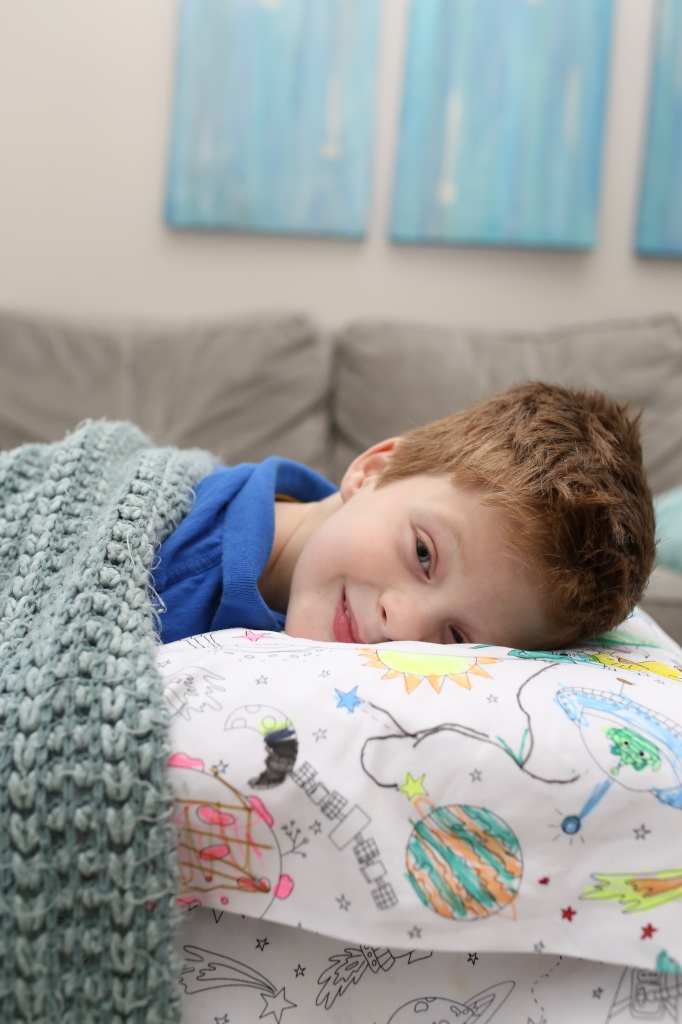
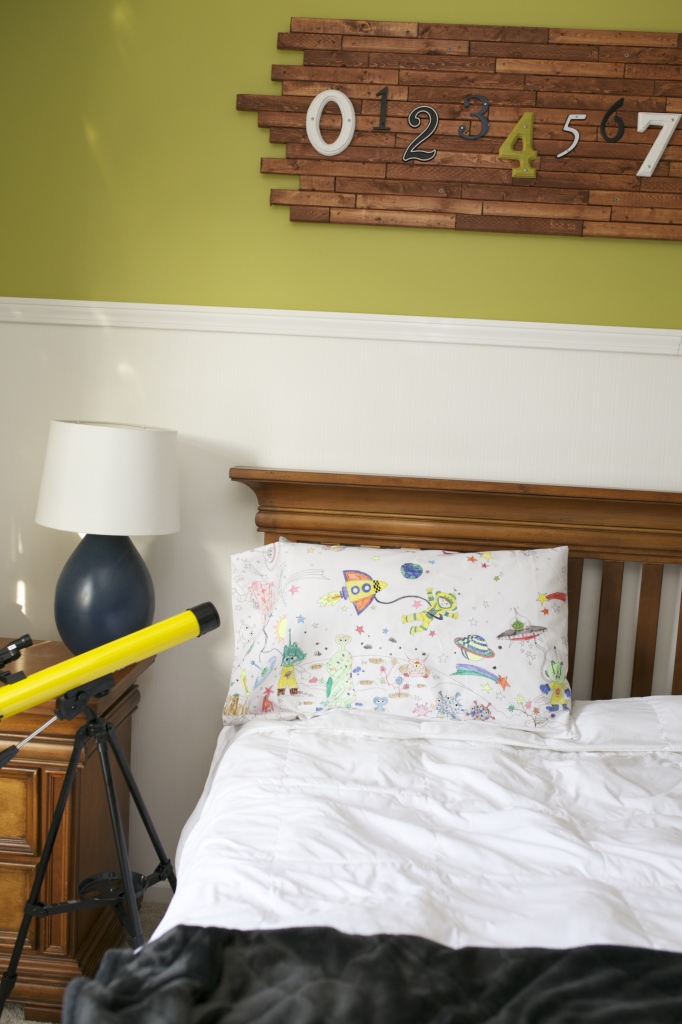
Time to get started on coloring! Prewashing and drying the fabric is recommended to shrink to size and to remove anything on the fabric. Once the fabric has been colored on with fabric markers, simply wash on cold/gently and hang dry to retain the vibrancy of the colors!
Before coloring, cut some cardboard to size and slide into the pillowcase. This will not only prevent bleeding of the markers, but also give a sturdy surface for coloring.
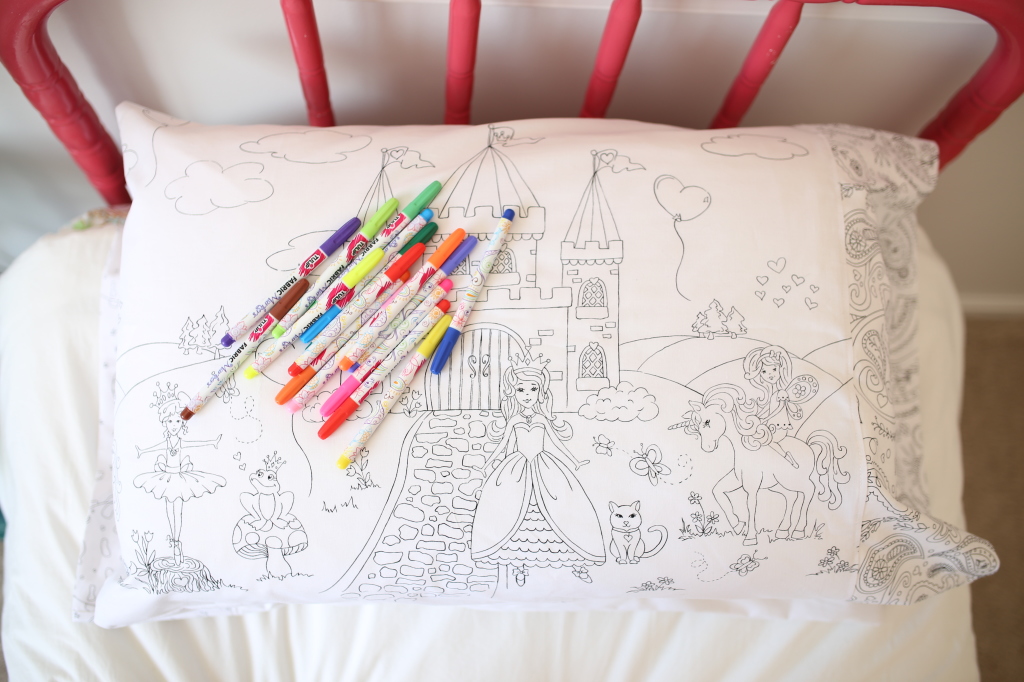
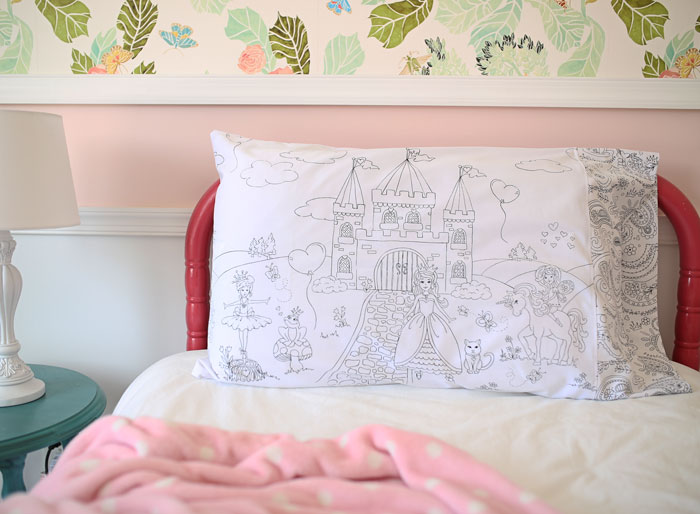
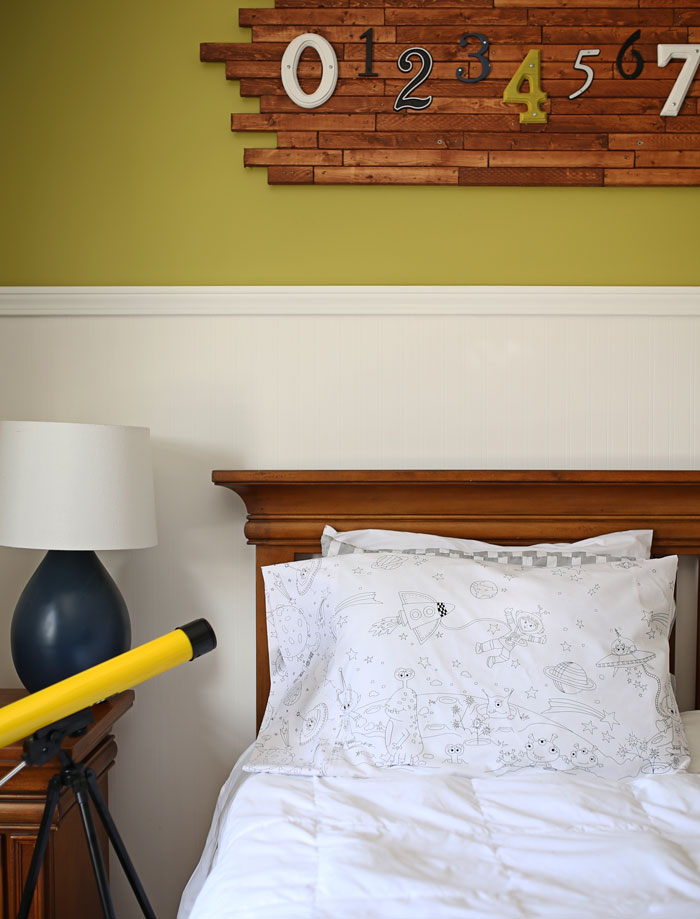
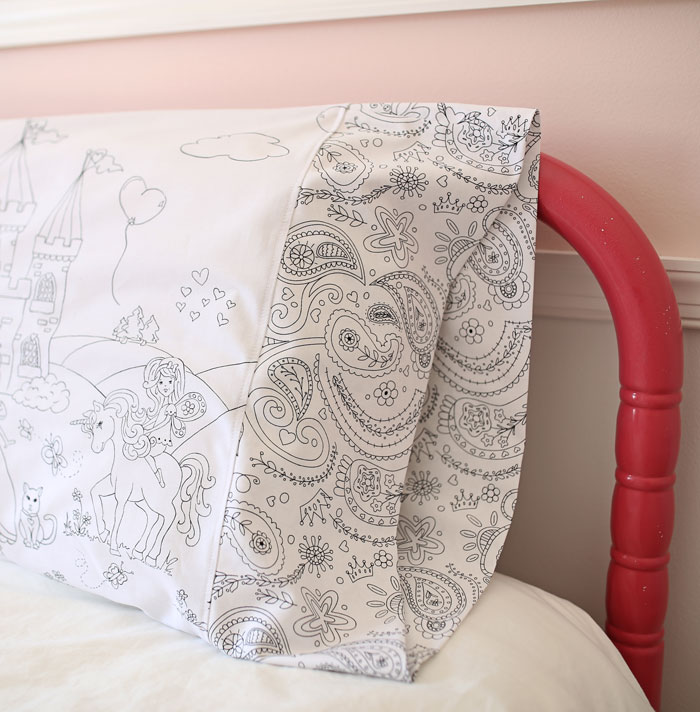
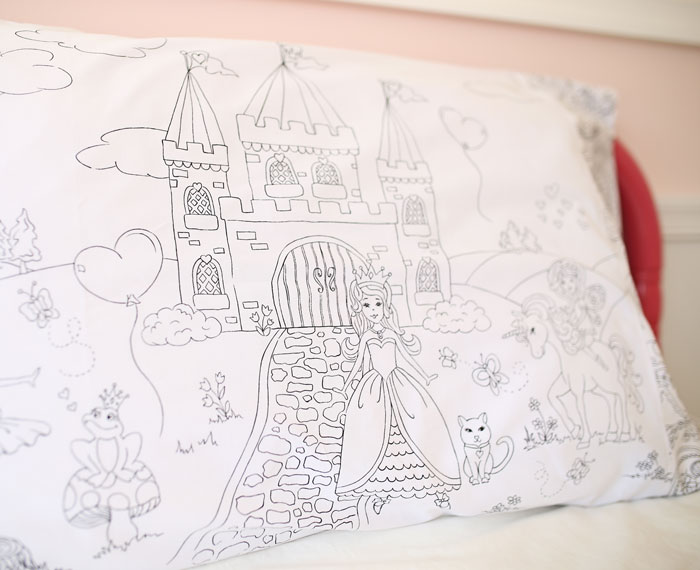
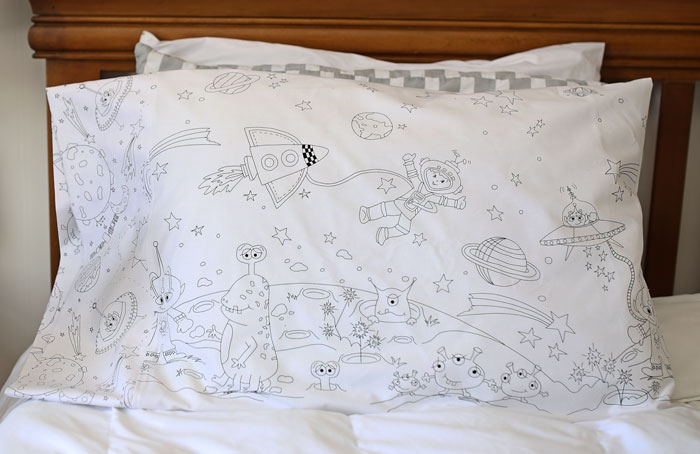
Let the kids go wild!
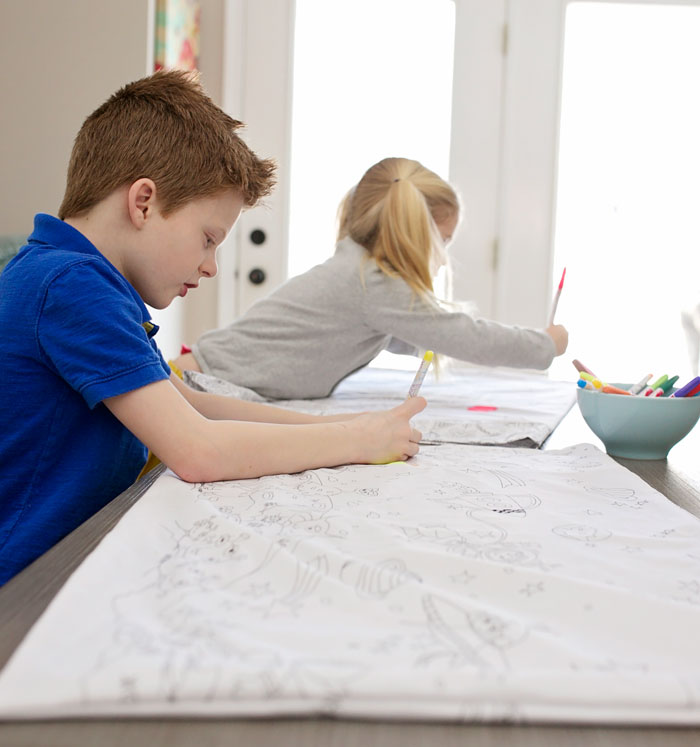
Thanks again for everyone’s support! I never imagined it would be so popular…. I promise to return all emails/messages this week. Thanks!!