How to Make a Kaleidoscope

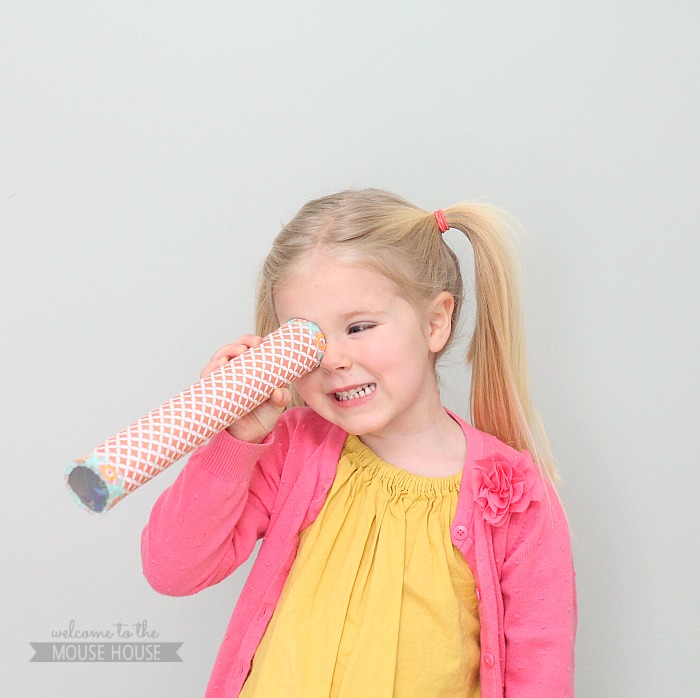
Learn how to easily make a kaleidoscope, using items you probably have lying around the house! Who doesn’t love a fun kaleidoscope, right?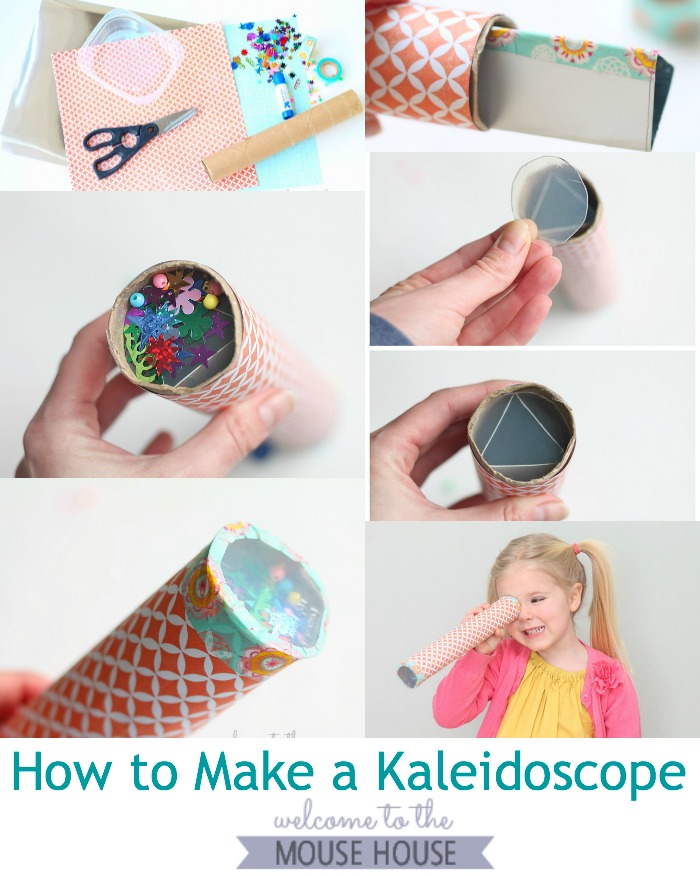
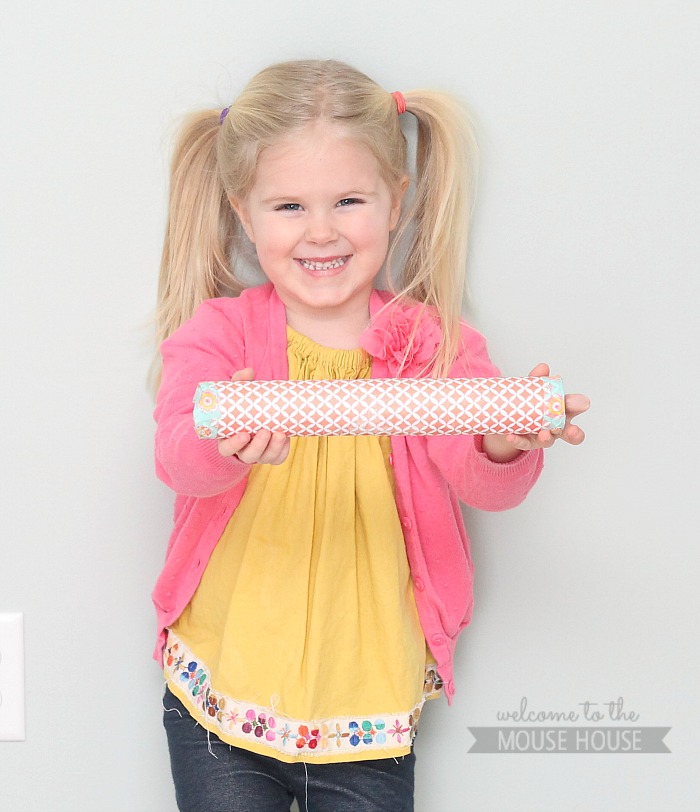
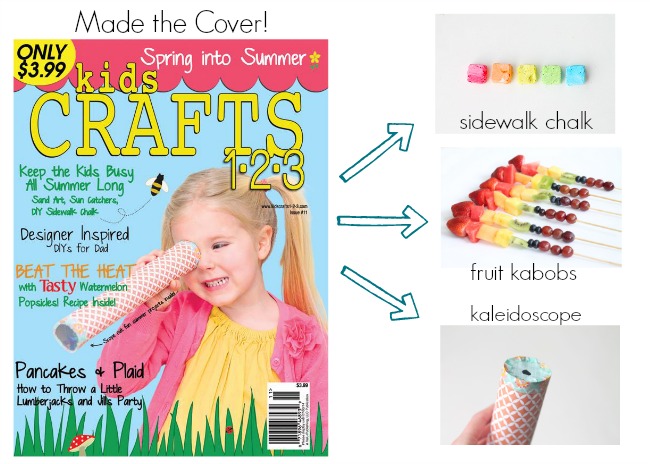
I am finally sharing the details of an article I had written months ago for Kids Crafts 1-2-3… look at the cutie pie that made the cover!
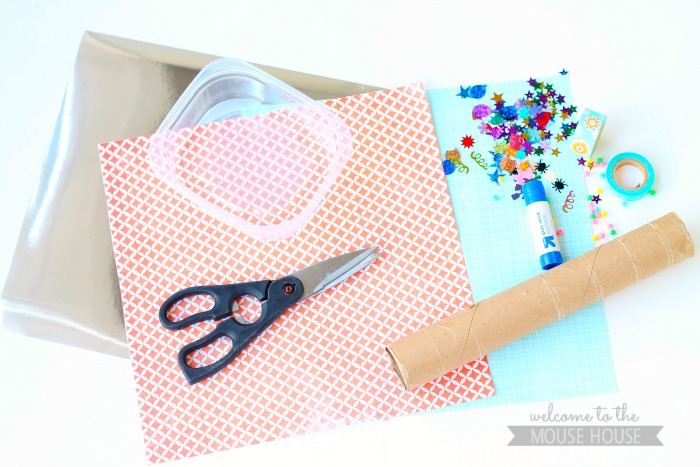
First, gather your supplies. You will need:
*plastic container that is easy to cut (I used a ziploc container)
*paper towel roll
*scrapbook paper
*reflective scrapbook paper or foil
*glue stick
*washi tape or craft tape
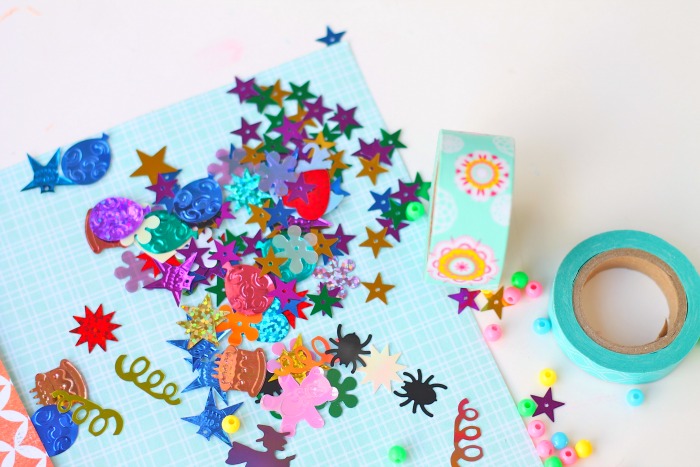
* glitter, confetti, or beads
*scissors
Cover the paper towel roll with scrapbook paper. Secure with a glue stick.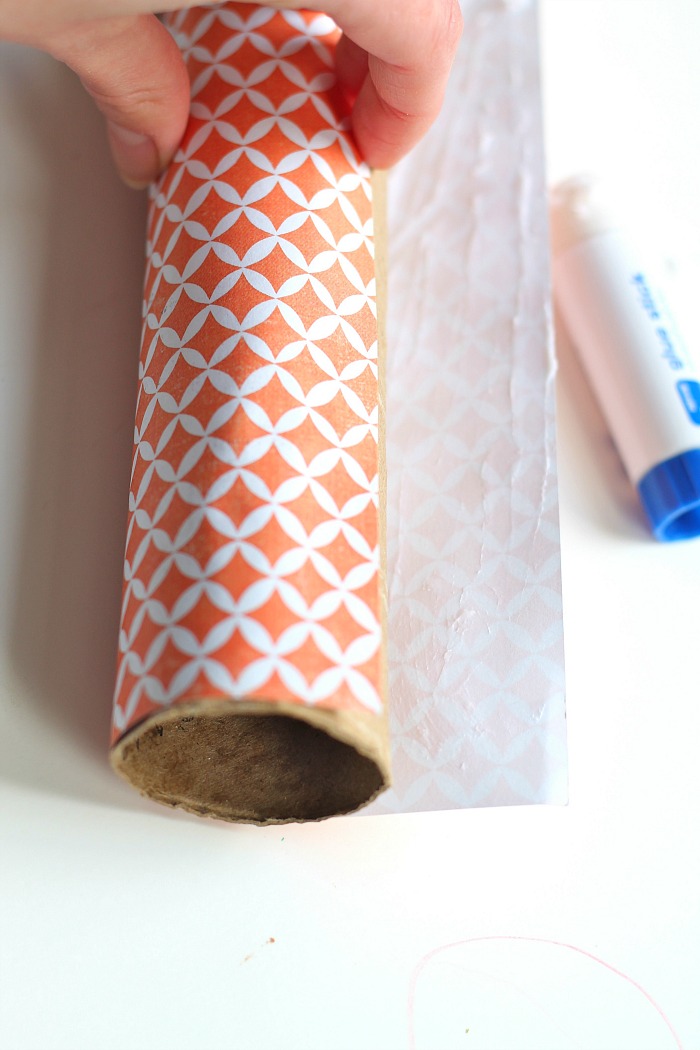
Cut the piece of reflective paper to 10.5 inches by 4.25 inches.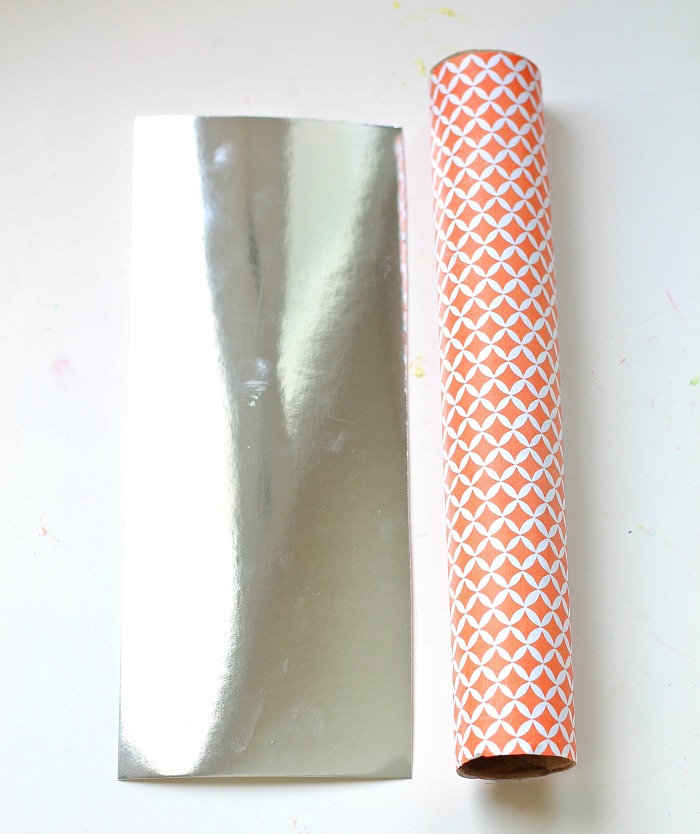
Fold the reflective paper into 3 equal parts to create a triangle, with the reflective part inside. Secure together with tape.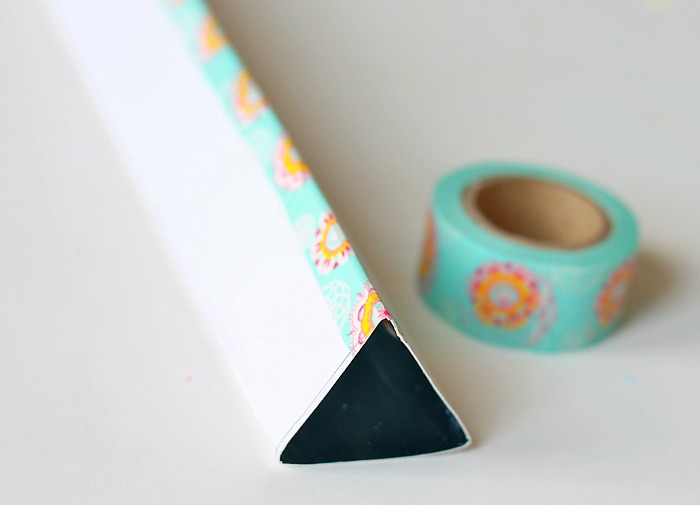
Insert the triangle into the roll. One end will be aligned with the bottom of the roll and the other end will be about .5 inches from the top.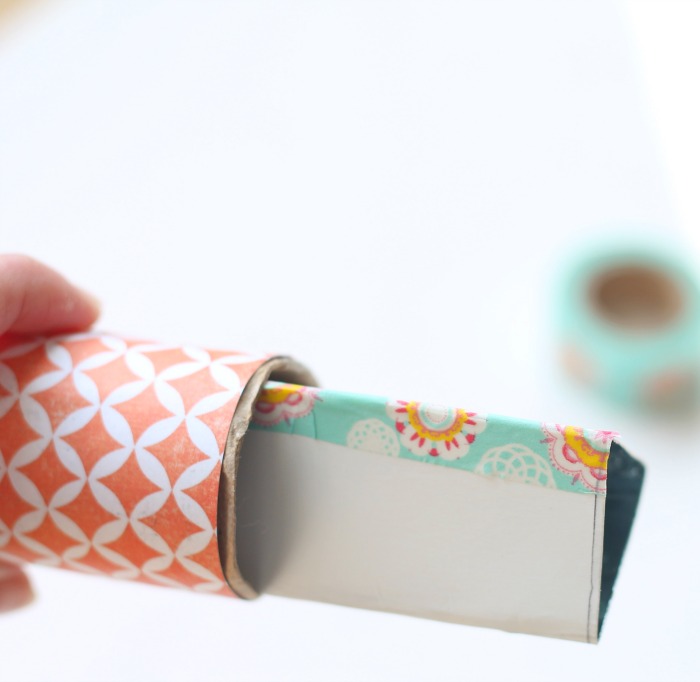
Using the paper towel roll as a template, cut 2 circles out of the plastic container. Place one inside of the paper towel roll, on top of the triangle. 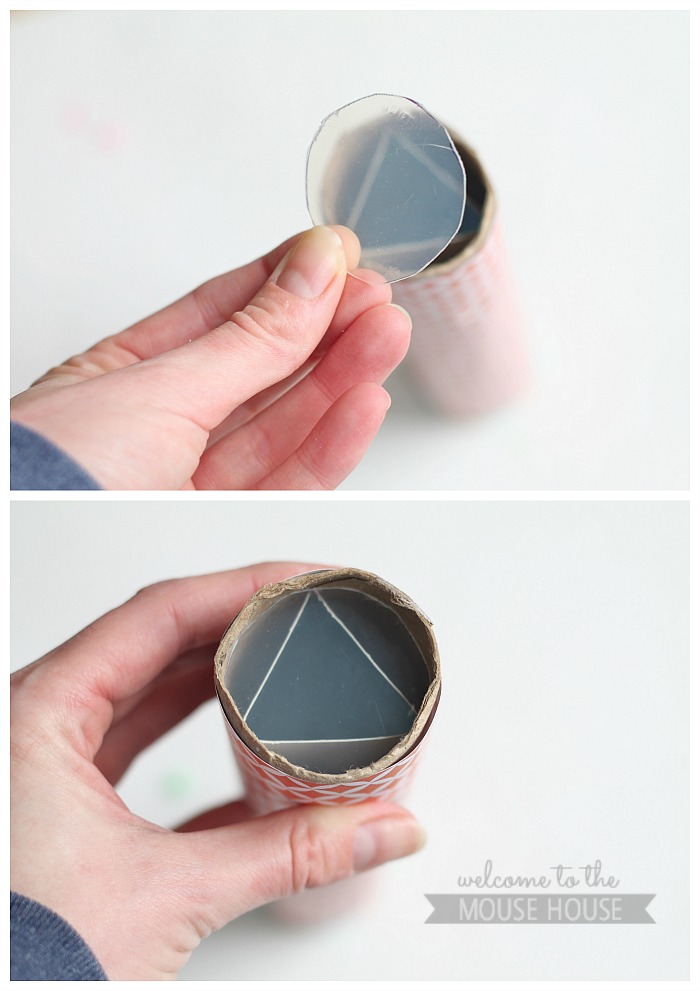
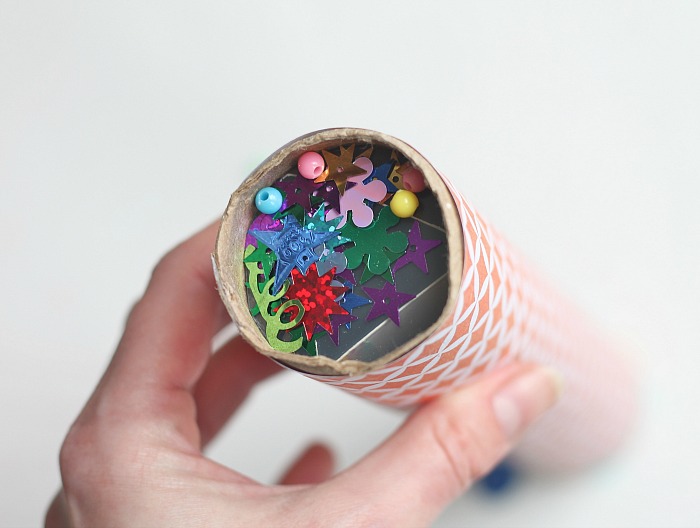
Place glitter, beads, or confetti on top. It should be full, but not so full that they won’t move around.
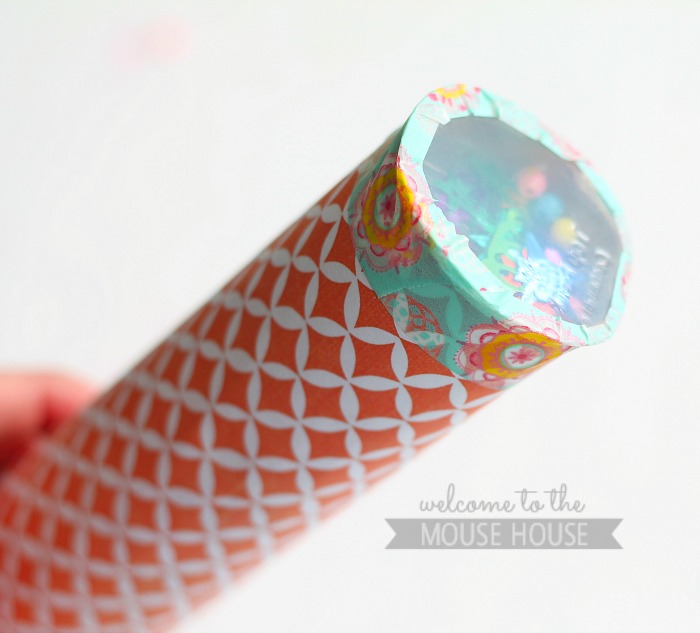
Place the second plastic circle at the end of the paper towel roll and secure with the decorative tape.
Using the paper towel roll as a template, cut a circle out of scrapbook paper. Cut a hole in the center.
Place on the other end of the roll and secure with decorative tape. This is the end that you look through.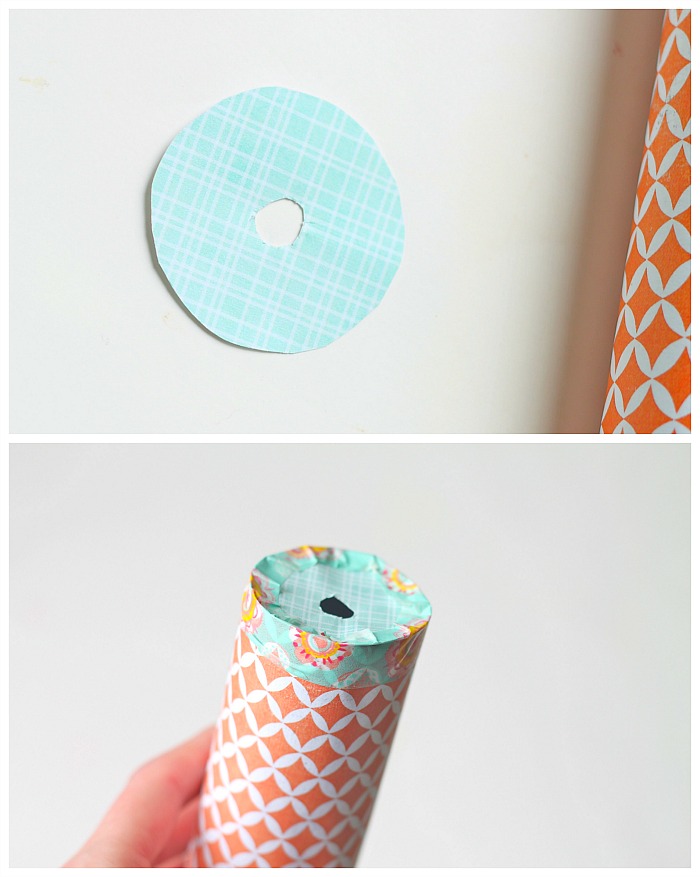
All done!
Point towards a light source and enjoy!