
Easy DIY Wooden Tree Painting: Tutorial!

Finally! My internet is cooperating! Want a new Mouse House Tutorial? You do? Awesome!
You want to make this awesome artwork too? What a coincidence! I just made one today!

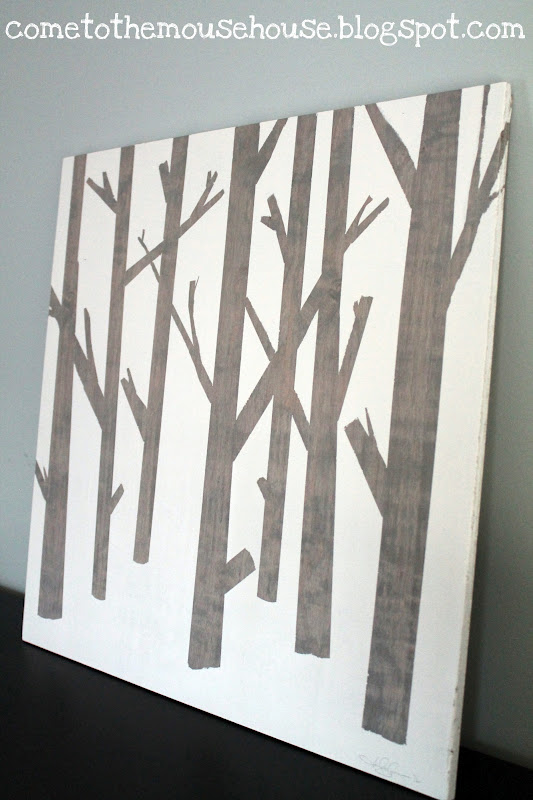
How to Make Easy Wooden Tree Art
I can’t claim this idea as my own! I originally saw something similar in my monthly Lowe’s catalog (yes, I am one of those people that actually read the monthly home improvement magazines cover to cover:) However, they didn’t exactly give the best step-by-step instructions on how to do it, so I had to come up with most of the steps on my own. Lucky for you, I am going to share the process!
Materials Needed:
*2×2 sheet of birch plywood
*fine grit sandpaper
*small, teeny amount of wood stain in your color choice
*white/cream paint, very small amount
*paint roller
*lint-free rag
I bought my sheet of 2×2 plywood from Lowes. You will want a sheet of plywood that is stain grade (basically, you don’t want any of the crappy pressboard or subfloor stuff). This sheet cost me $8.
Gather your supplies and get started!

There are MANY choices of wood stains, but I chose this particular color. Later on in this tutorial, I will show you what a difference stain color can make! I personally wanted something light and airy. YOU may want something dark and rich. Go with what you want.

First, lightly sand your entire piece of wood…. sides and front. Go with the grain.
Wipe down with a tack cloth (removes all the dust).
Grab a lint-free cloth ( I used one of the old wash cloths we had in a drawer). Start staining your wood, by liberally applying the stain. By liberally, I mean LIBERALLY.
You want it to look like almost too much stain! (you will go back later and wipe it down).
Go WITH the grain. Don’t forget the sides!

Wait about 5 minutes and wipe down your entire piece with a fresh lint-free cloth.
Again, go WITH the grain!
Let the entire piece dry overnight.
It will be stinky, so keep it in a garage or outside somewhere.

Now for the fun part!
After your stained wood has dried for 24 hours, you are ready to go!
Grab your supplies… stained wood, scissors or Xacto knife, and blue painters tape.

Start laying out your painter’s tape in “tree shapes”. I doubled up the tape for some of the trunks to give them a wider shape. This is the part where YOU get to create your OWN design! I rounded the edges of the bottoms of the trunks to give it a natural feel.
Create branches… overlap pieces, making it feel natural! Make sure to go over the sides too!
Press down all the tape REALLY well! This helps ensure that the paint won’t seep under!

Once you have your pattern laid out, gather your painting supplies. I just used a basic satin latex paint. You need a VERY minimal amount, so try to use what you already have.
You will also need a foam roller brush. Oh, and a paper plate, if you are lazy like me and don’t feel like cleaning out the metal paint tray. 🙂

Using the foam roller, roll paint over the entire piece of wood, including the sides.
IMPORTANT: DON’T SATURATE YOUR ROLLER. LESS IS BEST BECAUSE IT WILL OTHERWISE SEEP UNDER THE TAPE.

Wait about 1- 3 hours
( I can never wait long enough and usually end up tearing off the tape before it is ready:)
Carefully, start removing the tape.
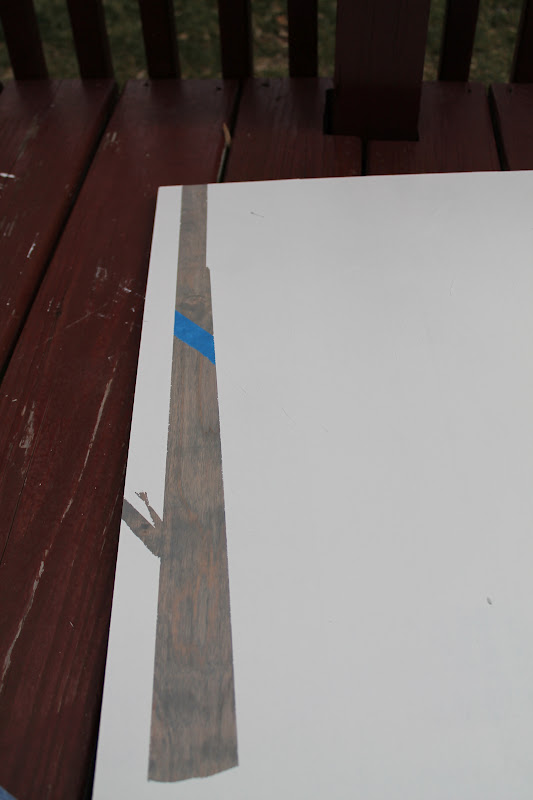
(excuse my paint stained fingernails:)
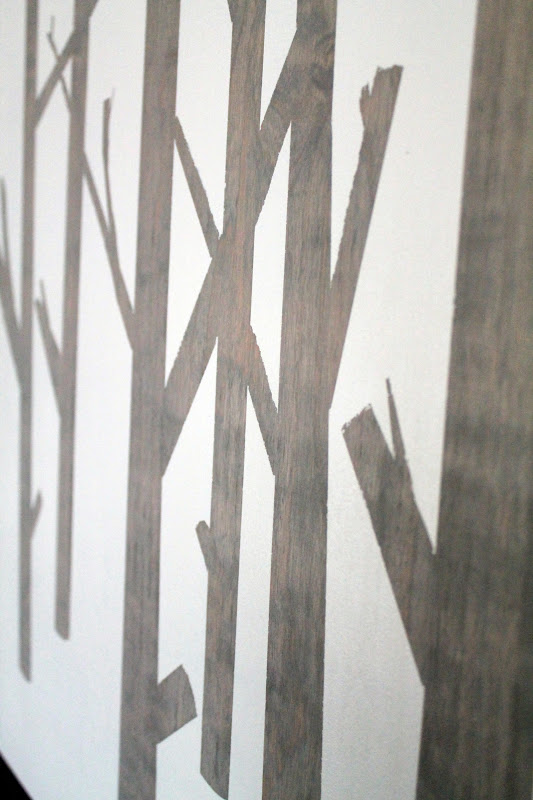
Do you see the gorgeous stain underneath that tape????
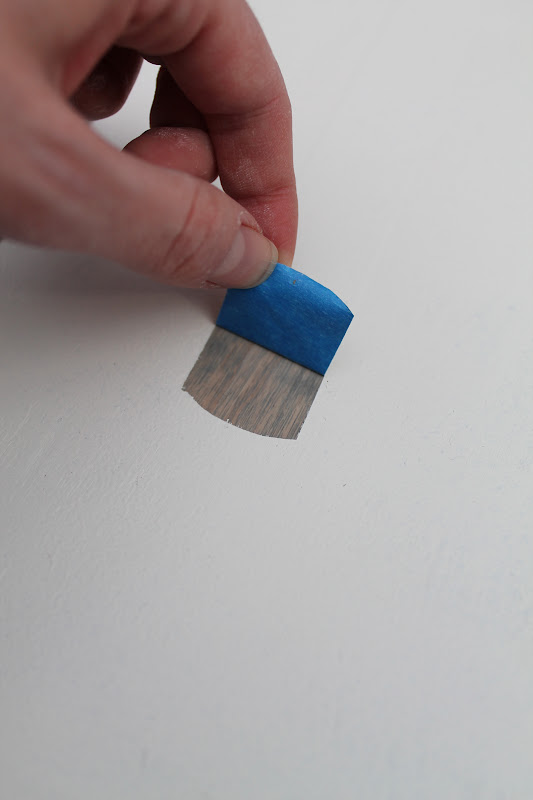
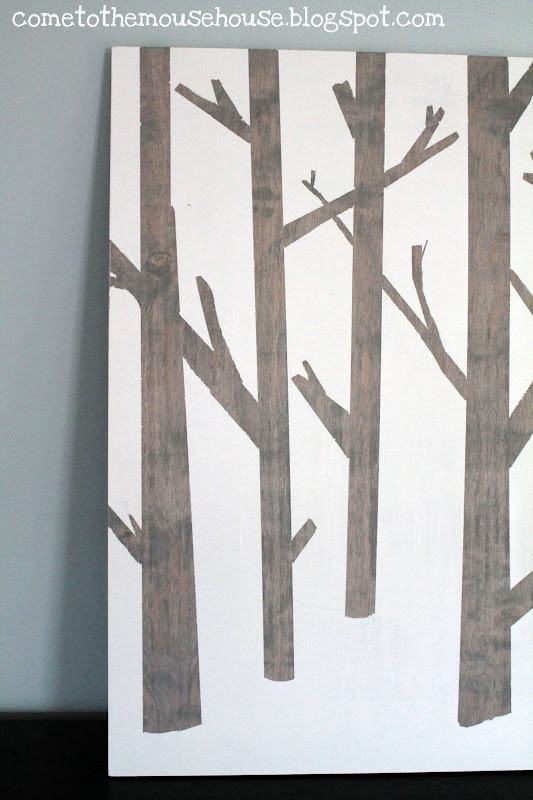
Once you peel it off, you are left with this loveliness!

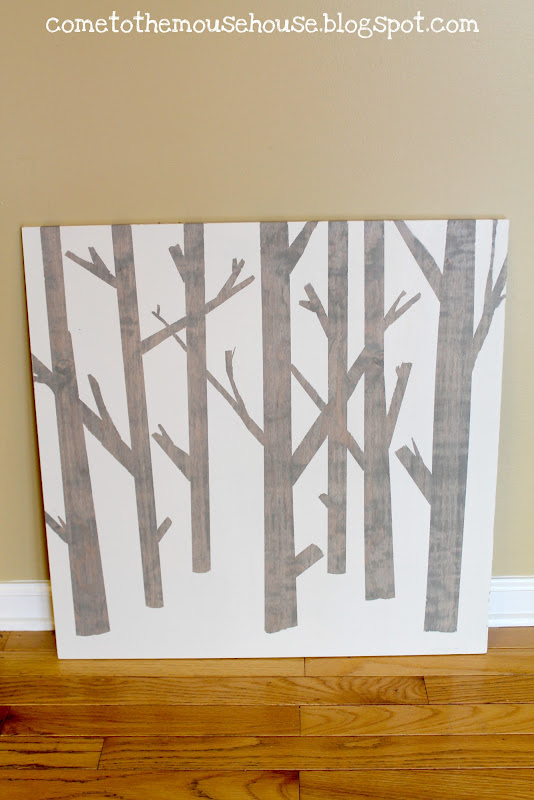
And I crack myself up…. I signed my own artwork, haha.

So, did that help you??? I hope so!
Here are a few other ideas for you…. The stain and paint colors could make a HUGE difference in the outcome! I did a few photo editing tricks to show how different it can look with different stain:
The stain I used:

Using a darker stain would be awesome too!


Hope this helps you guys out! I would love to see your artwork! Post it on my Facebook page.!