Color Me Fabric: Tulip Fabric Markers and How – To’s

Several months ago, I launched my fabric line “Color Me” in collaboration with Michael Miller Fabrics and the response was phenomenal and better than I ever expected. In fact, the response was so great that we have SIX new designs that will be released early fall 2015. How cool is that? I am now a listed designer over on their website and let’s just say, I think it is one of the coolest things ever.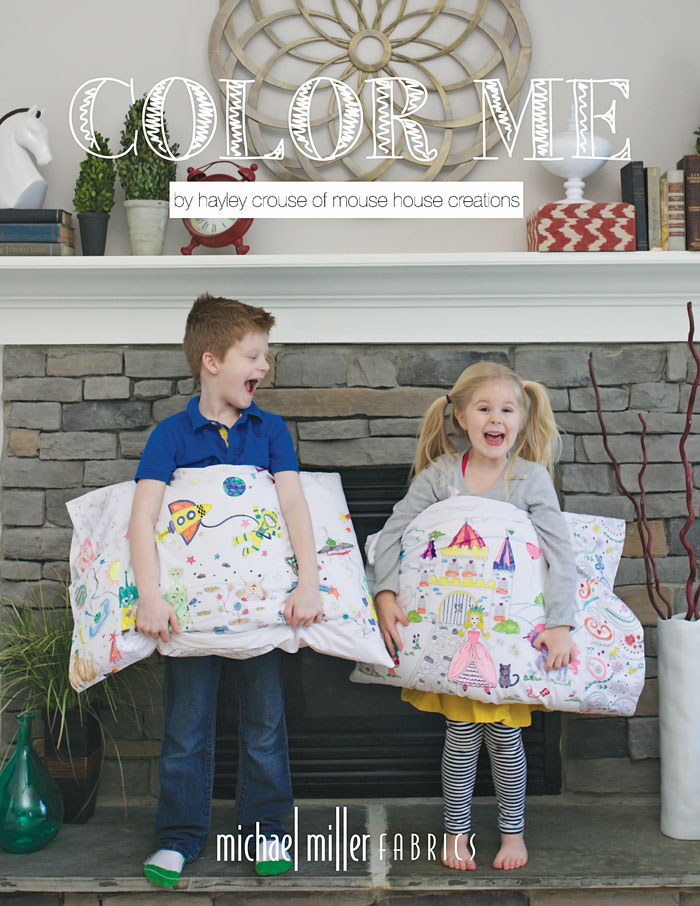
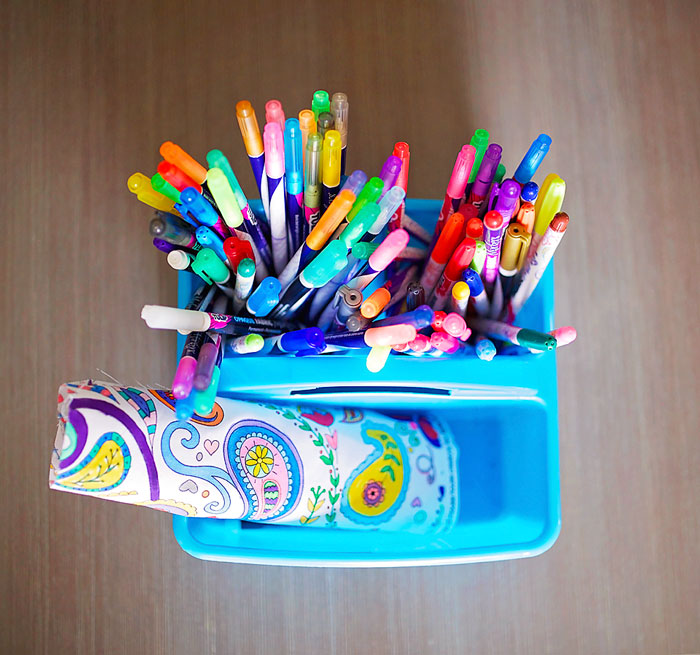
Since the release, there have been lot of questions asking HOW to properly color the fabrics and take care of them afterwards, so I decided it is time to create a whole post devoted to that! The lovely people from I Love to Create sent me a box full of their awesome Tulip fabric markers to demonstrate the possibilities.
Here are some answers to the most popular questions I receive:
Do I need to prewash the fabric first?
*It totally depends. If you are making a clothing item that will get washed and dried afterwards, it is always best to prewash to avoid shrinkage afterwards. I would advise against using dryer sheets prior to coloring, though. Pre-washing isn’t mandatory and doesn’t seem to make a difference in the end result, in my experience.
How do I care for the fabric after coloring?
*After coloring with fabric markers, I let it sit for at least 24 hours. It doesn’t need to be heat set, but if you feel more comfortable doing so, throw it into a hot dryer cycle. When ready to wash, wash on a cold, normal cycle. Either hang dry or dry on low.
What kinds of markers should I use for best results?
*There are many fabric markers on the market. I would recommend Tulip Brand fabric markers. They are permanent and produce great results. I have not tried the other brands, so please let me know your experiences with them! Customers have tried washable markers and have had good results with them washing out, creating a reusable item.
Please email me at hayley@welcometothemousehouse.com if you have additional questions and I will add them here!
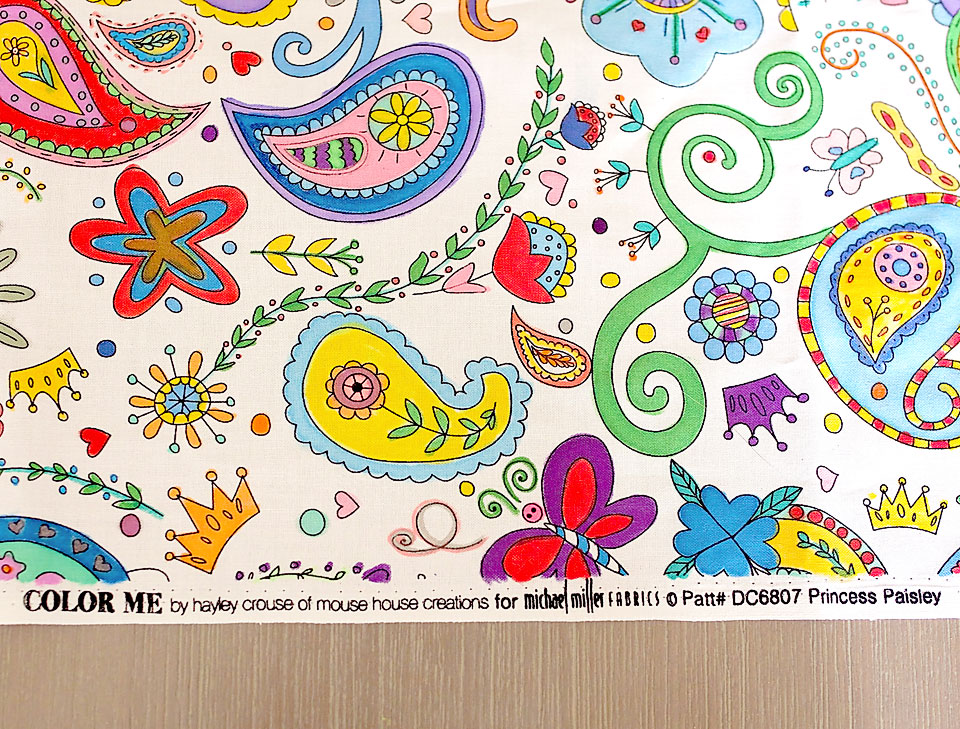
Now, to show off what I colored in. I think this will be a fun section to frame and hang in my studio. I had a great time coloring this in! Look at how vibrant the colors are.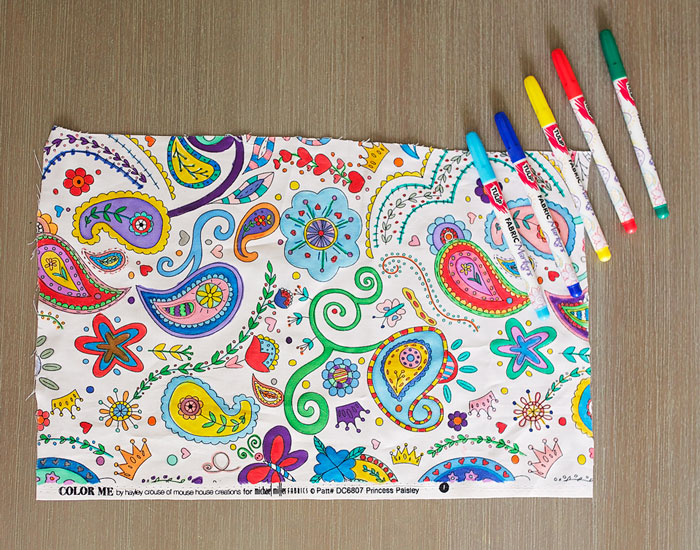
The Tulip Markers come in many different tip sizes and shapes. Here are just a few of them demonstrated.
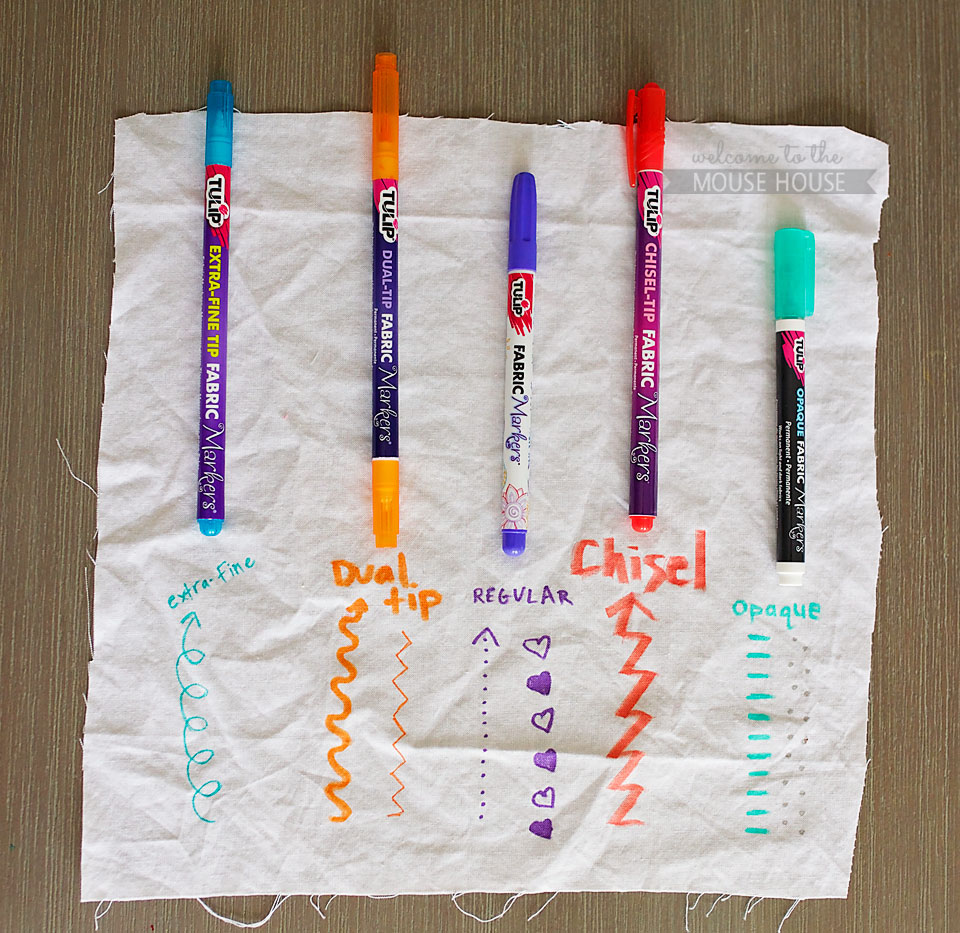
My favorite one was the dual tip. The larger end of it reminded me of using a paintbrush. It was super smooth and I love how well it colored in the bigger areas. Most of this was colored in with that style.
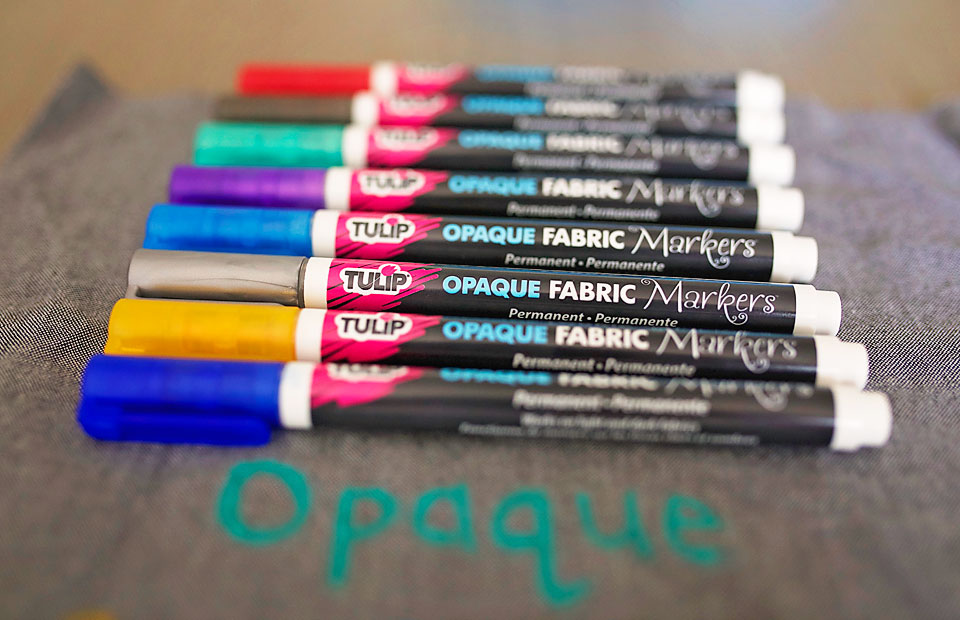
My second favorite were the opaque markers. These are SO cool and can even color on darker fabrics. They are like fabric paint, almost. I can’t wait to use these on other projects. I want to use them on a dress for Ainsley…. maybe soon.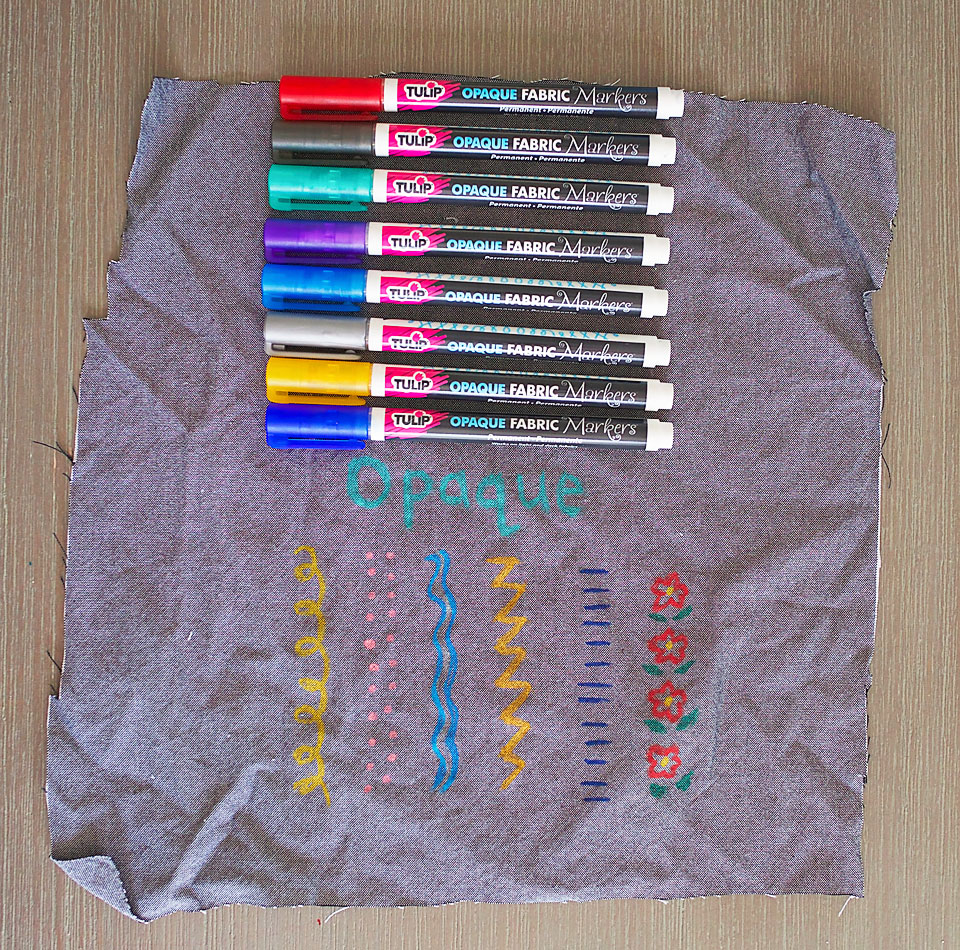
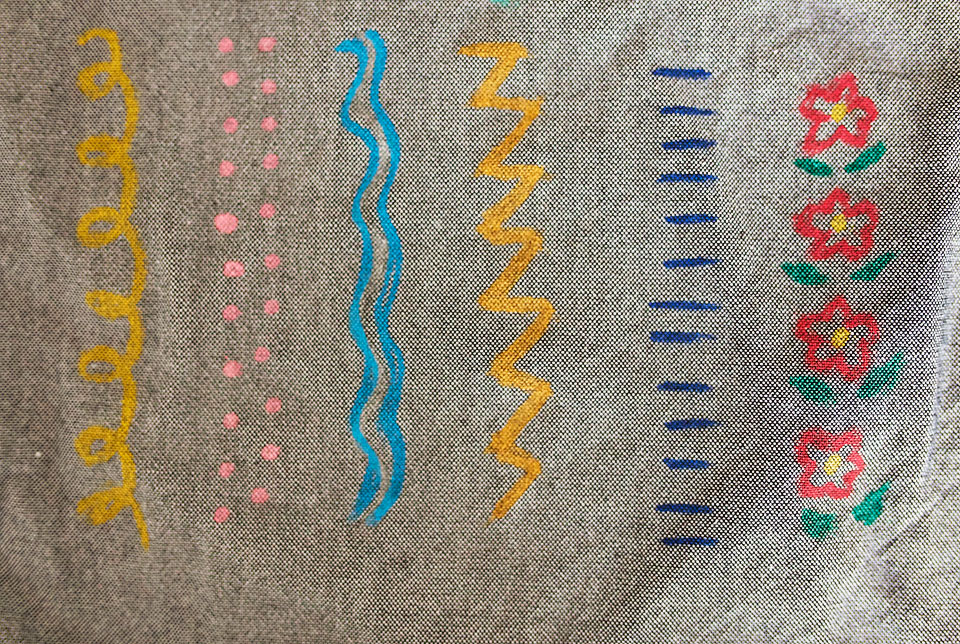
The chisel tip markers are also super great for small and large areas. They aren’t as smooth as the dual tip ones, but they are awesome for more control.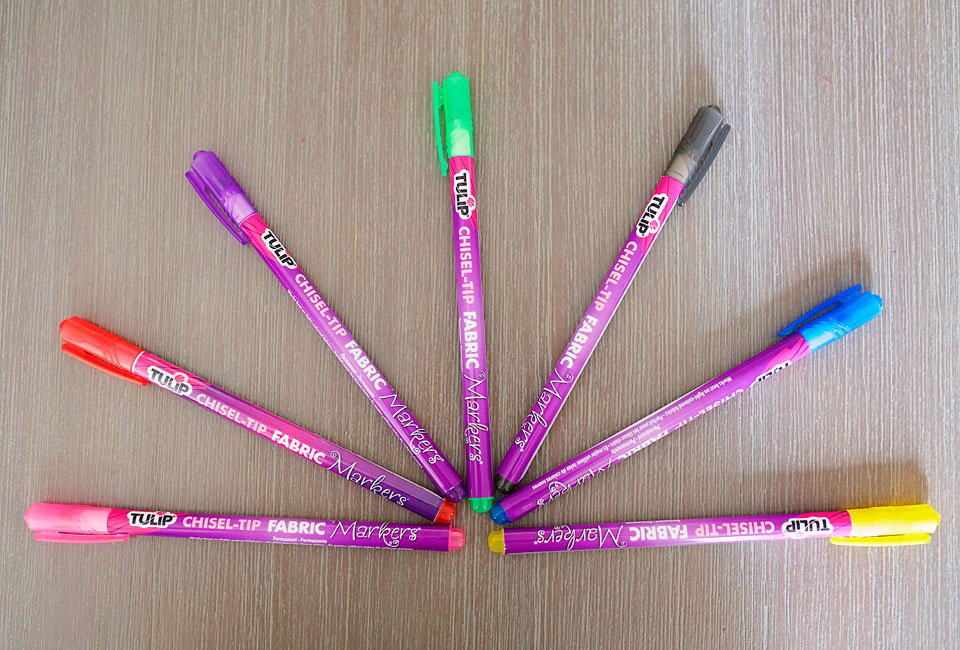
Finally, the regular versions are fabulous, as always. The tip is about the size of a Sharpie marker and they come in a fabulous range of colors, including neons. Ainsley loved these the best.
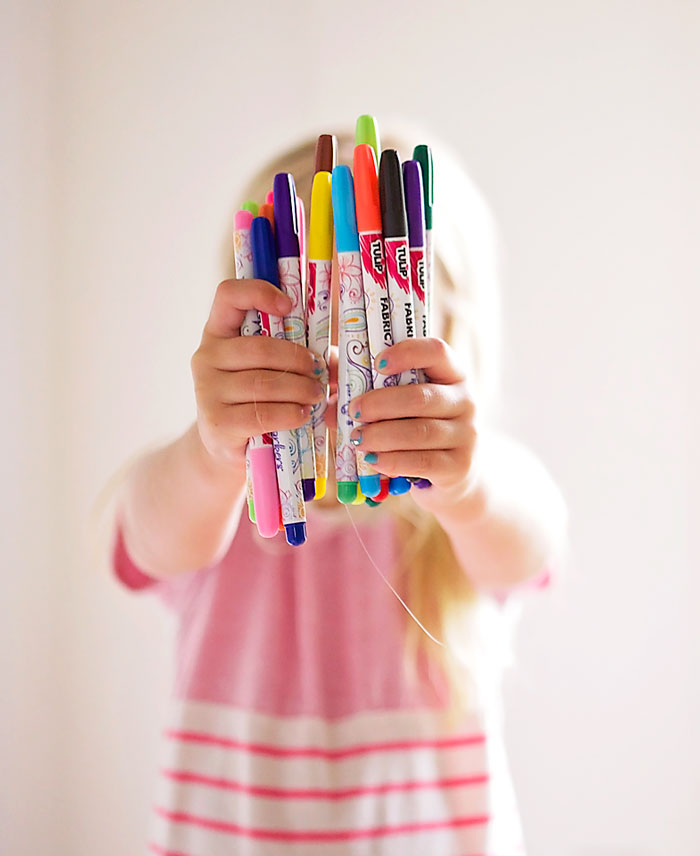
I just adore the color range!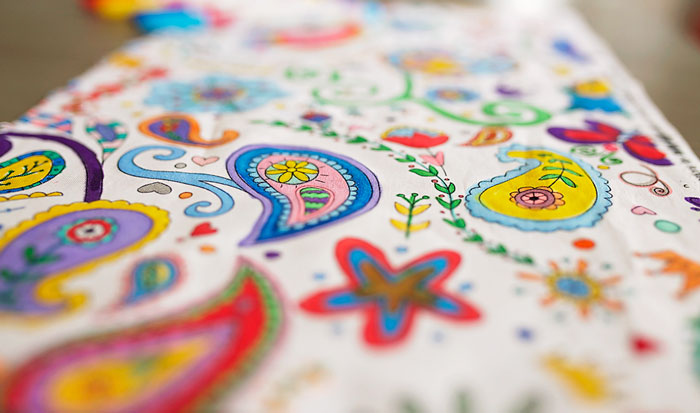
Thank you I Love to Create for letting me try all of these out. They will certainly be well-loved.
Make sure you check out the Tulip Fabric Marker section to check out all of the different types you can buy!
Have you created something using my fabrics? If so, please feel free to hashtag your projects on social media using #colormefabric so that I can see them!