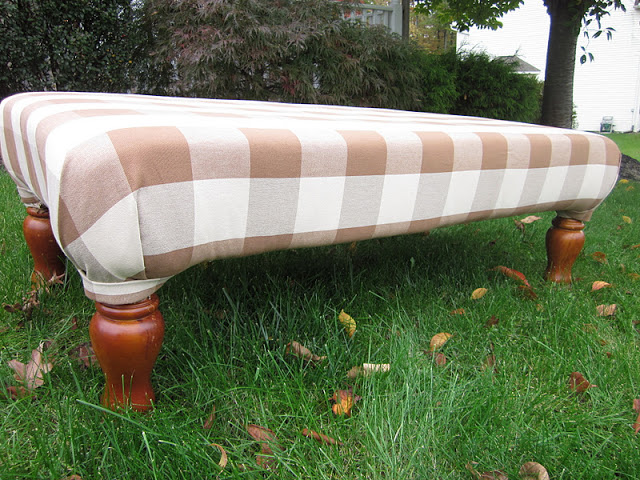
DIY Tutorial: Coffee Table into Upholstered Ottoman/Cocktail Table

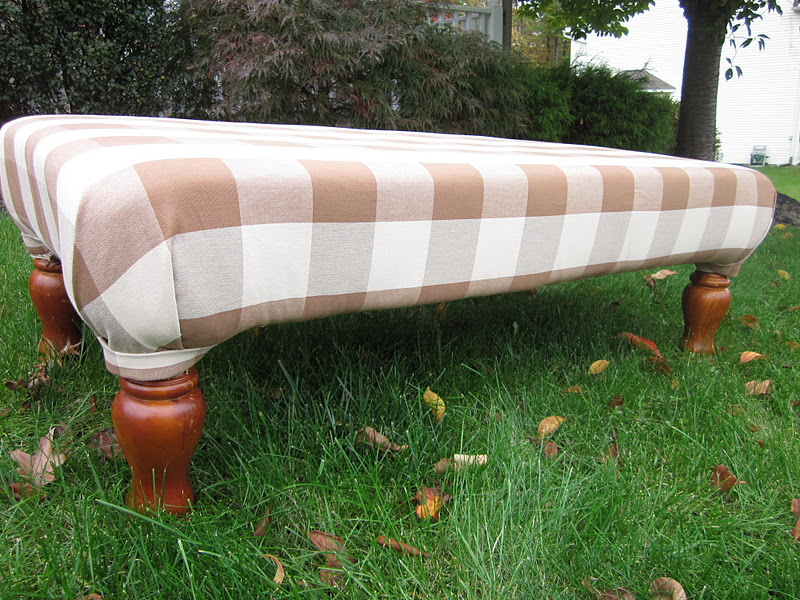

I had been eyeing up a particularly expensive ottoman at Pottery Barn, but I KNEW that it was something I could do at home, without spending a fortune, so I jumped into it and decided to also create a tutorial for everyone else that may want to do the same. My ONLY requirement is that you share the pictures of your finished product on my facebook page 🙂 ( www.facebook.com/mousehousecreations) Okay, so it isn’t actually a requirement, but I love seeing pictures of other people’s projects!
So, let’s begin 🙂
To start with, I had a very old, fairly crappy coffee table stored in my basement. One thing you want to look at is the legs on your table. My table had great legs (I wish people said that about me!) so I knew it would work for this project. If you don’t happen to have a coffee table just stashed away at your house, perhaps check your local Craigslist or Freecycle for a cheap (or Free!) coffee table.

Measure the length and width of your coffee table top to determine how much foam to purchase. You will also need foam for the sides of your table if it is anything like mine was, so take that into account when purchasing your foam. I needed 2 yards of 1 inch foam for my table. I waited until the foam was 50% off at my local craft store because foam can get very pricey! (2 yards of this foam was about $17).
You will also need quilt batting. A twin sized bag of batting should be plenty, but I just happened to have the king size on hand.
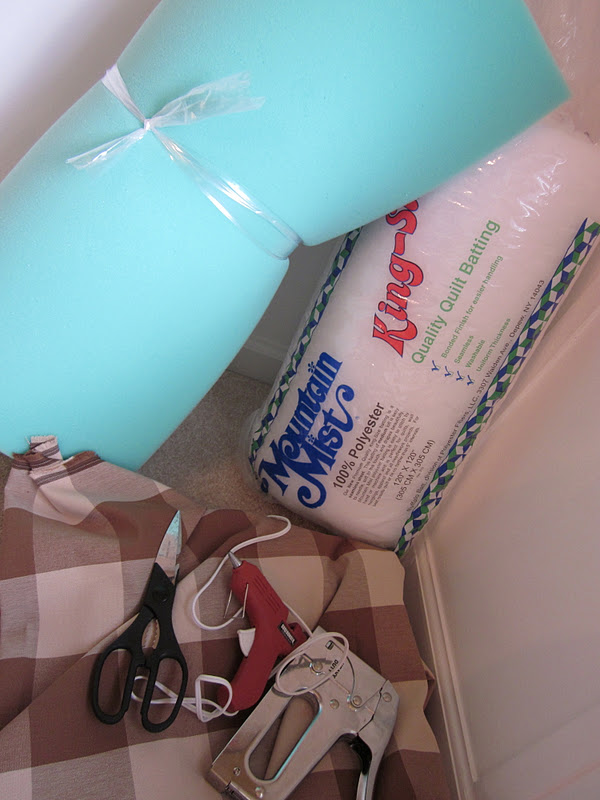
Also, determine the amount of fabric you will need. It will need to be long enough and wide enough to be able to go under the table top. Home Decor fabrics generally run at least 54 inches wide, so this is your best bet. I happened to find an amazing deal on www.ballarddesigns.com (love!) and this particular fabric only cost me $4.99 a yard, which is absolutely unheard of for that particular store (this fabric is normally $26 a yard!!!) I used about 1.5 yards of fabric for this table.

Keep in mind that if you choose a pattern like mine, it will be more difficult to make sure your design stays straight throughout the process. If you are upholstering for your first time, it would be best to choose a fabric with a different design. (think florals, paisley, neutral and plain, etc)
 |
| Cut your foam to the size of your table top (and the sides, like I had to do!) |
 |
| Cover the top and sides with the foam, using a glue gun to secure it all |

 |
| Here is my adorable Mum! It is absolutely wonderful to have a helper with this project…. It is very fiddly and it made it so much more fun. However, you could totally do this without help! |
 |
| After you have the foam secured to the table, start covering the table with a double layer of your batting. Using your staple gun, adhere the batting to the underside of the table, pulling on the batting *lightly* as you go. Don’t pull too much! |
|
|
| The corners can be very tough, which is why a second set of hands is super helpful. Of course, you might not be as blonde as me and realize that the legs twist off most coffee tables, saving you lots of time and frustration, lol. (realized this JUST as we finished, doh!) If your coffee table legs do not twist off, simply create a little pleat and staple the batting towards the inside of the table legs. |

 |
| Here is what your table will look like after the foam and batting attached. |
 |
| Now, you will do the same process/technique with the fabric. Here is a picture of the table before the legs were pleated and stapled. Like I said earlier, please check to see if your legs twist off first, haha. Because I had to work around my coffee table legs, I created binding out of my fabric to finish everything off nicely. You can see that in my finished photos. While you are attaching the fabric, make sure you are keeping your pattern straight. Pull it taught, but not too much or you will end up with puckering. It helps to have your friend guiding the fabric as you go! Thanks so much Mum! |


By the way, I will be sharing photos soon of our almost finished living room. Yes, the room I have written about the most is ALMOST finished!!! Wahoo!
Please let me know if you have any questions about this tutorial…. I am always happy to help!