


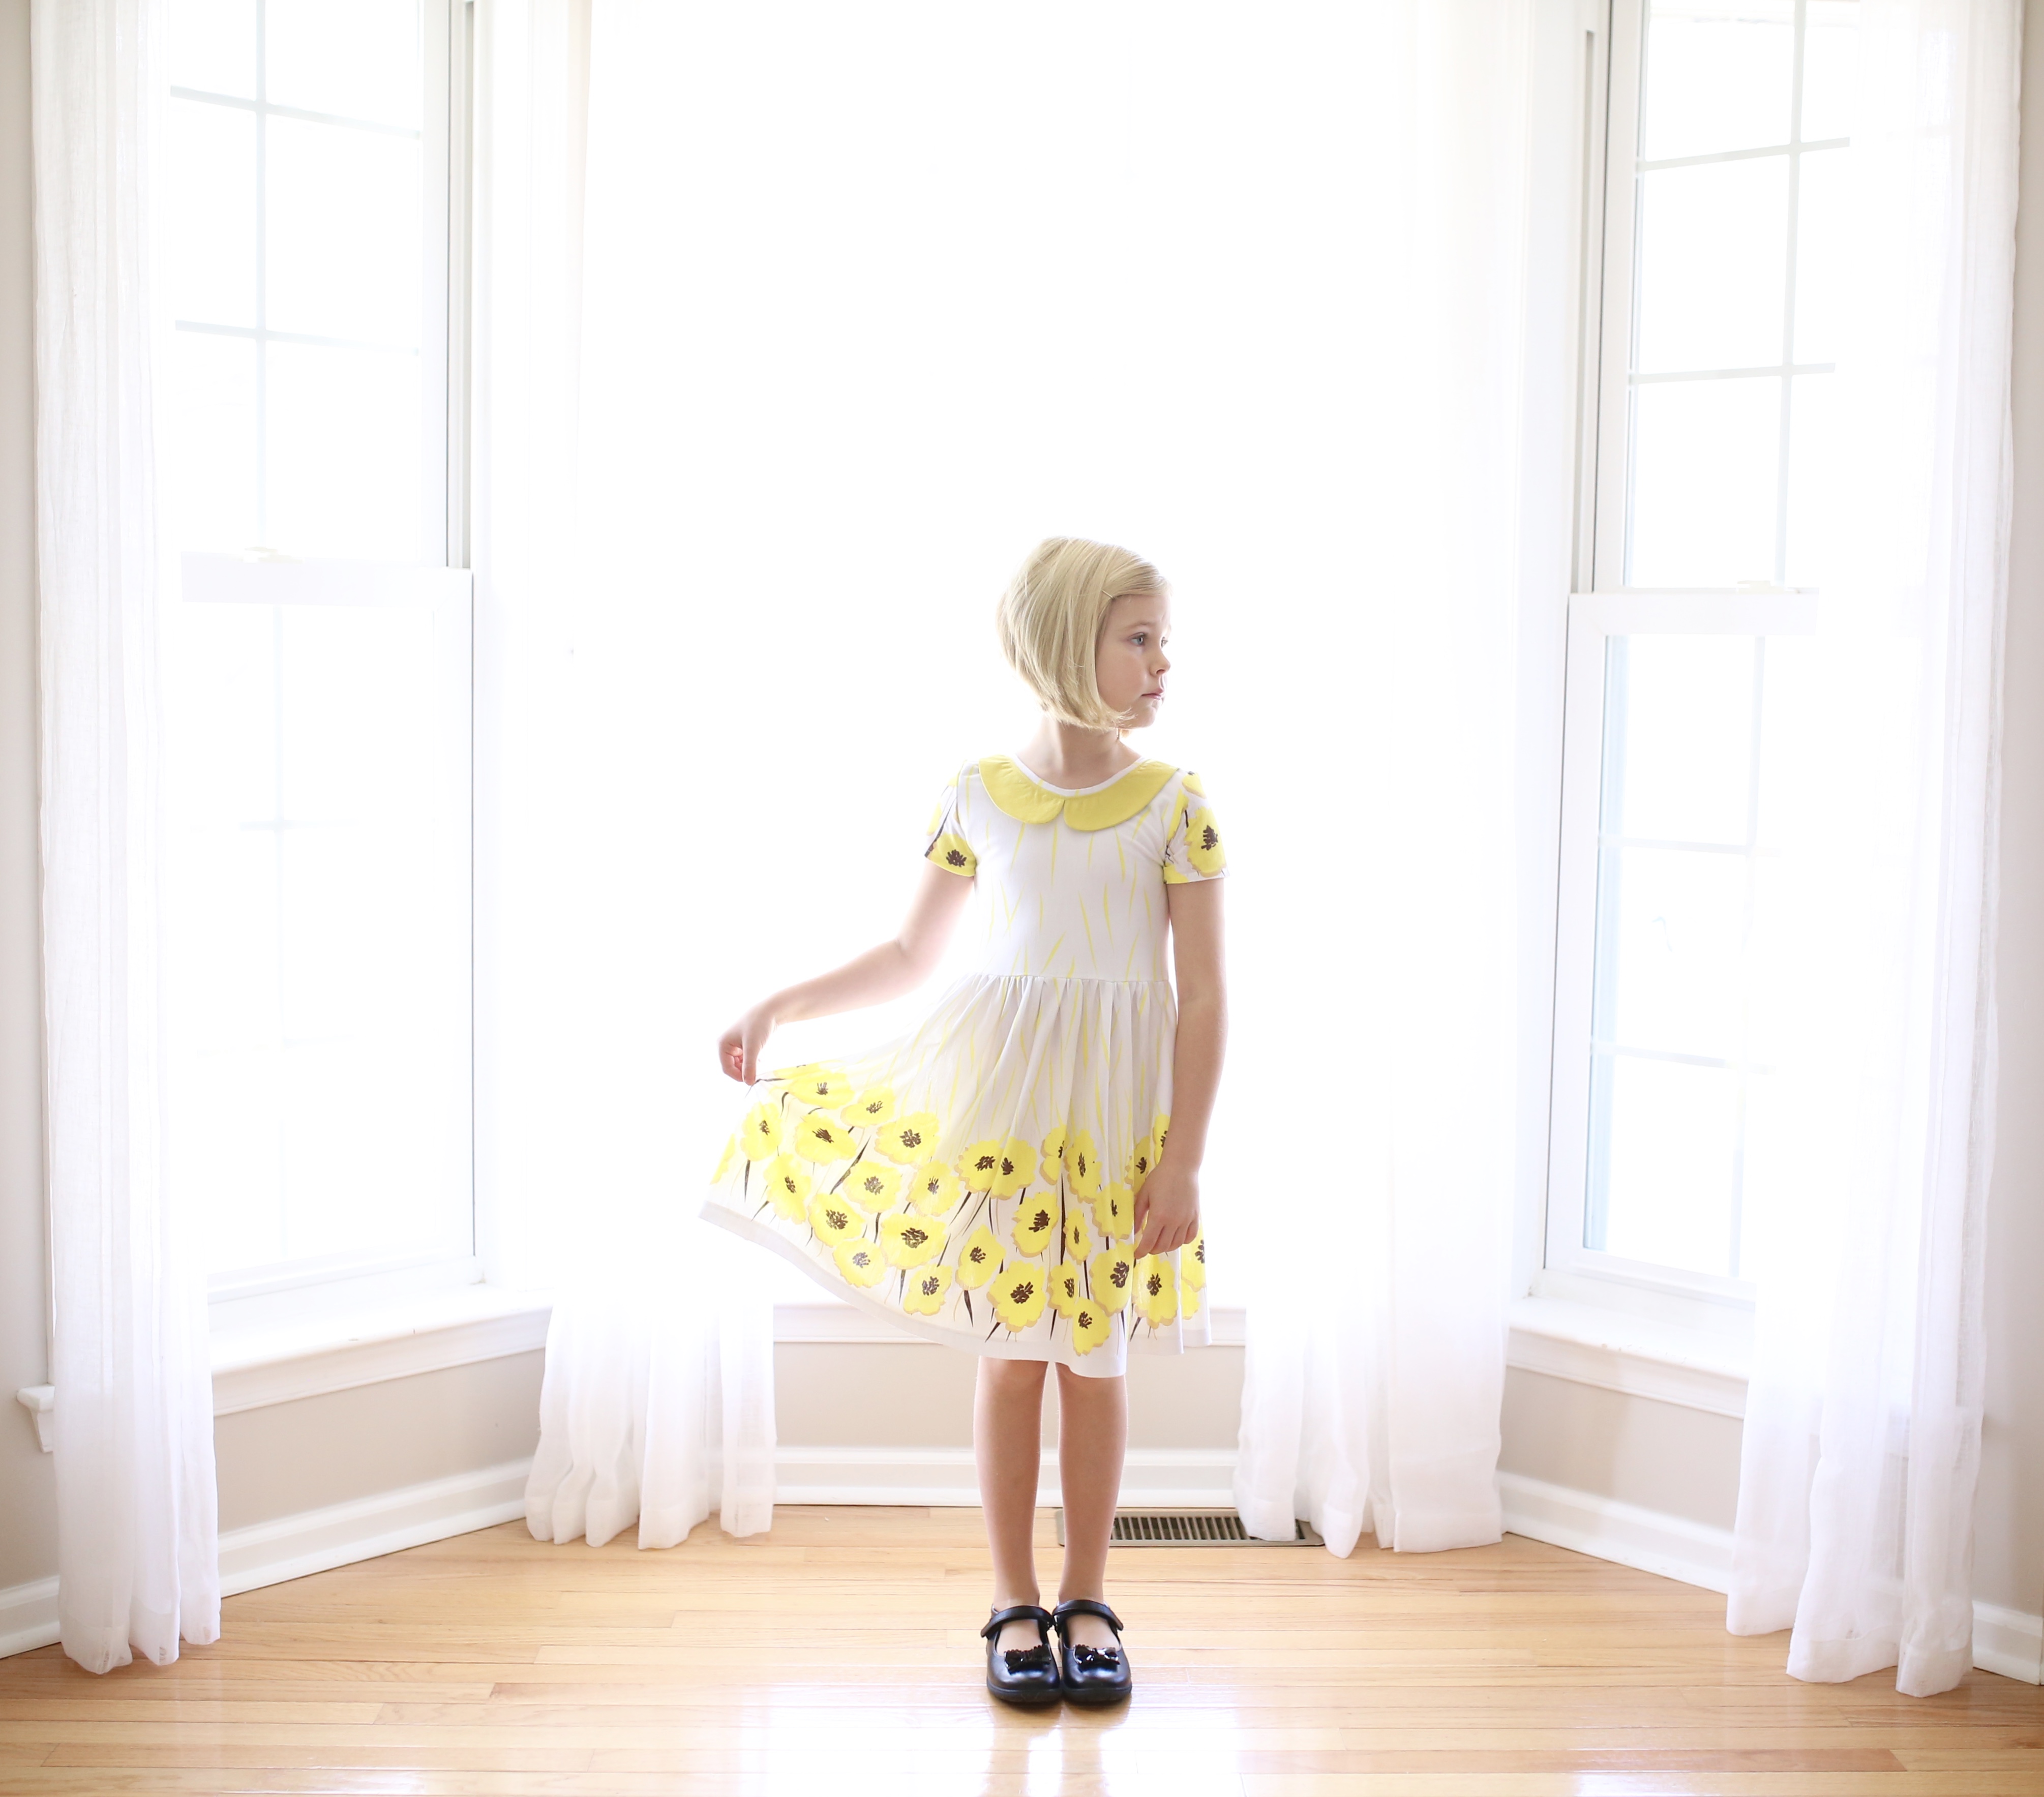
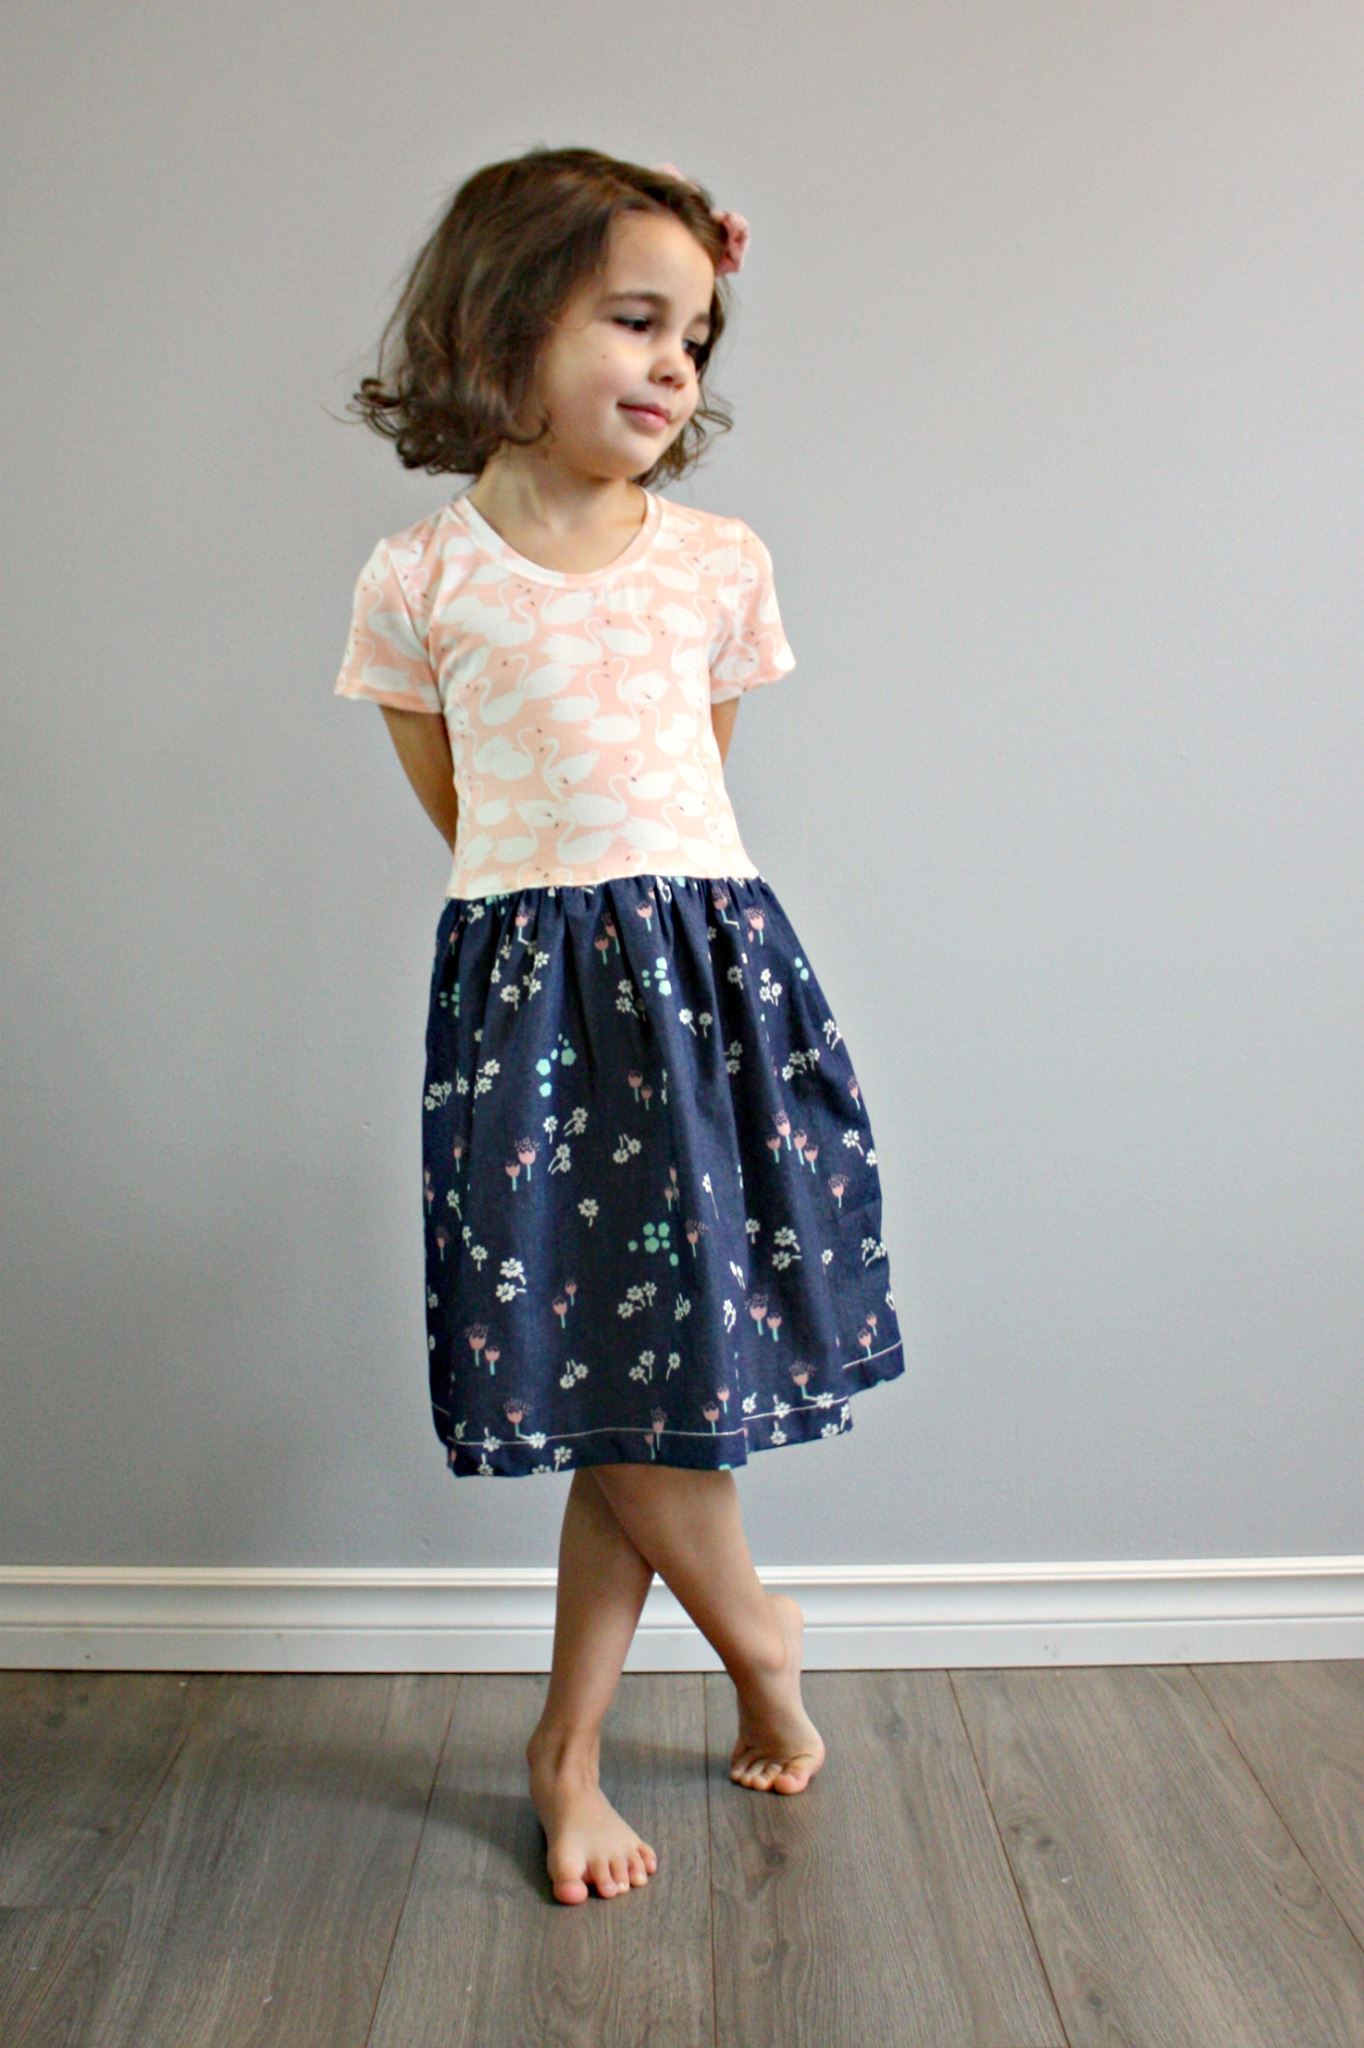
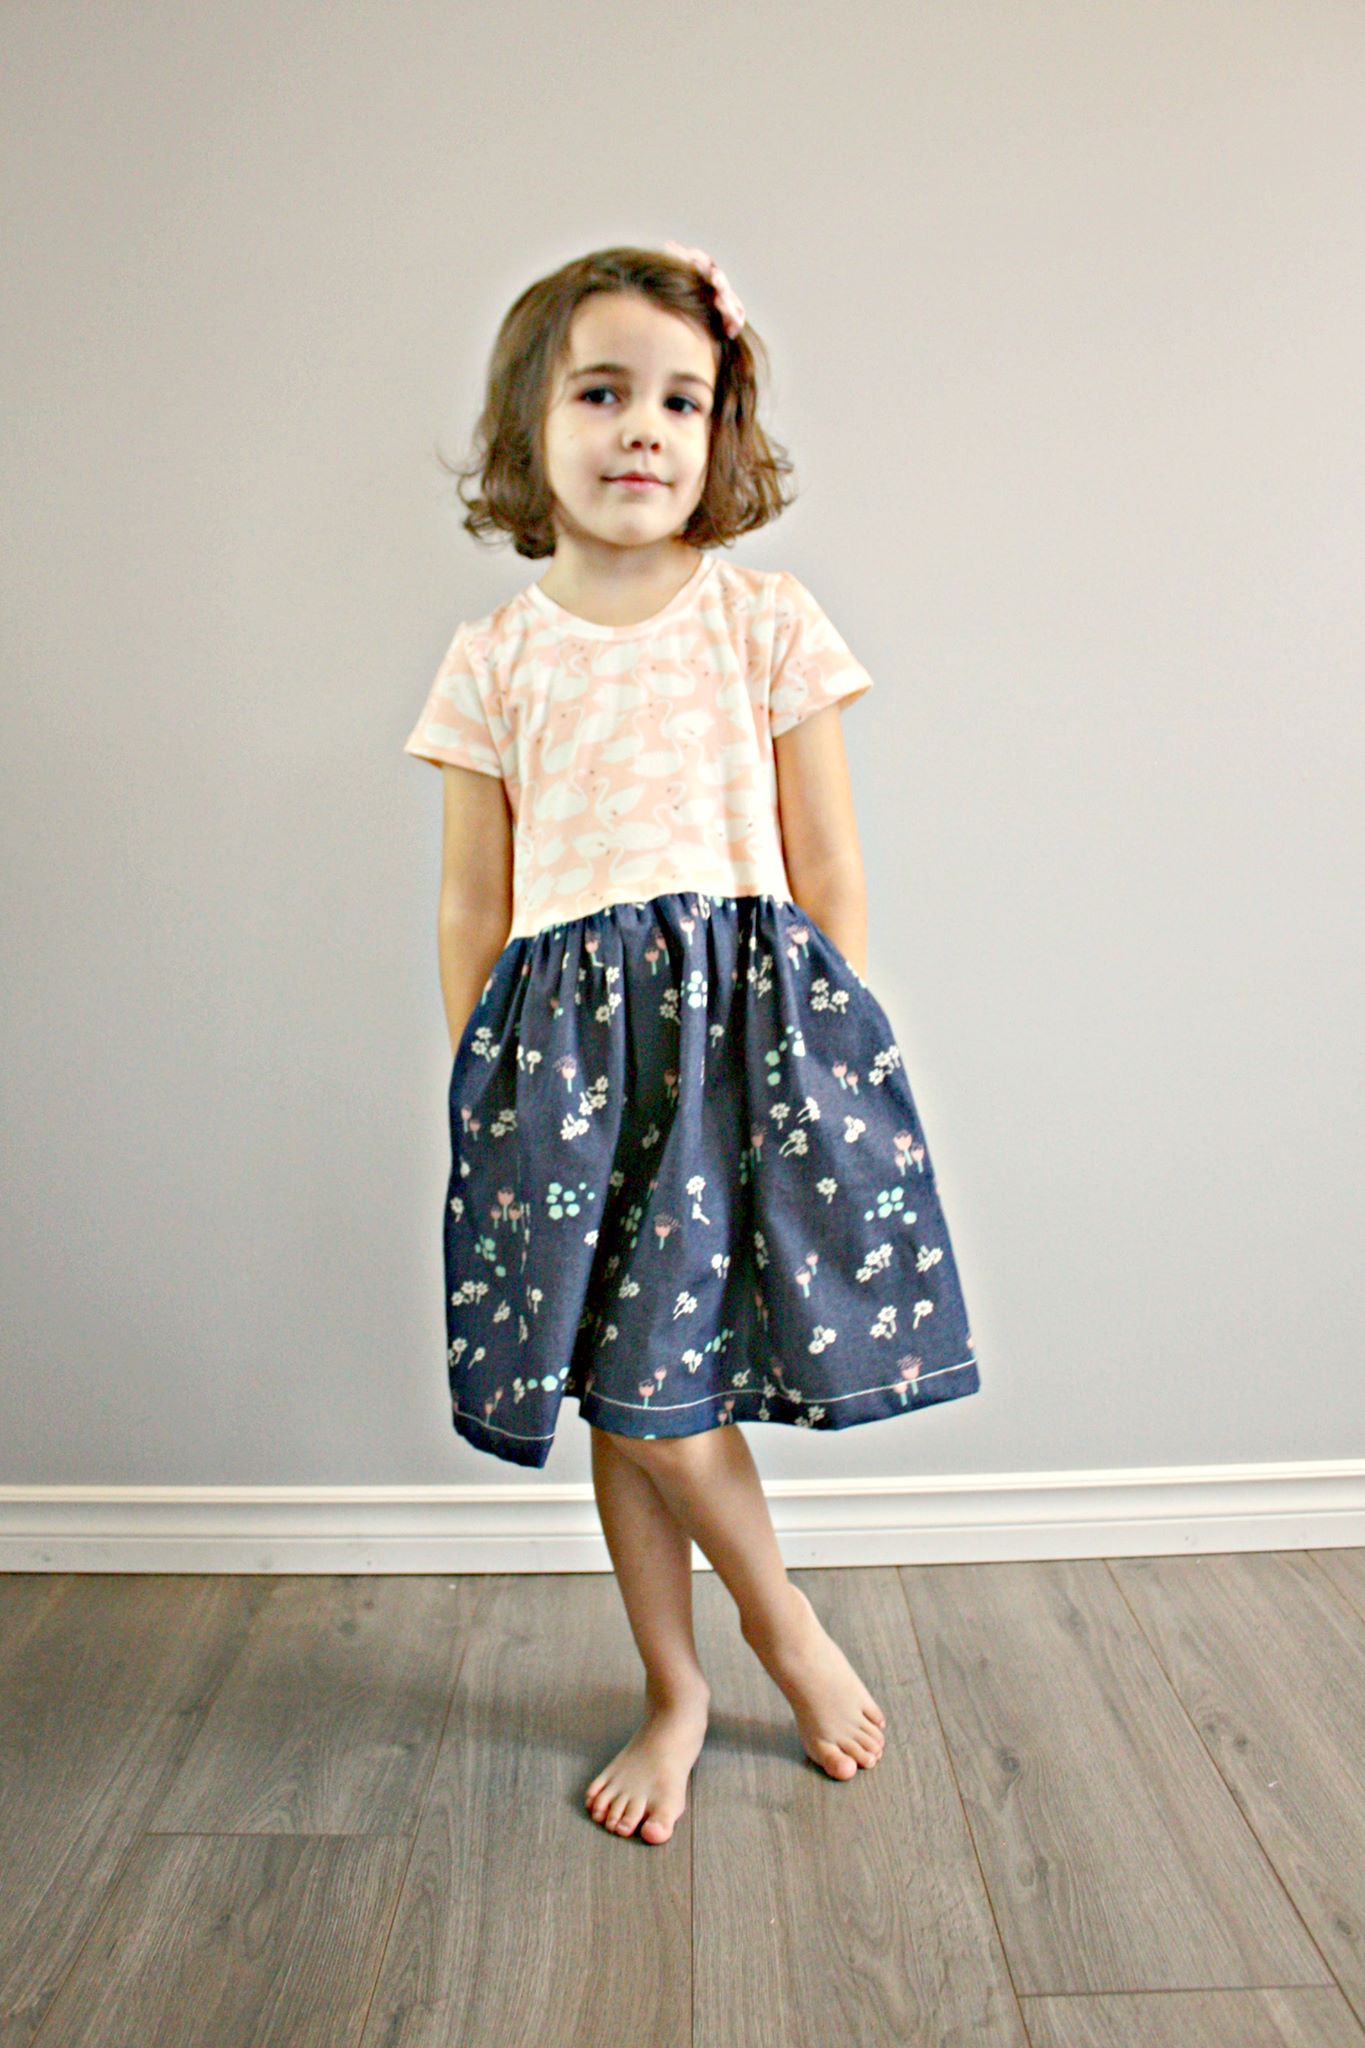
As much as I love the circle skirt on my Janie Dress, there are times where it is nice to have a basic rectangle skirt. For instance, when I made THIS Janie a few weeks ago, I certainly didn’t want to lose the awesome border print, so I modified the skirt to be a basic rectangle skirt.
I have the awesome Deb from Sprouting Jube Jube over here to give a tutorial on how to modify the skirt. Thanks Deb!
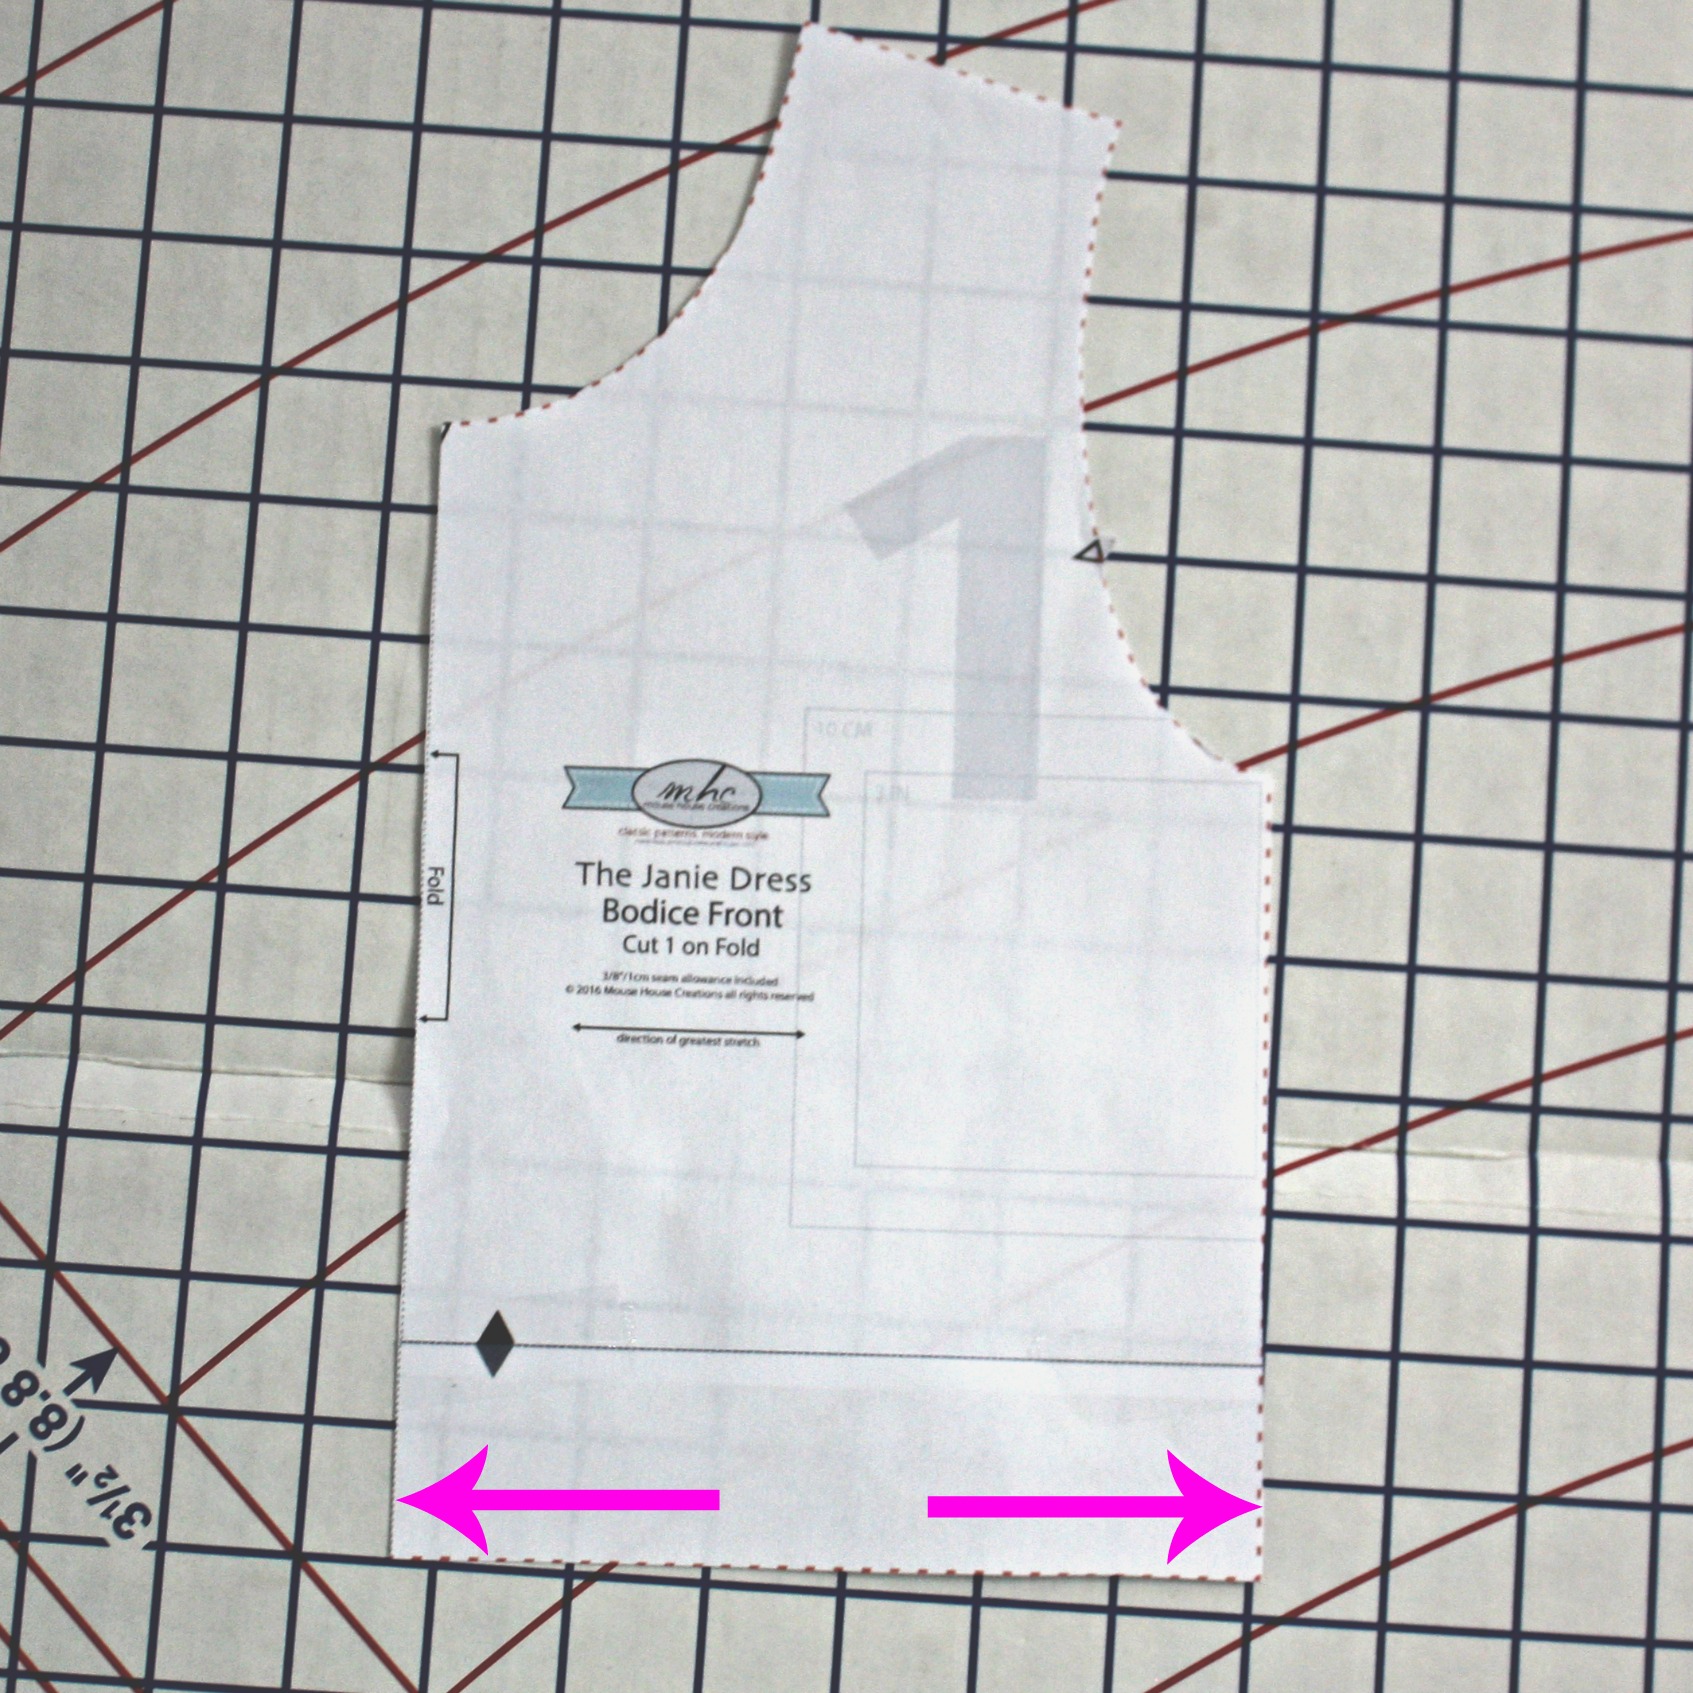
For the bodice, follow instructions, as indicated in the original Janie Dress Pattern by Mouse House Creations.
In order to get the perfect measurement for the gathered skirt:
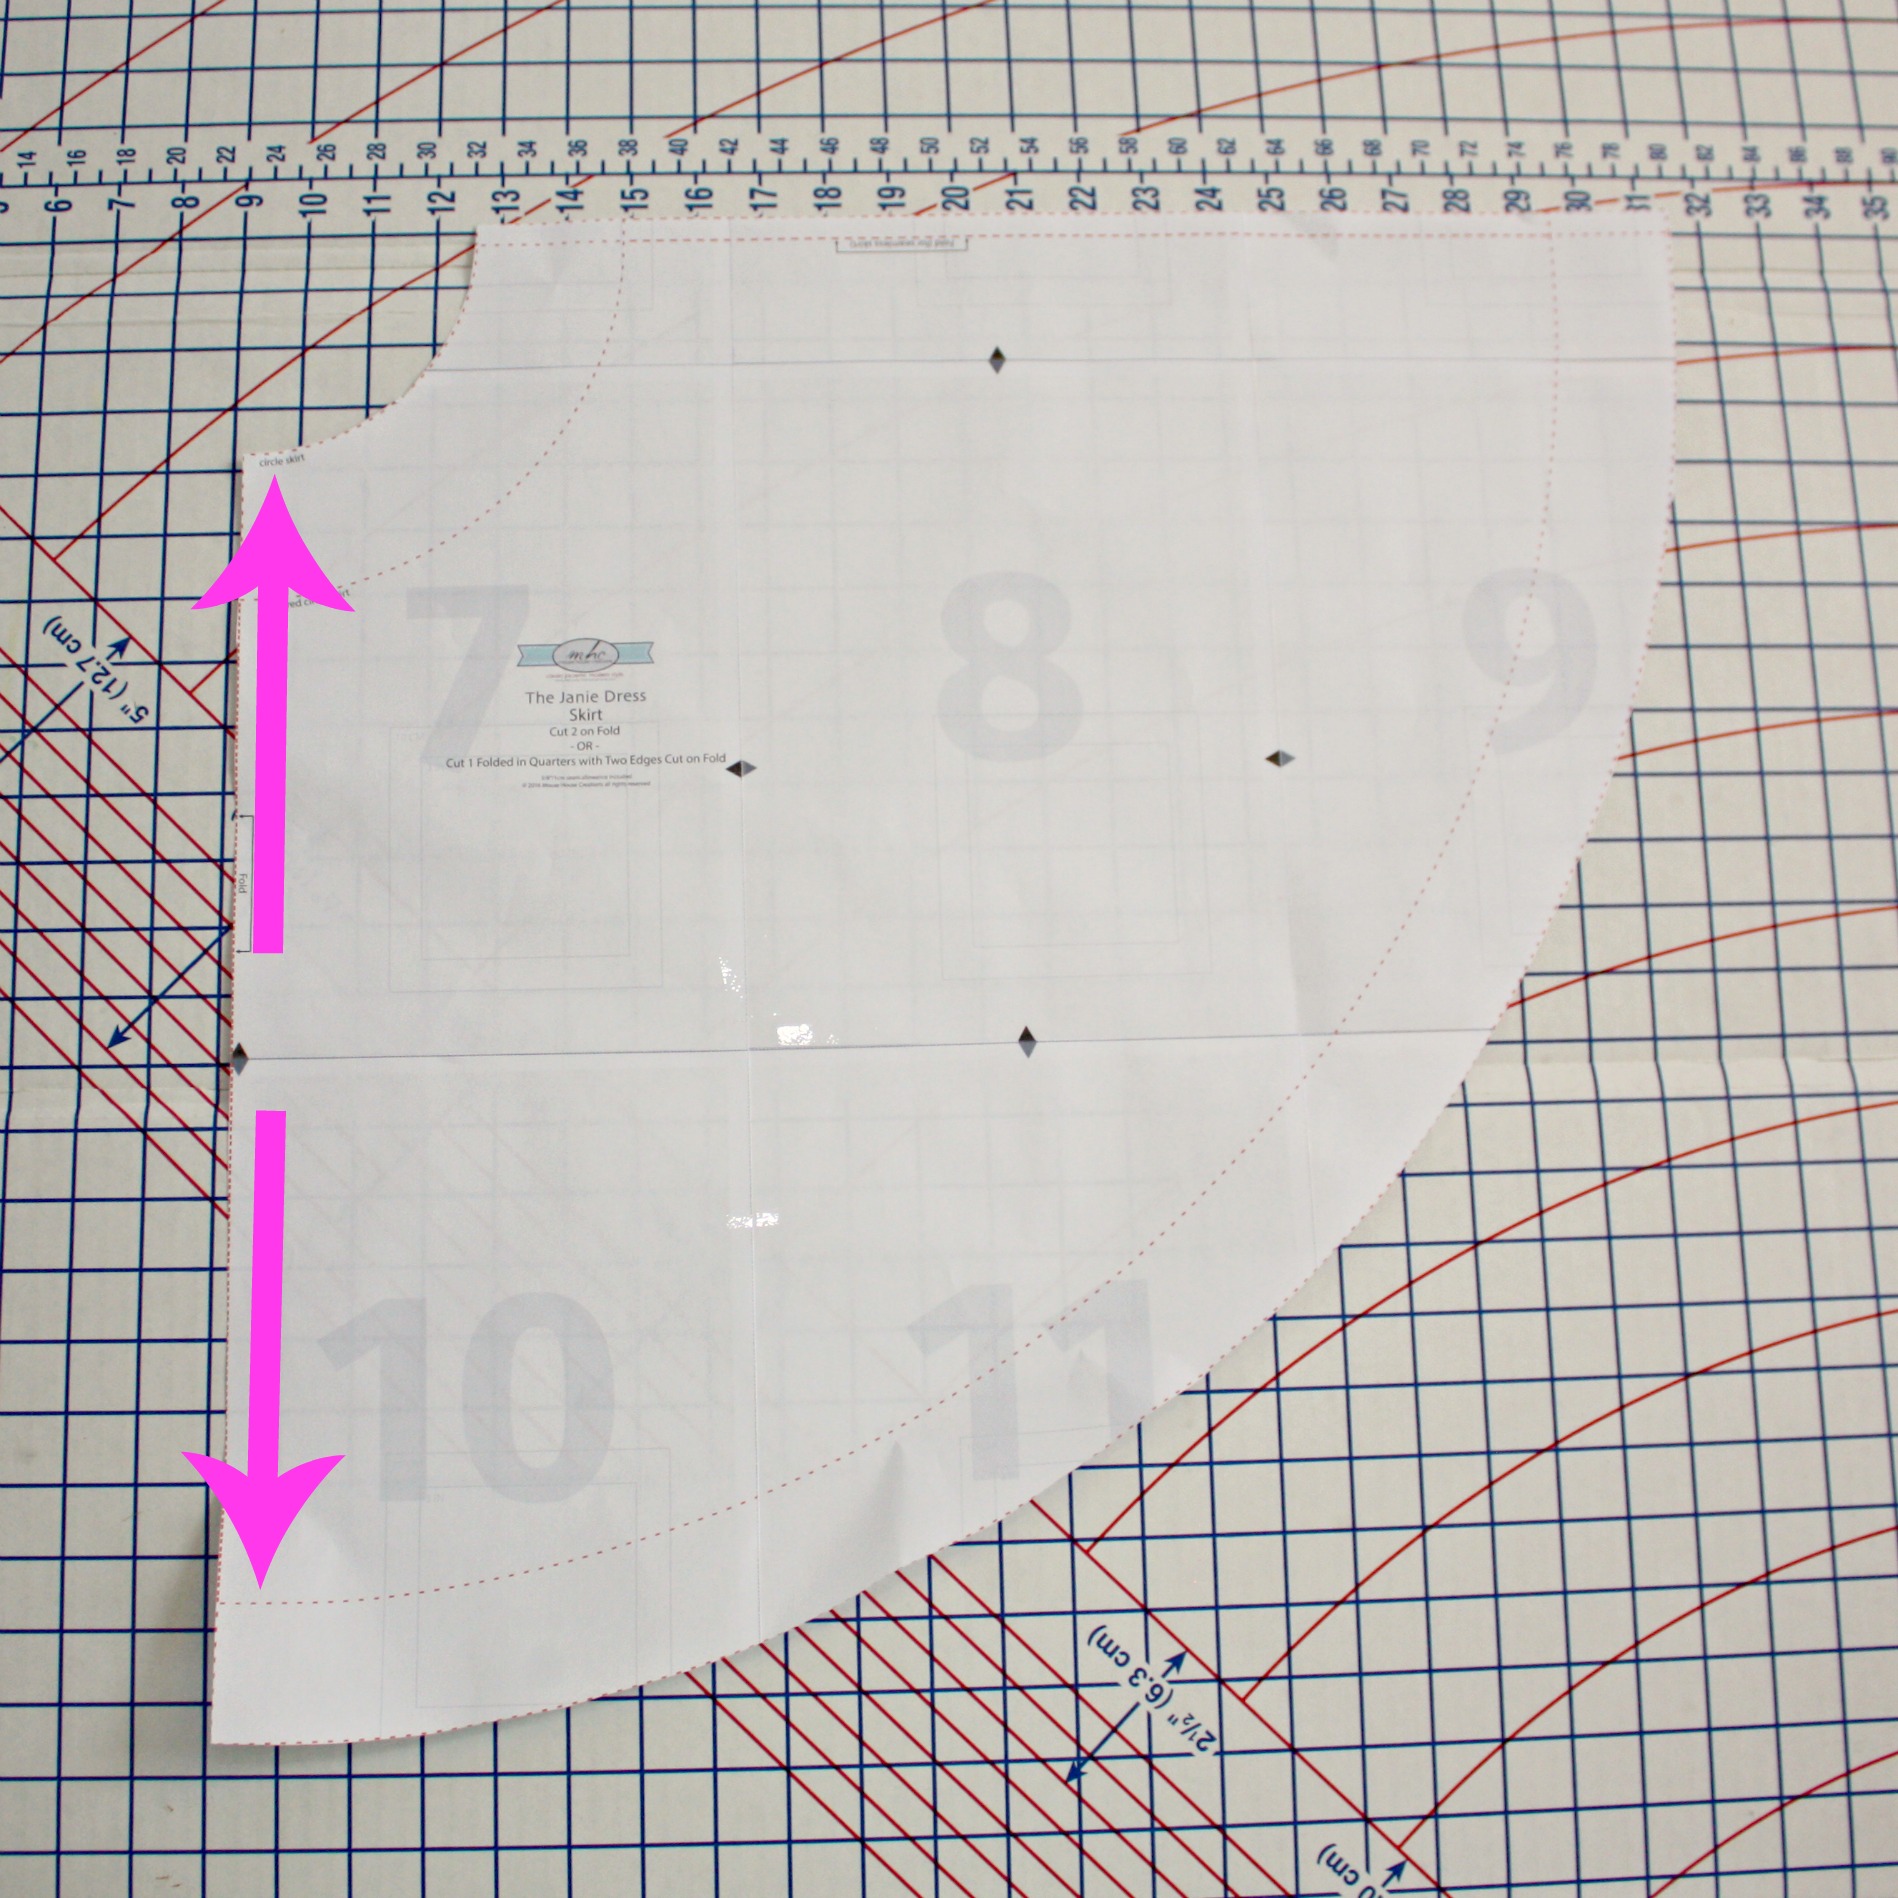
1- To determine the width of your skirt, measure the bottom edge of the of the bodice. You can see the bottom measures about 6 inches, so multiply 6 (your measurement) X 4(the amount of fabric you need to make a full gathered skirt).
2- To determine the length of the skirt measure down center front of the circle skirt. Make sure to measure only the length of the simple circle skirt and not include the length of the gathered circle skirt and go all the way down the pattern piece or the skirt will be too long. The measurement down center front on the size I selected is 15 inches. That means I need to cut 2 pieces (one front and one back) 24 inches in width by 15 inches in length.
Side Seam Pockets : Omit this part if you do not wish to make the skirt with pockets.
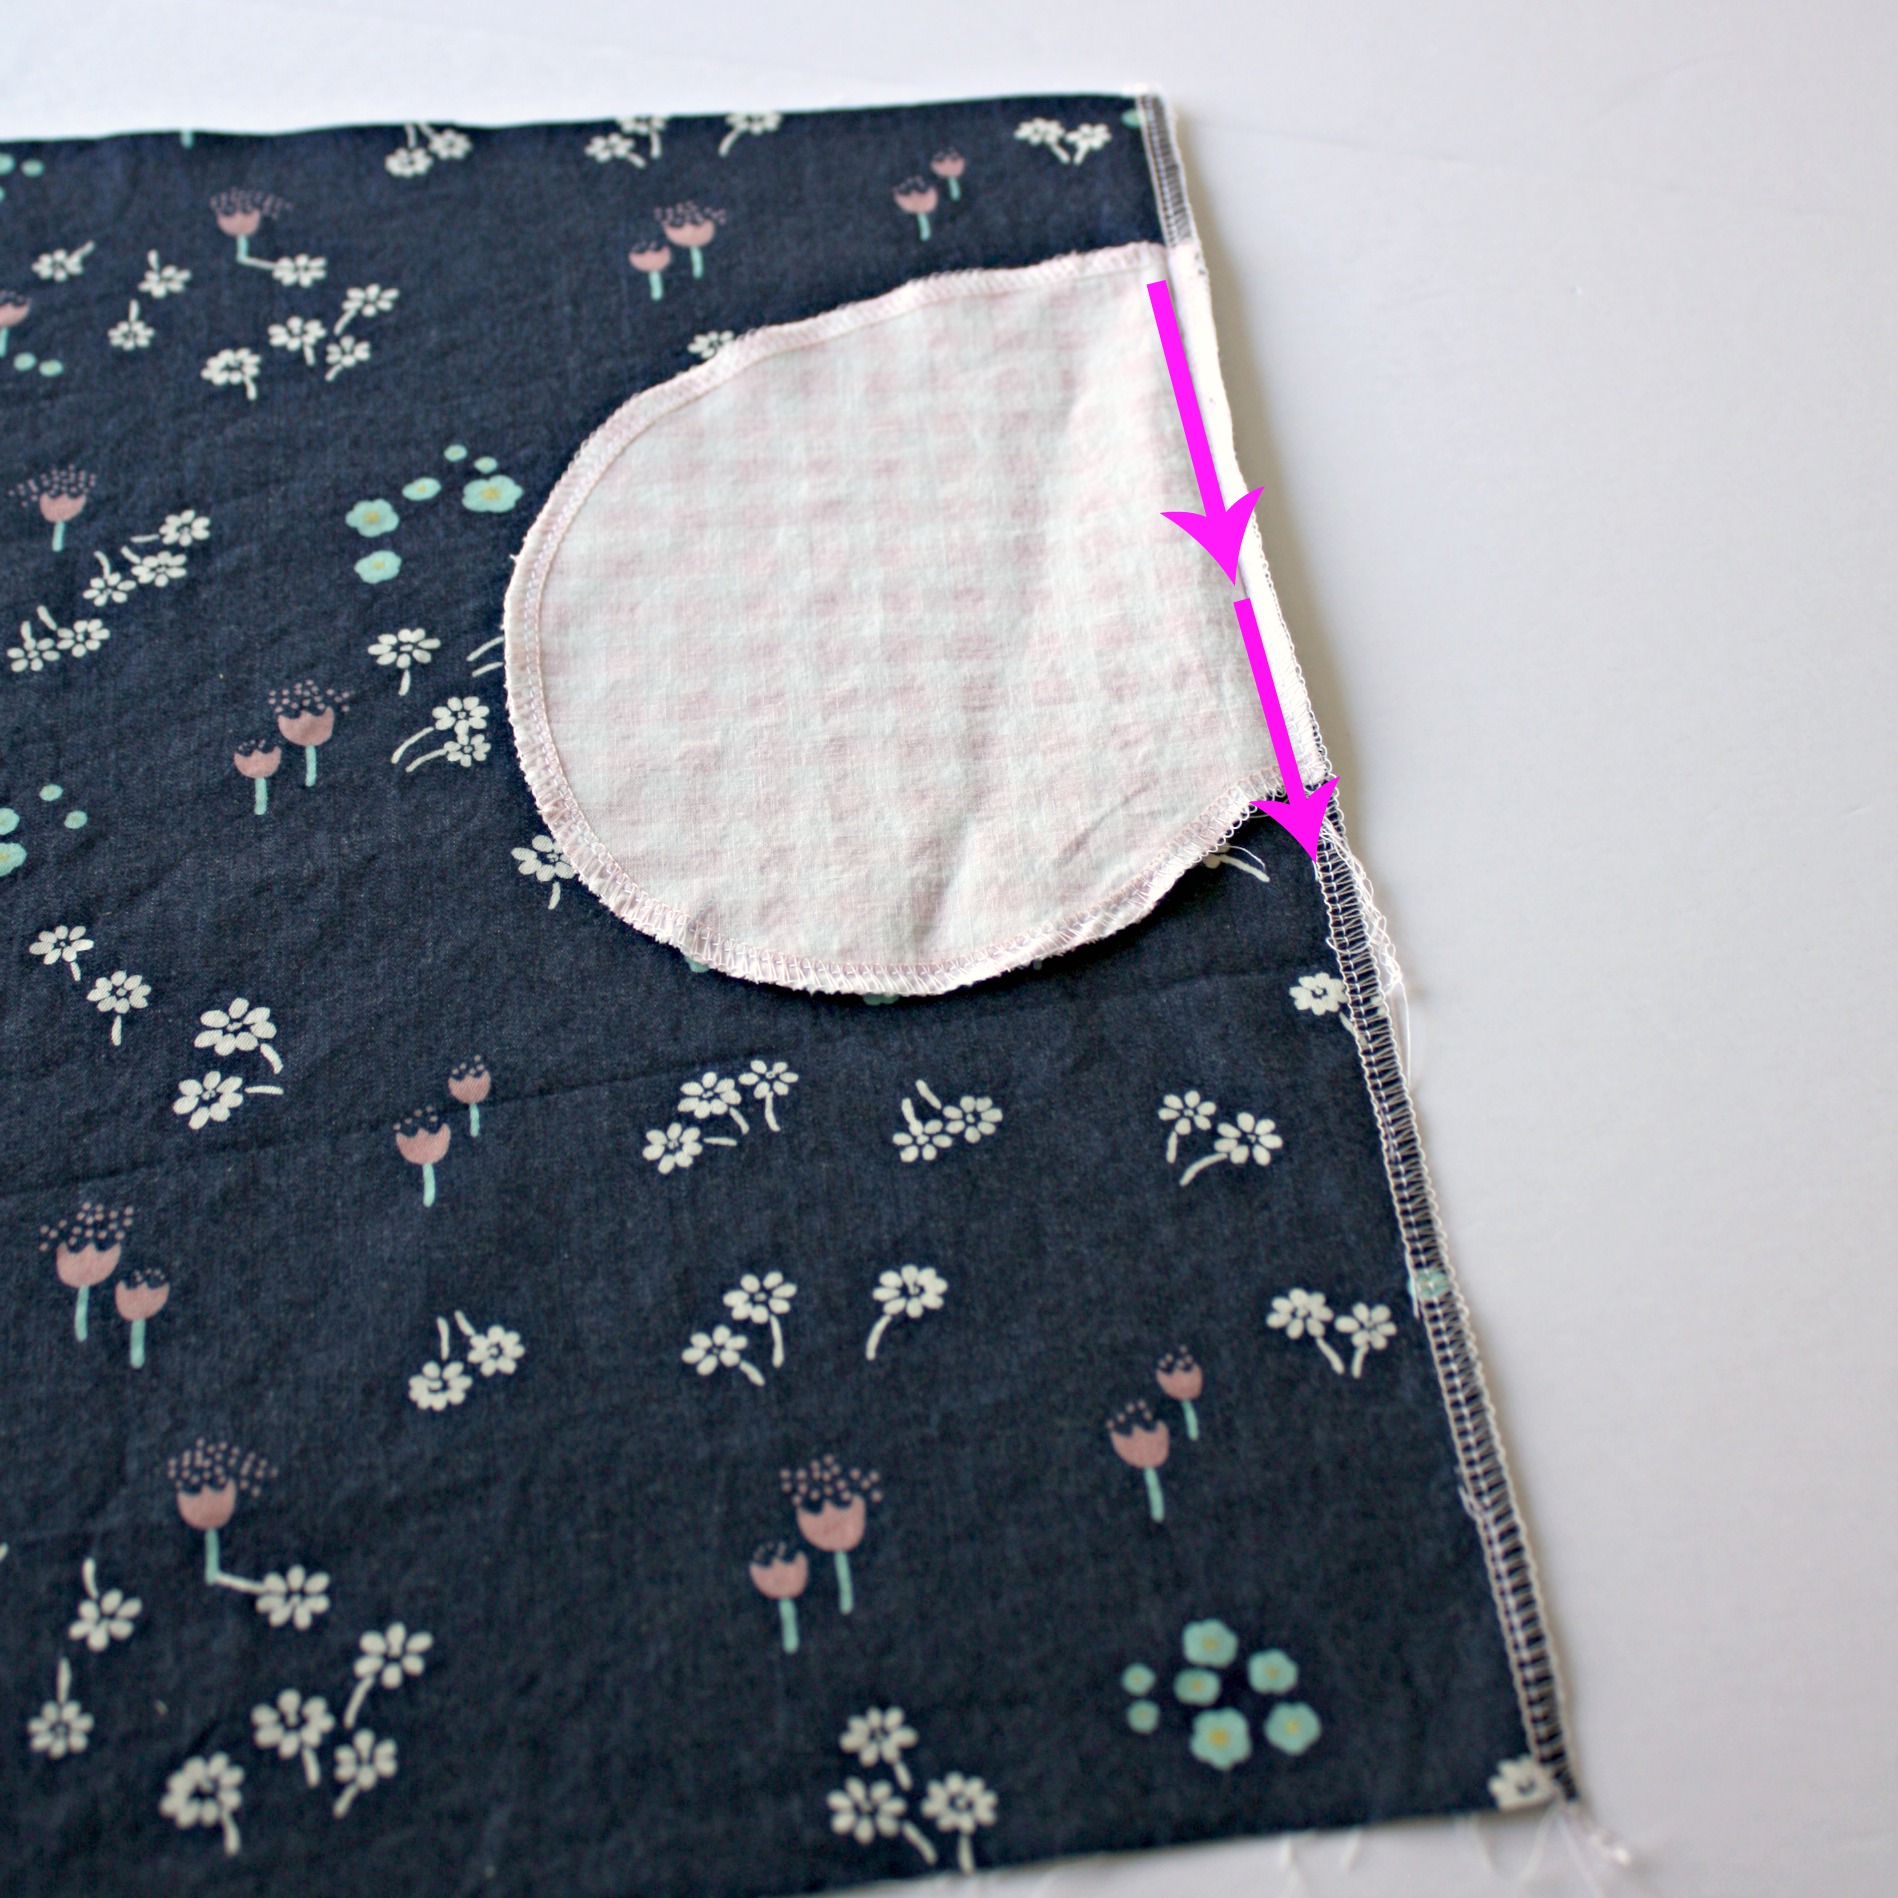
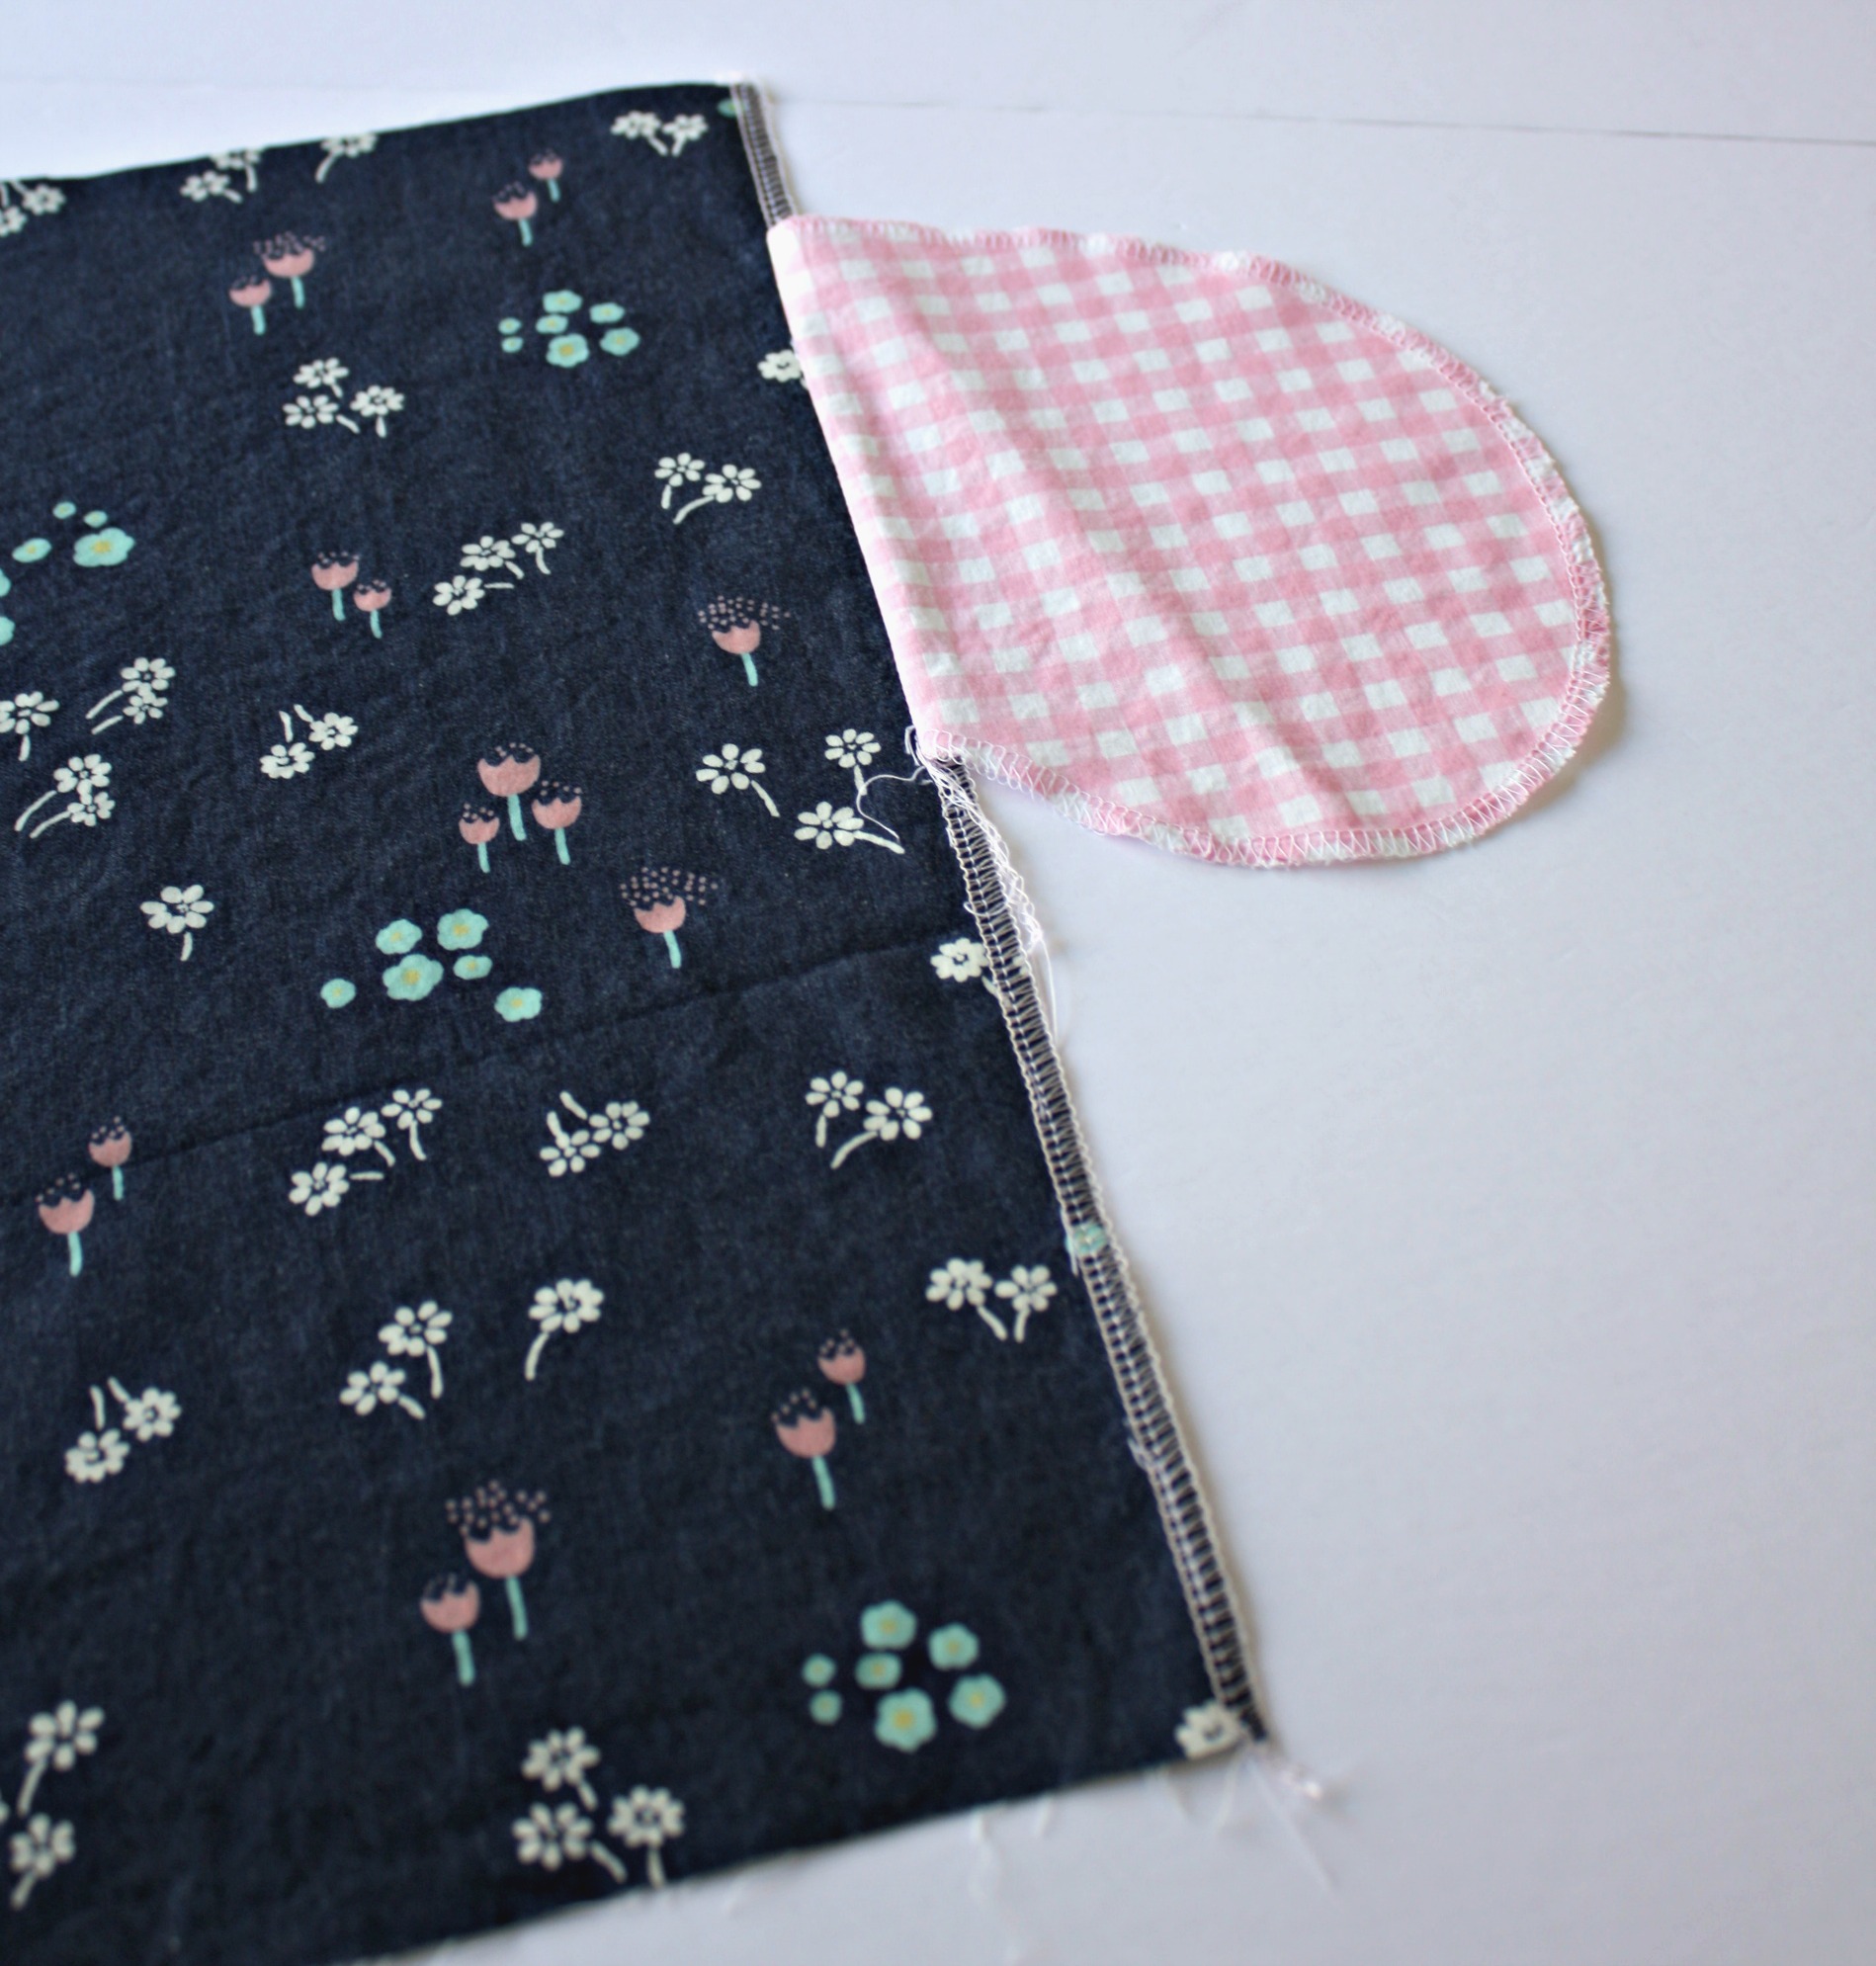
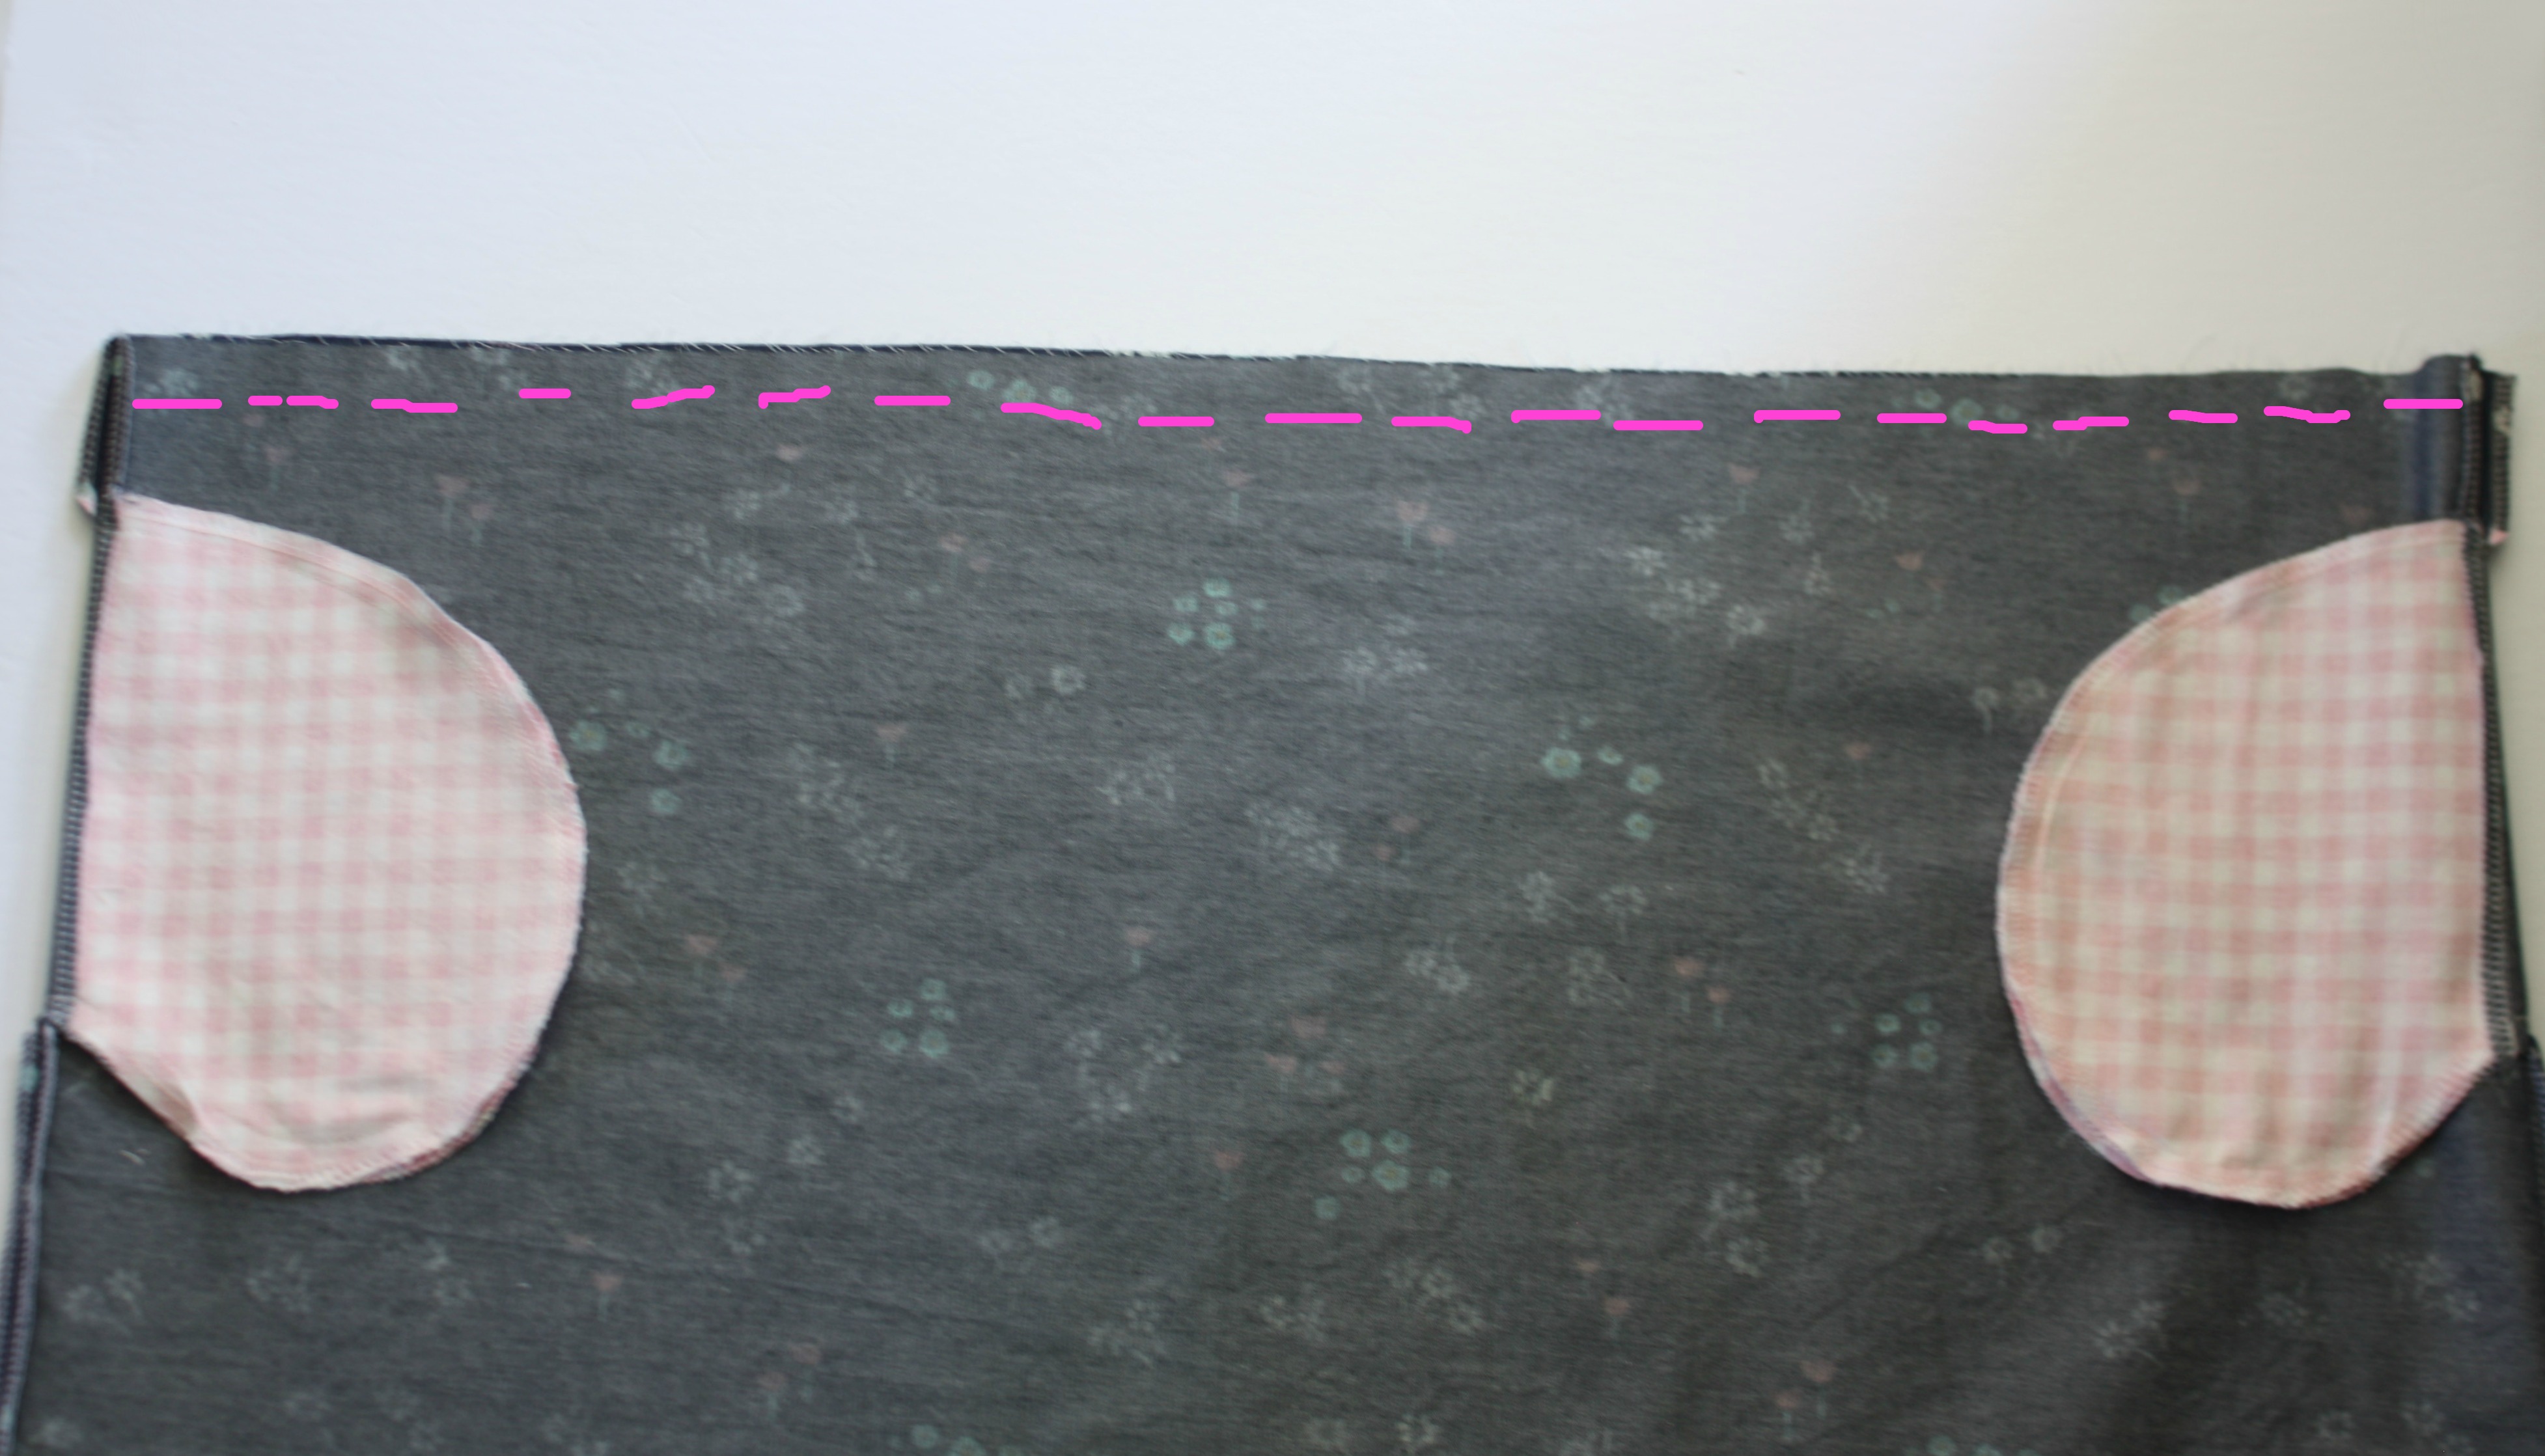
Overcast the rounded edges of the pocket bag. Place pocket on skirt front 2 inches down from the waistline with right sides together (RST). Using a 1/4 inch seam allowance, stitch pocket into place. Repeat with all four pocket pieces. With a zigzag stitch or serger, overcast the side edges of the skirt.
Press seam open.
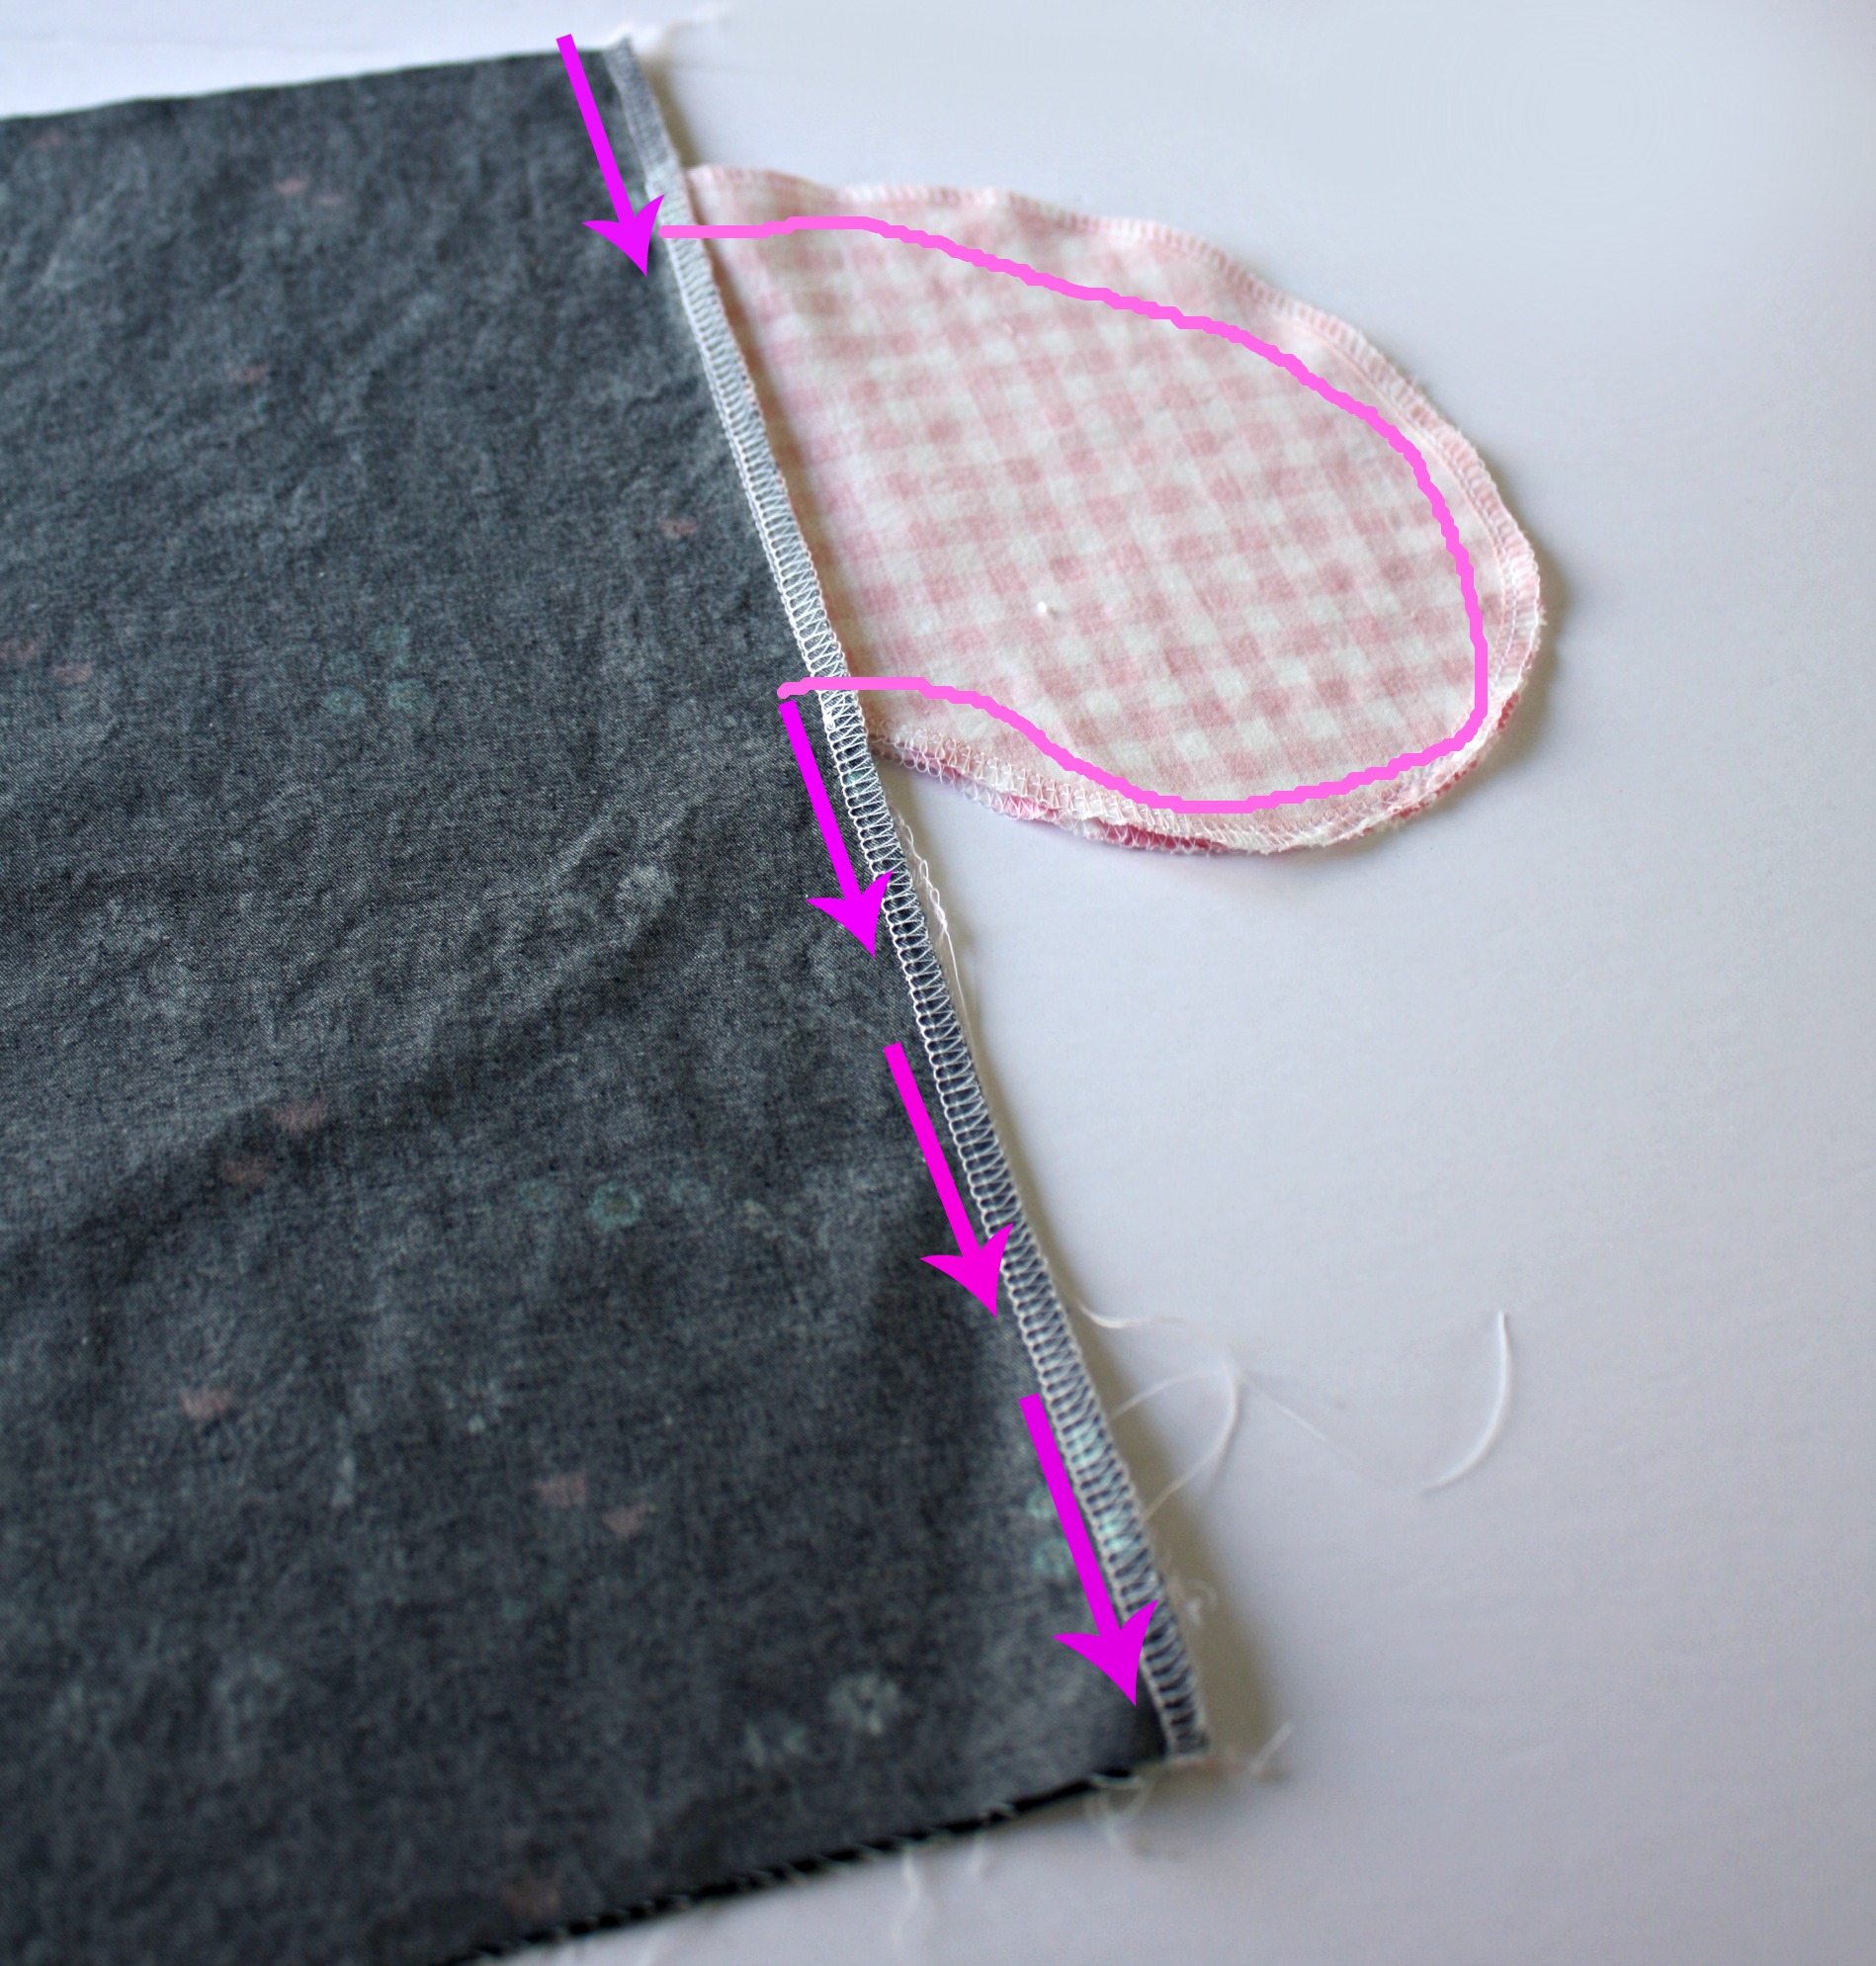
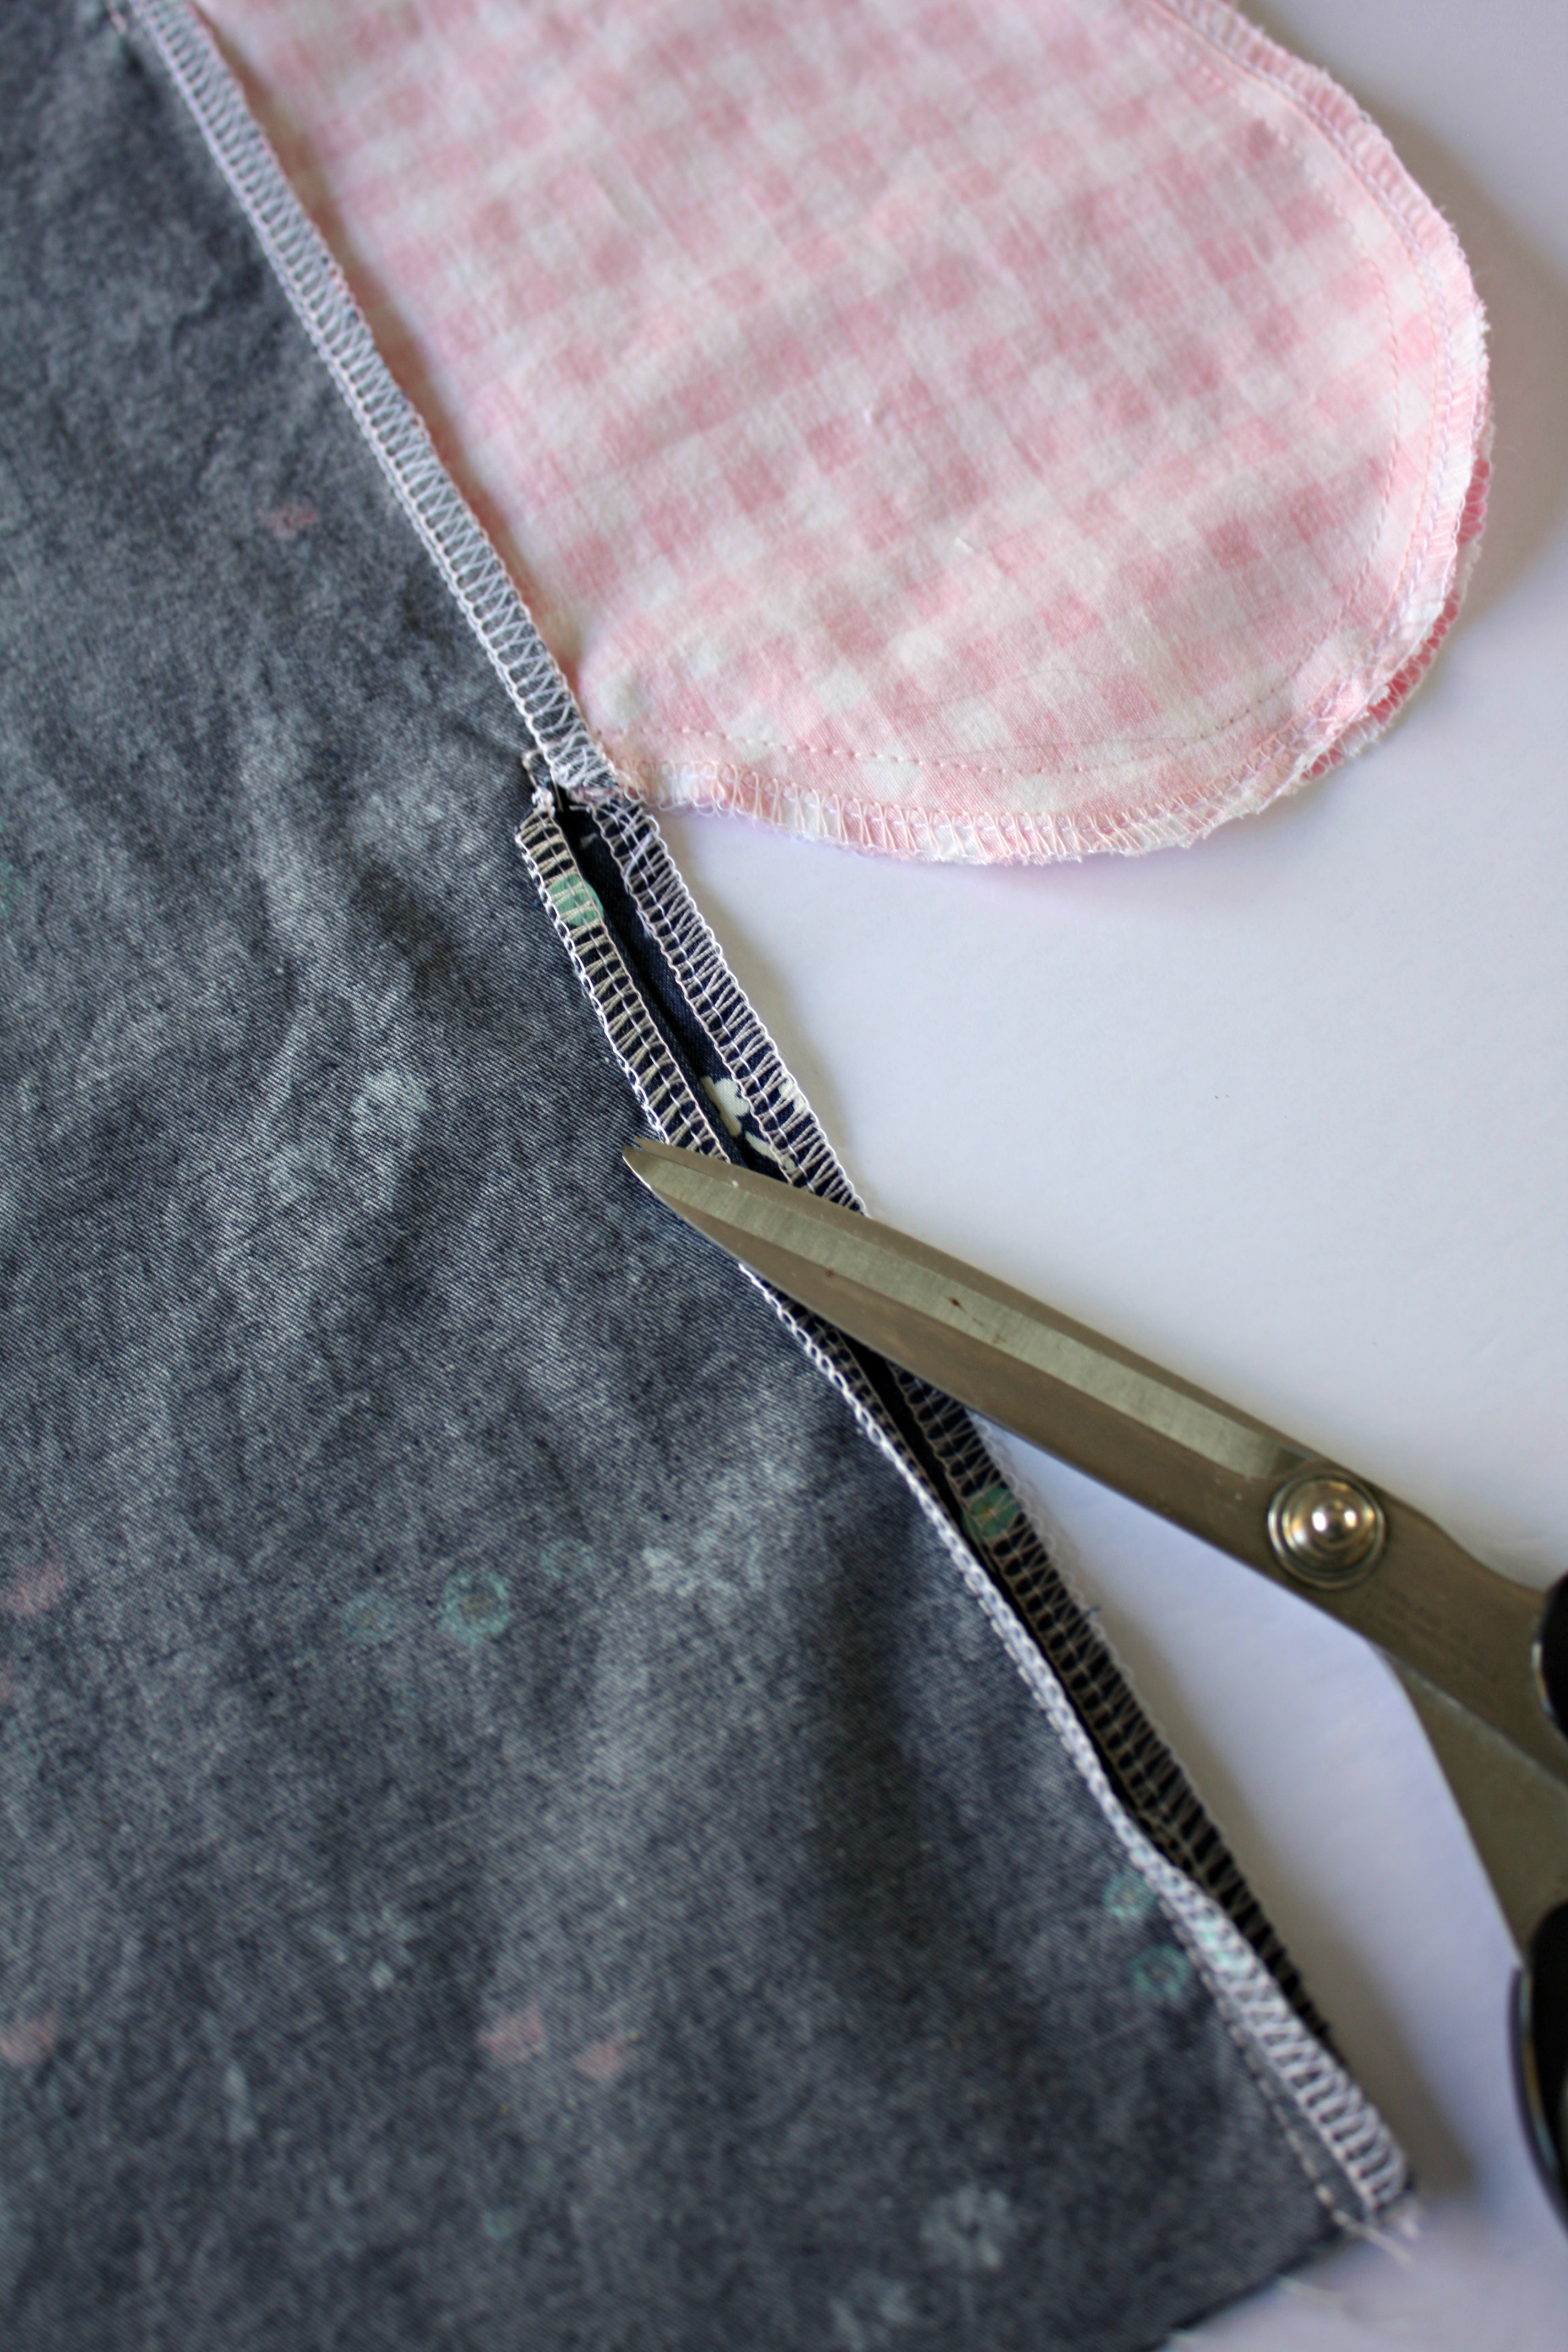
With RST, lay skirt front over skirt back making sure to match up pockets. With a 3/8 inch seam allowance stitch side seam Clip in the corners where the pocket meets the side seam to be able to press the seams open. Make sure not to cut through your side seam stitching.
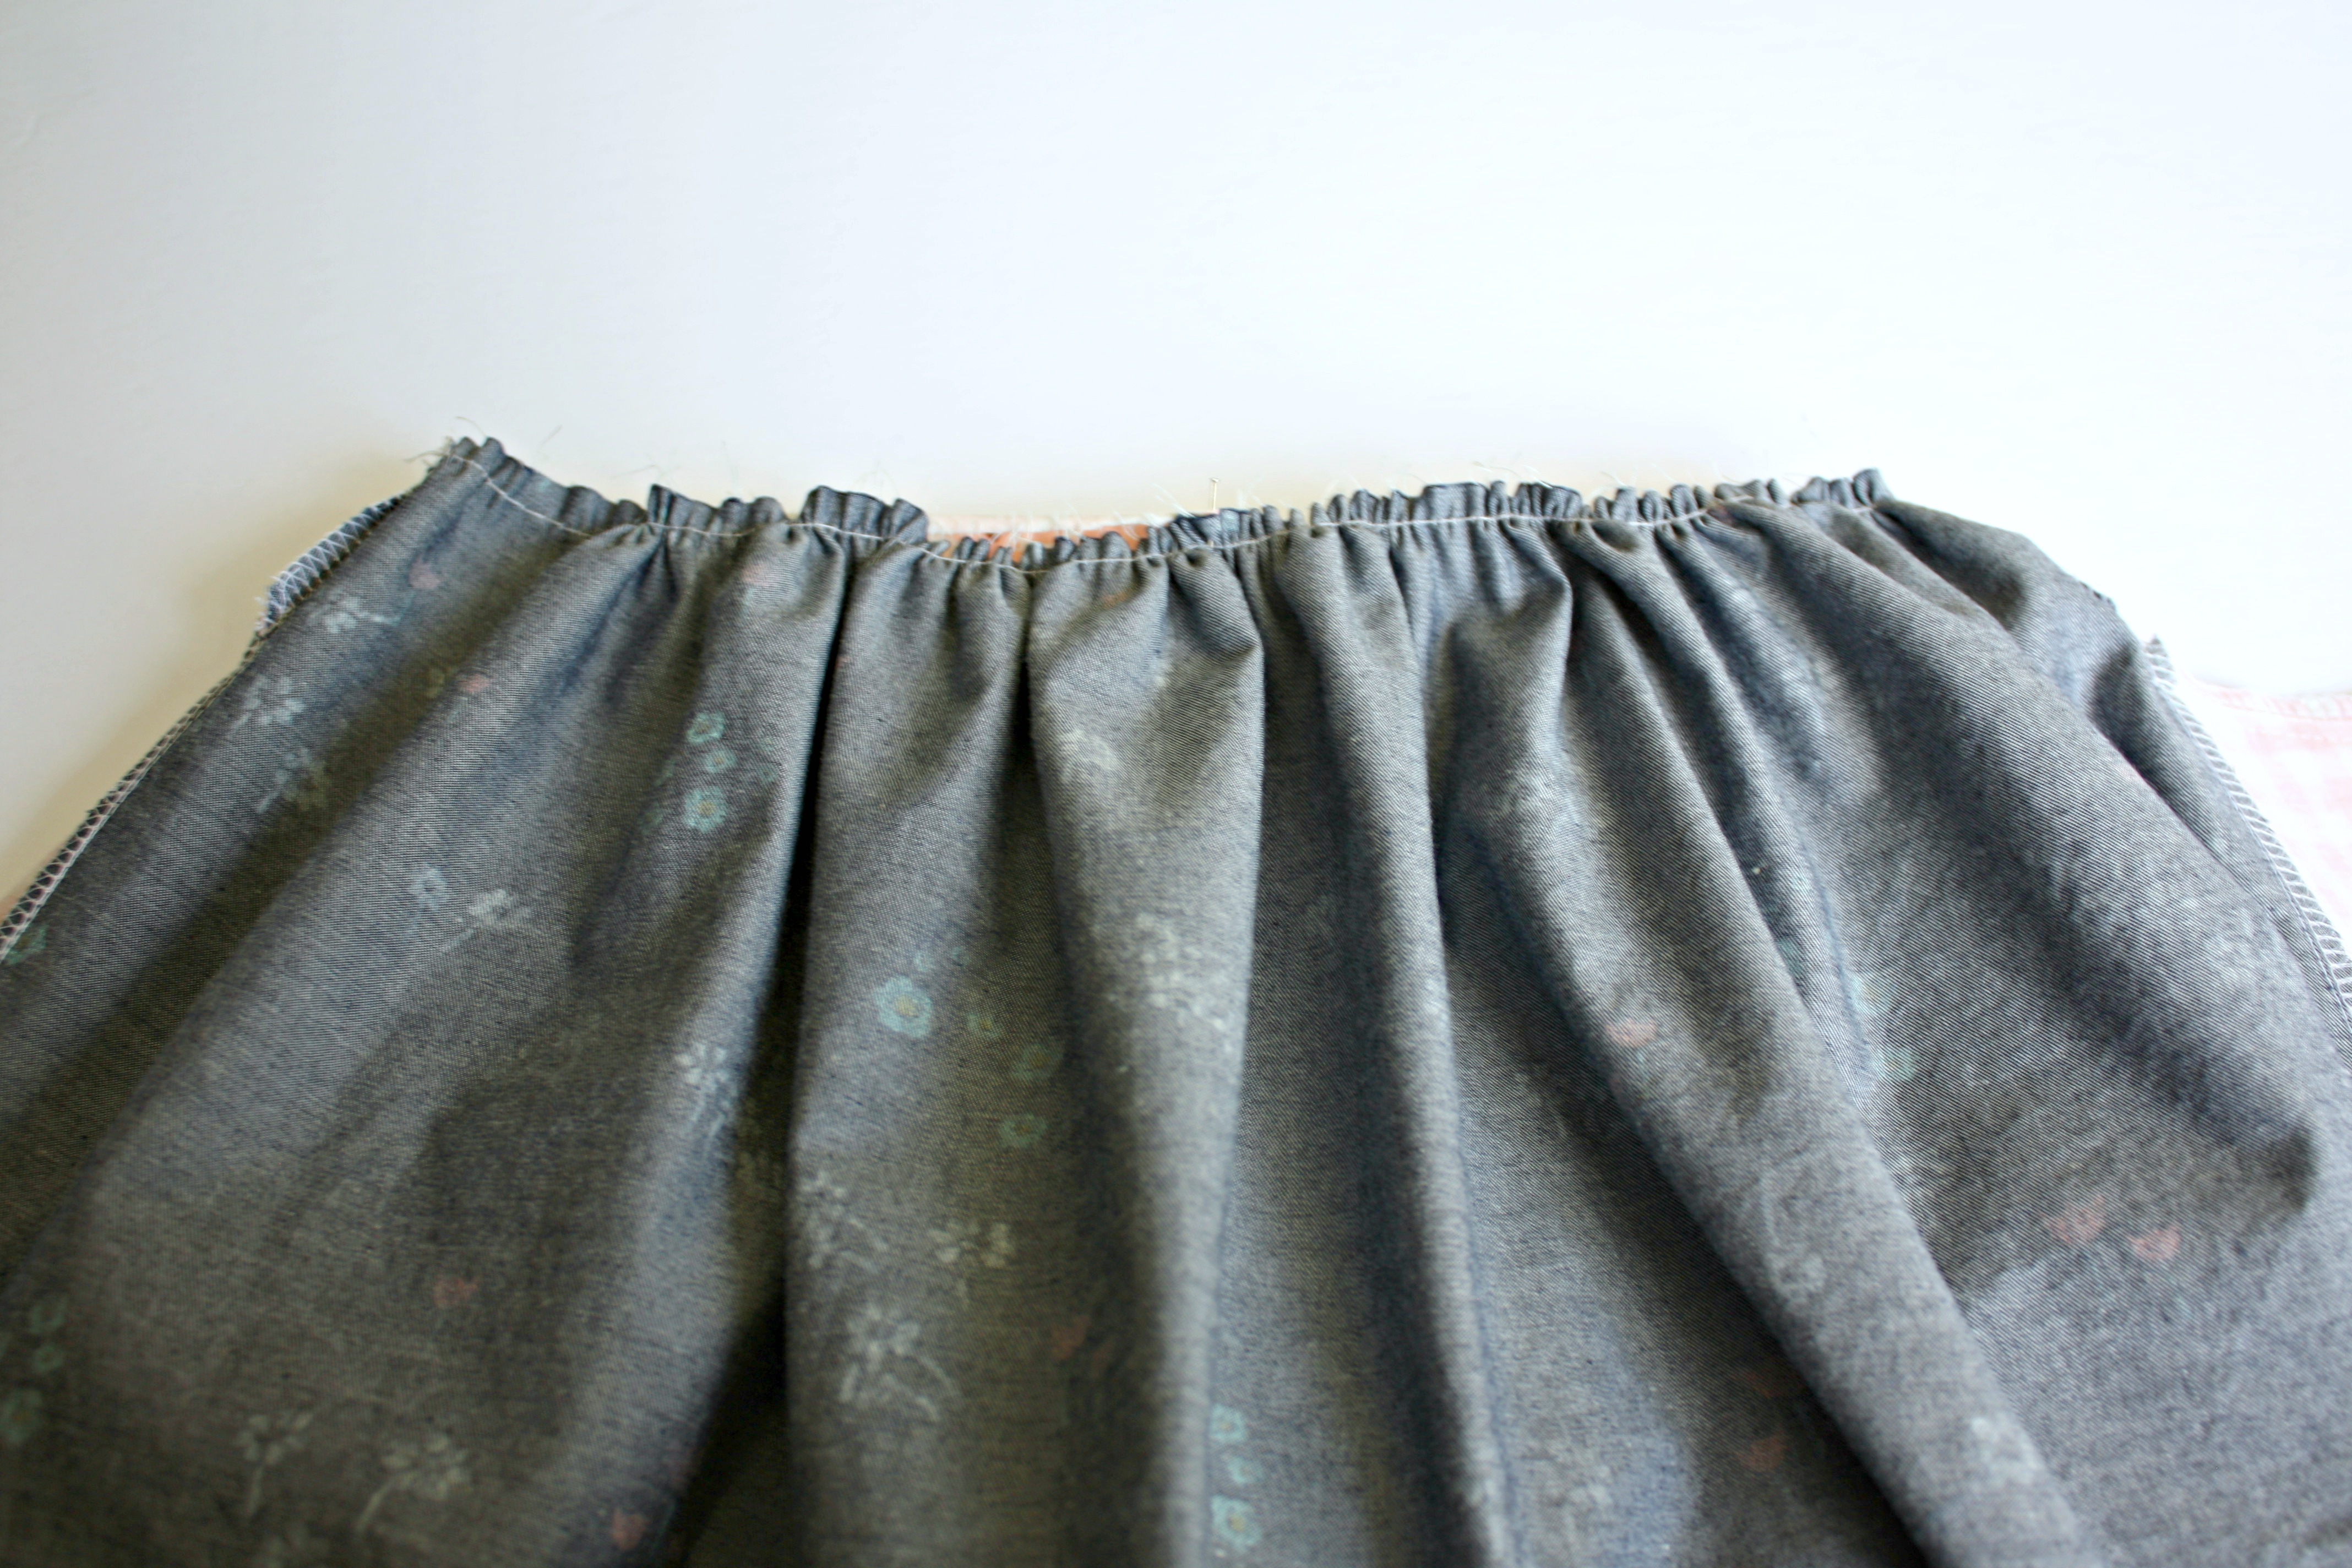
Use a long basting stitch 3/8 inches below the raw edge of the waistline. Do not back stitch at the begining or the end of these basting stitching to be able to form gathers.
Pull on bobbin thread to form gathers.
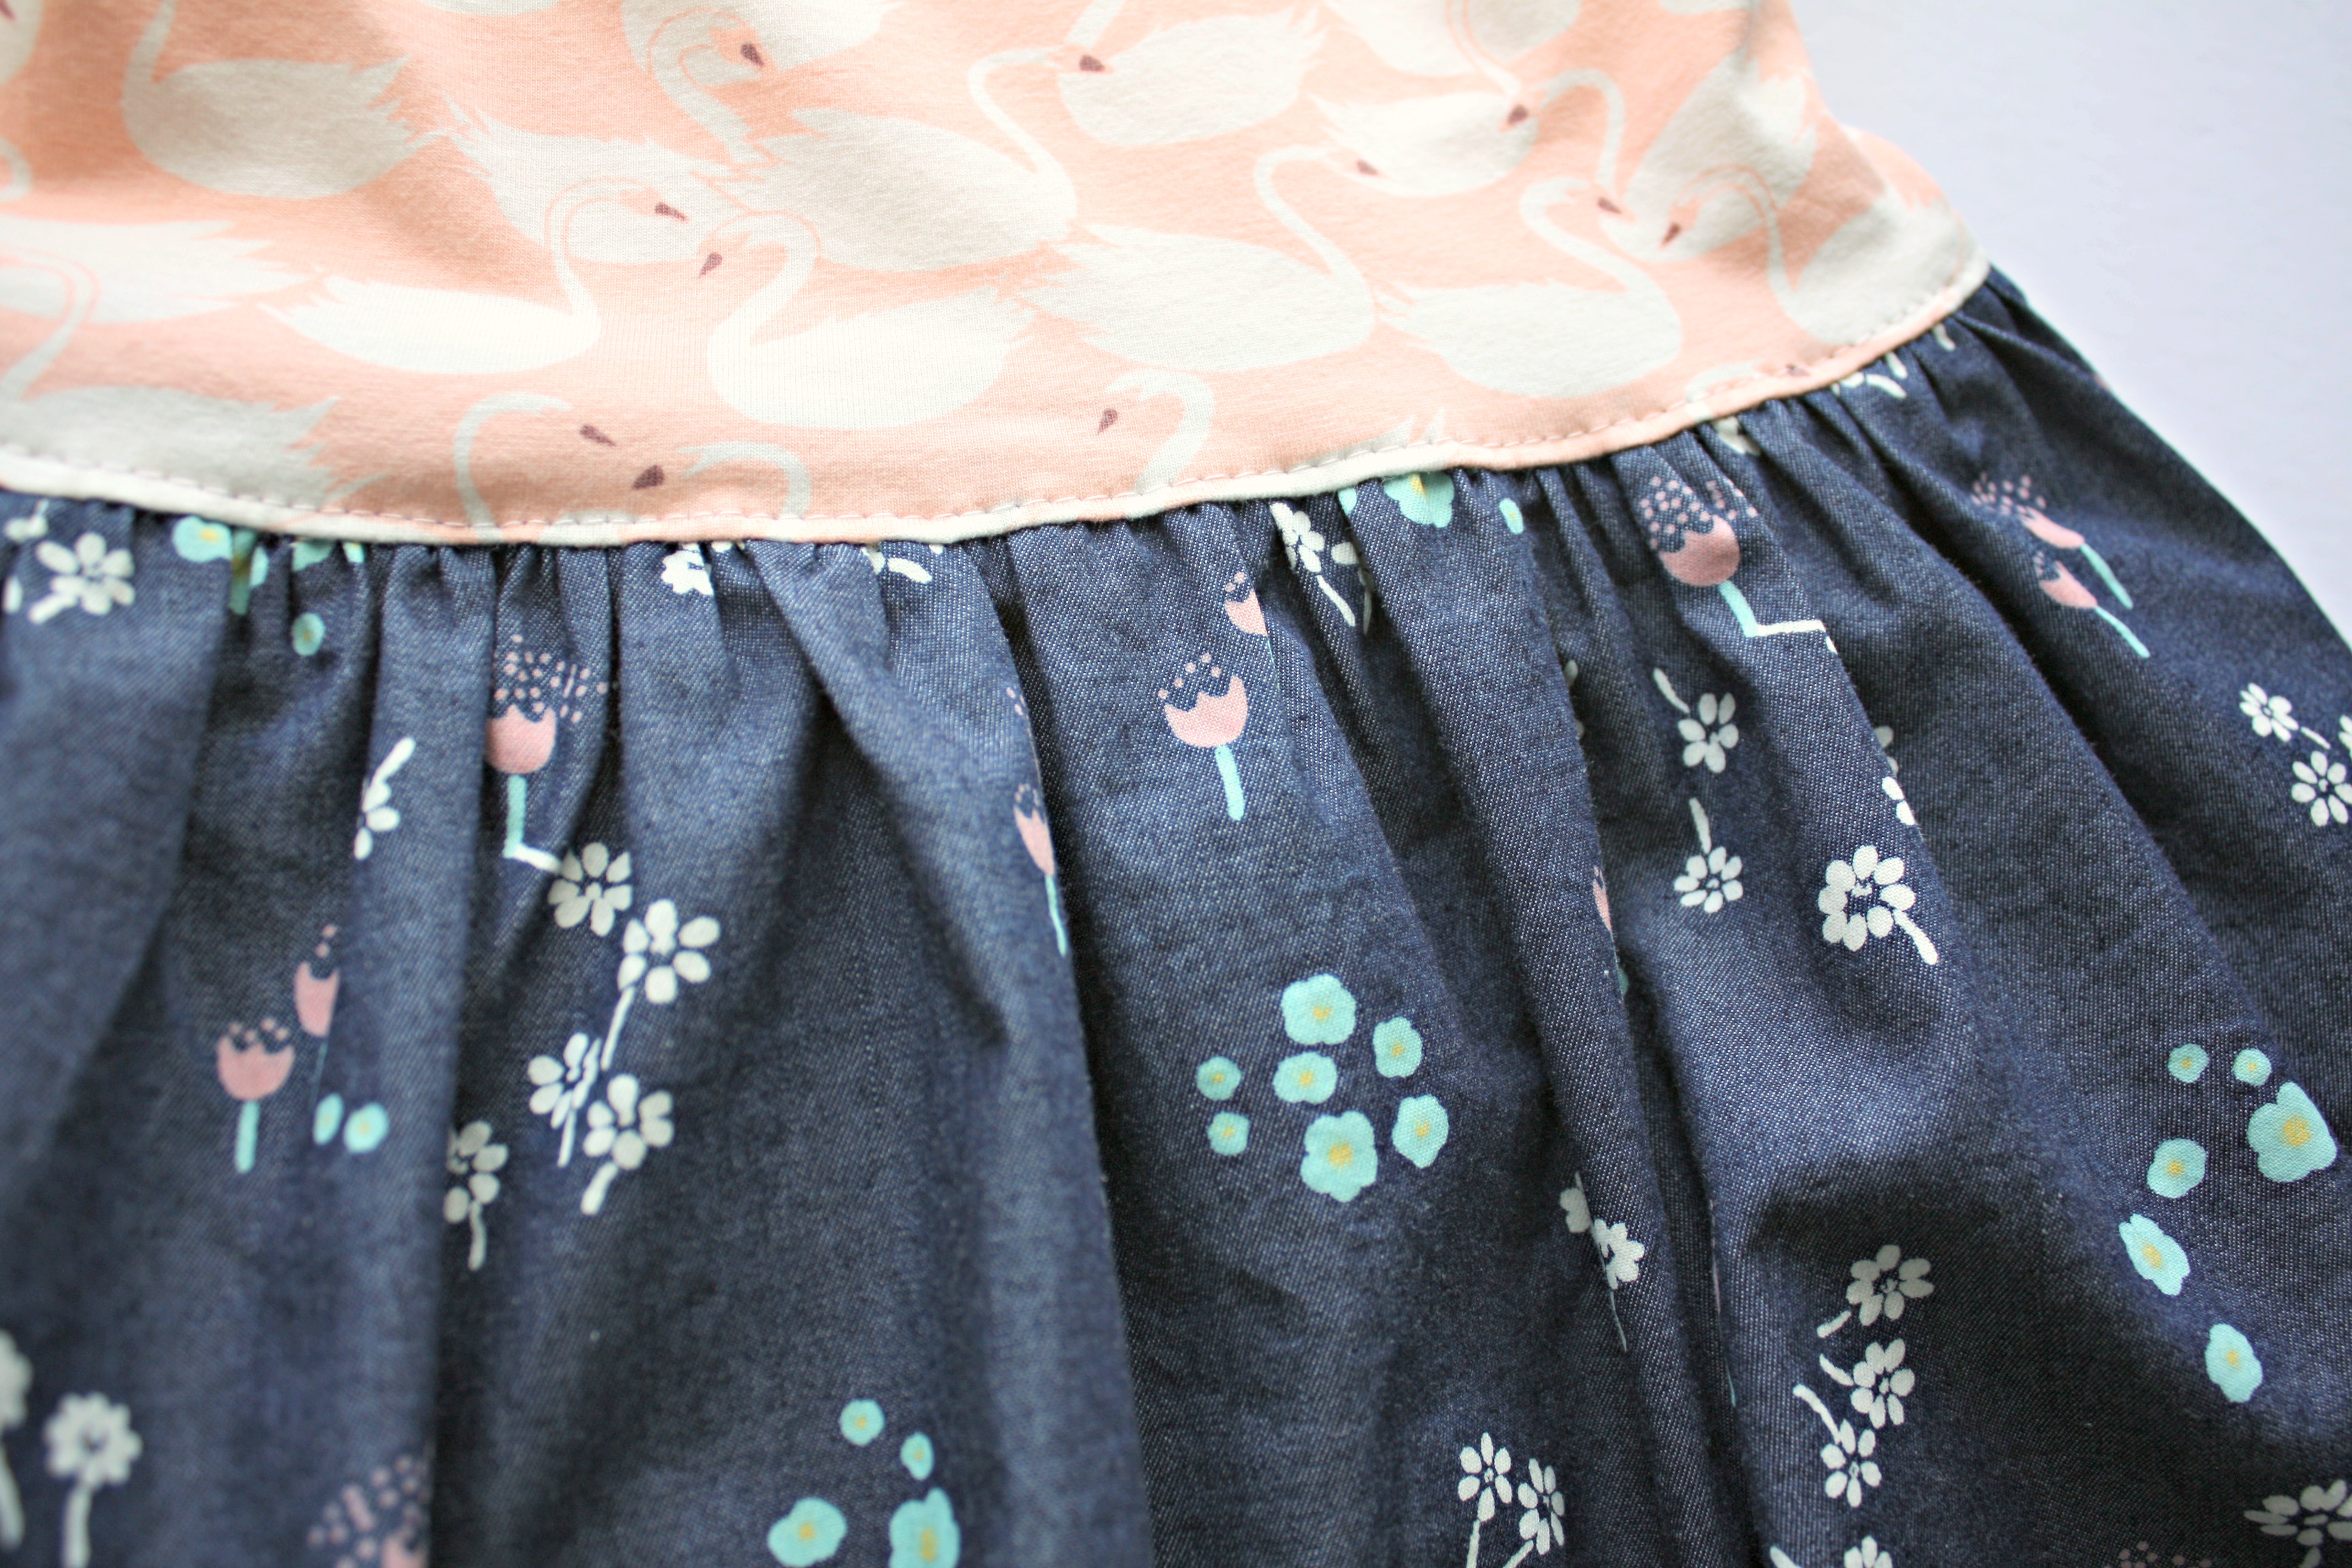
With RST, place bodice inside the skirt matching up side seams, center front and center back. Pin in place. With a 3/8 inch seam allowance, stitch skirt to bodice. Finish off seam using a zigzag stitch or serger. Press hem up towards bodice and top stitch at the waistline, if desired.
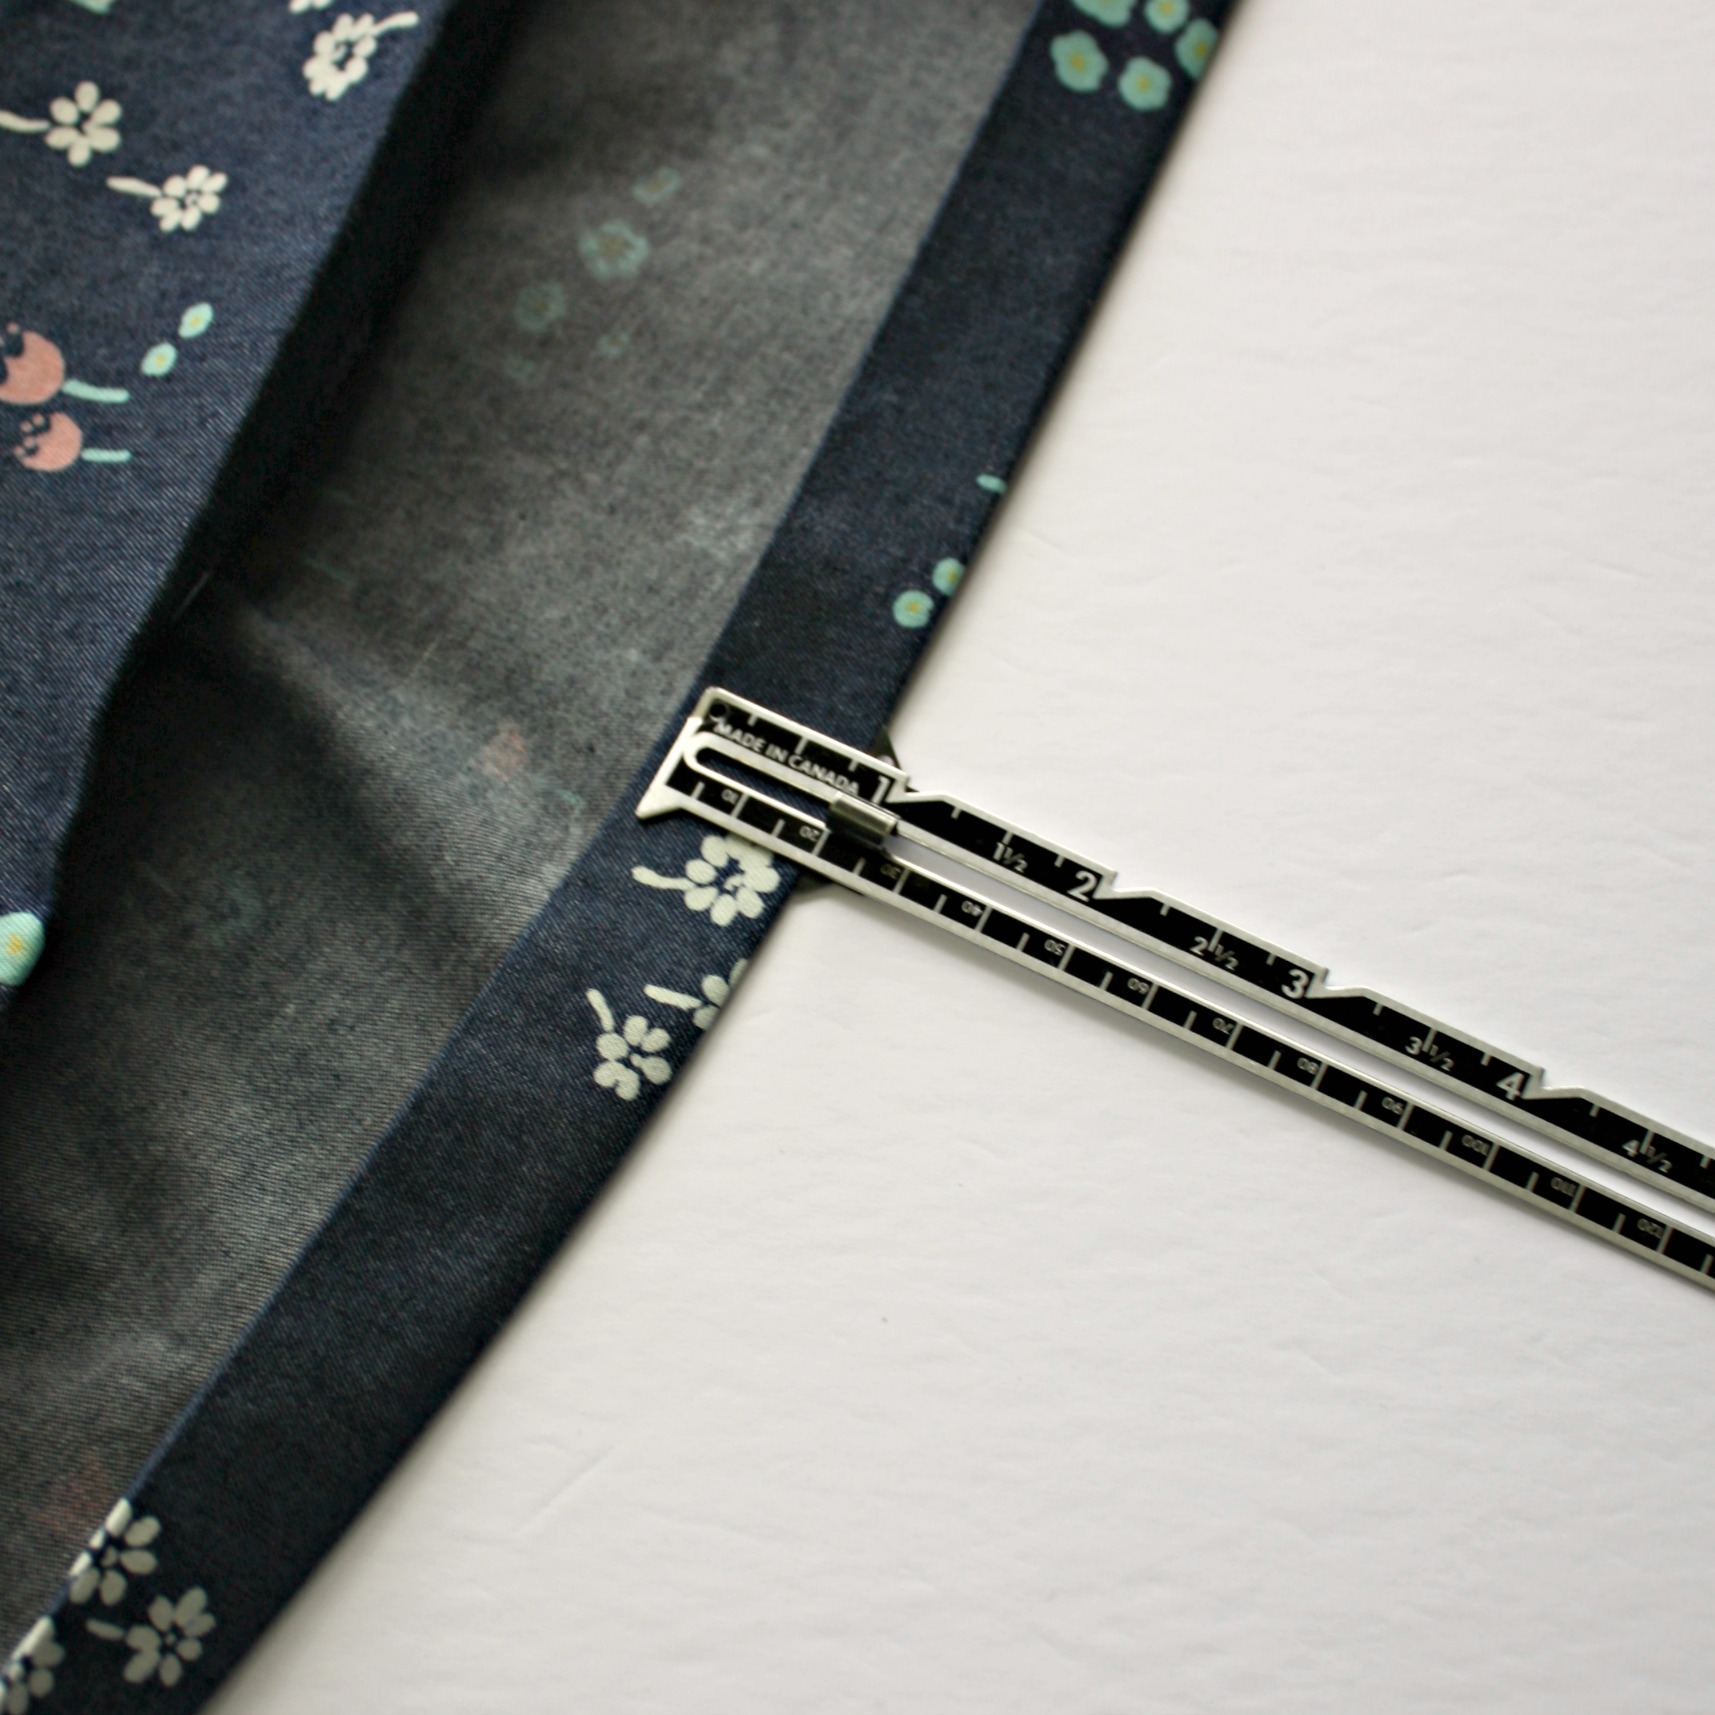
Press bottom edge of skirt up 1/4 inch and again 3/4 inch. Stitch hem and press.

Hayley
Latest posts by Hayley (see all)
- Music Room: Home Tour - January 11, 2019
- The Ace Cardigan - July 30, 2018
- Susie Halter Top and Shorts: Project Run and Play - July 18, 2018
No comments yet.