


Meow!!! I am excited to be a part of the Oh Boy Oh Boy Oh Boy super fun Typography series. Make sure you visit her blog for awesome giveaways! The lovely Stacey asked us to use typography in fashion in whatever way we wanted. I had SO many ideas and it was really hard to narrow it down, but I finally decided to make pictures using just words! I love the idea that the words create the silhouette of the image, so no outline is needed! A kitty shirt for Ainsley and a Pi Shirt for Ethan… of course.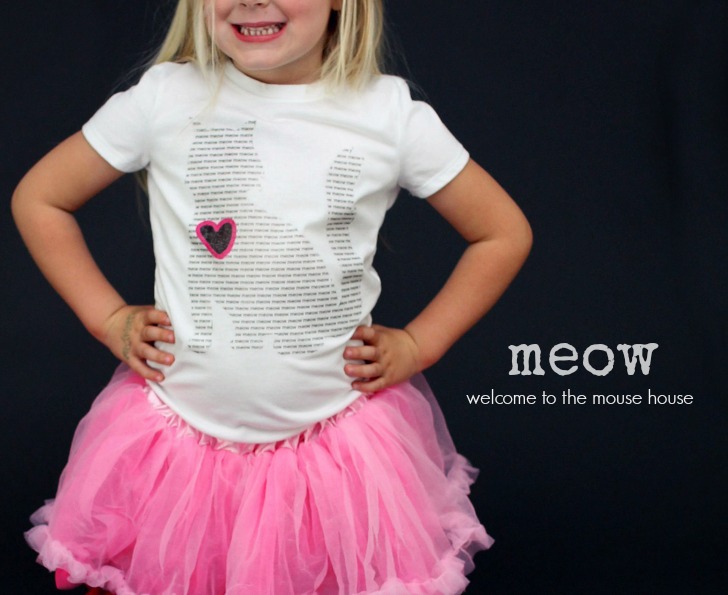
I have a tutorial below, so definitely check that out if you want to make your own. It is super duper simple.
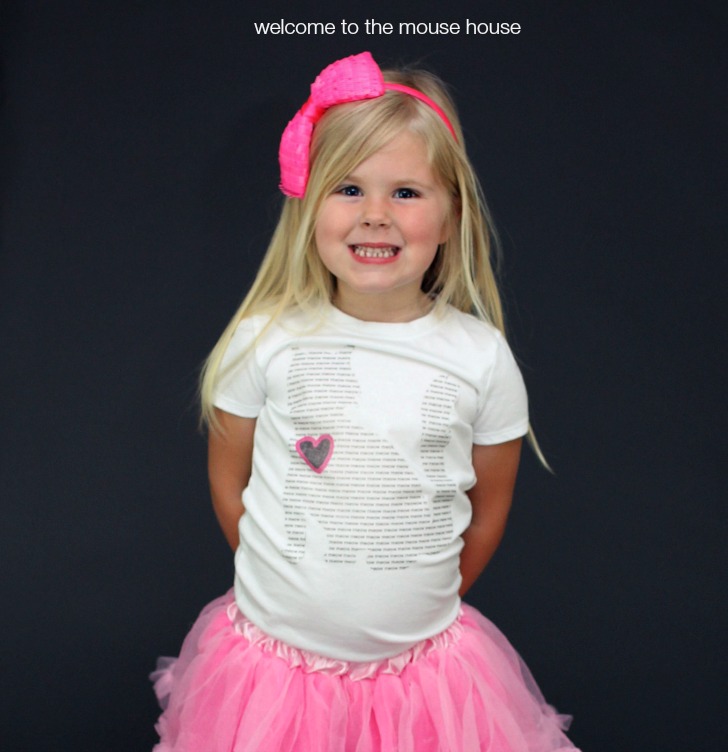
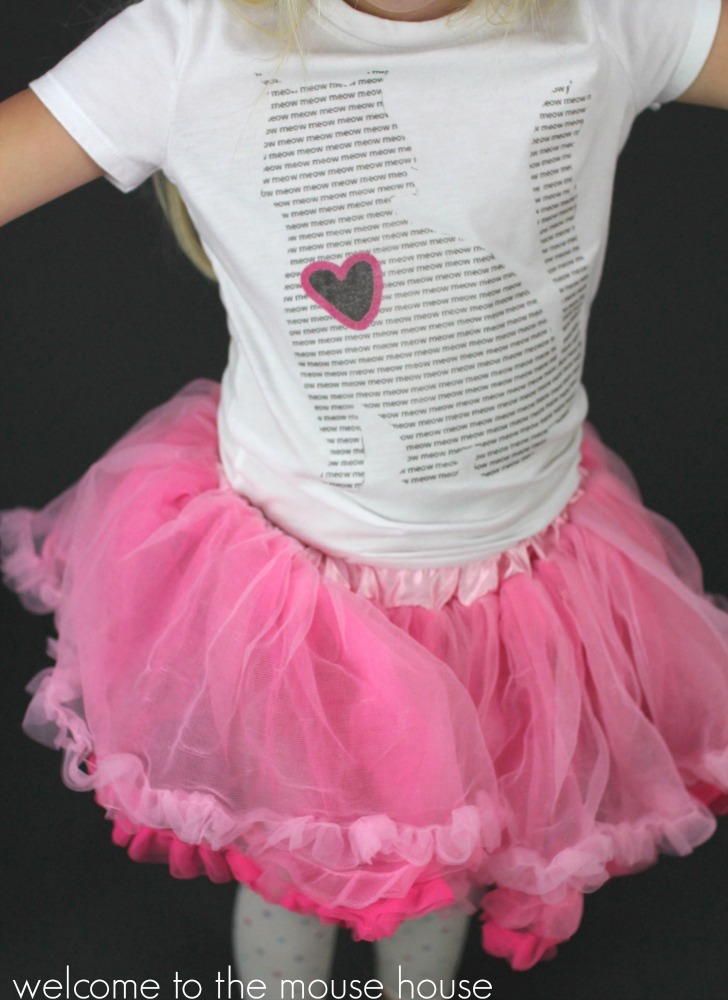
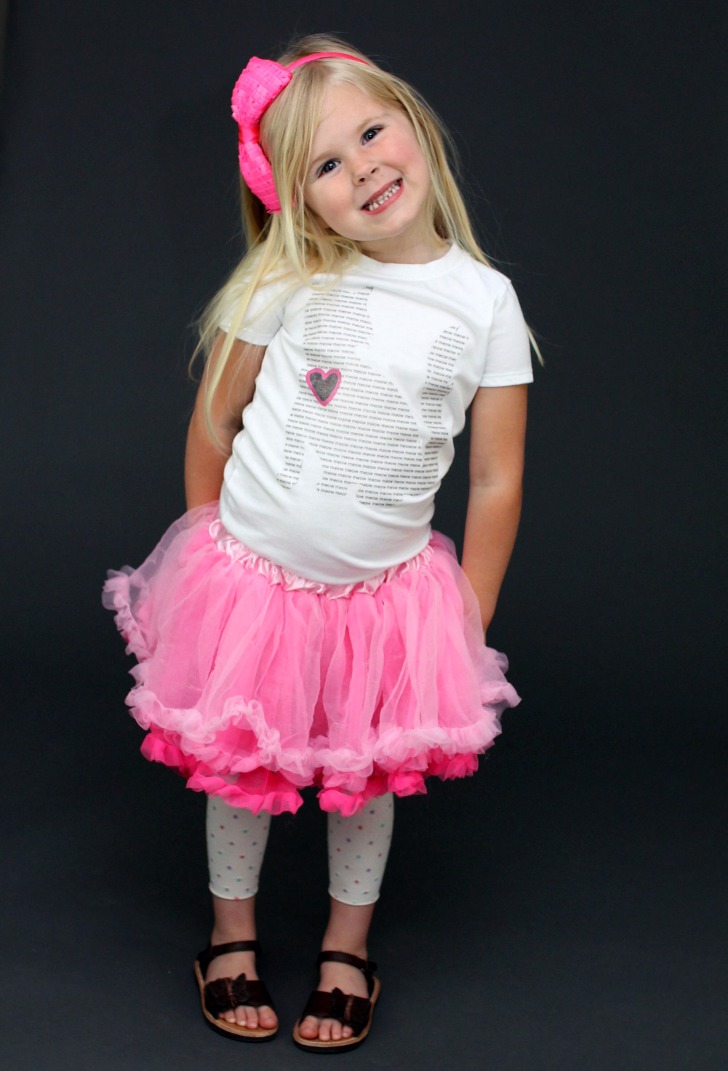
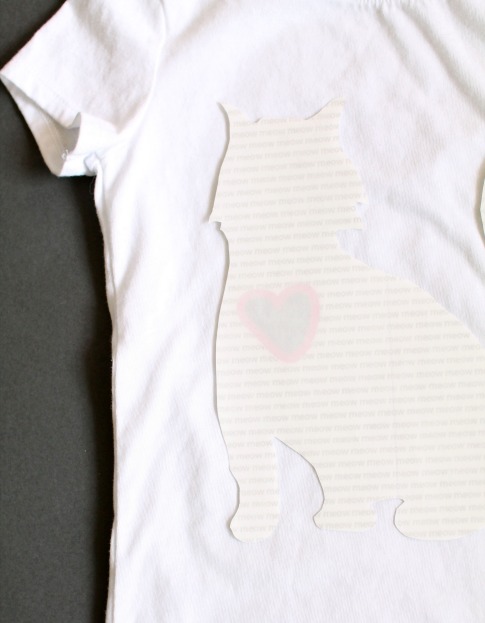
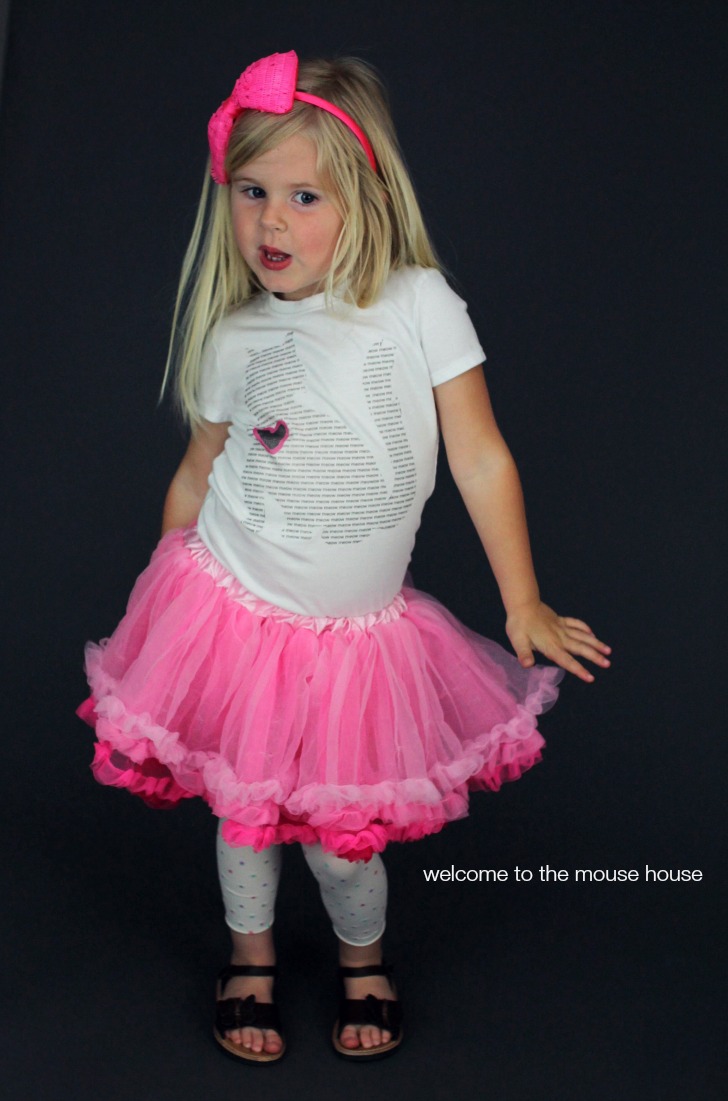
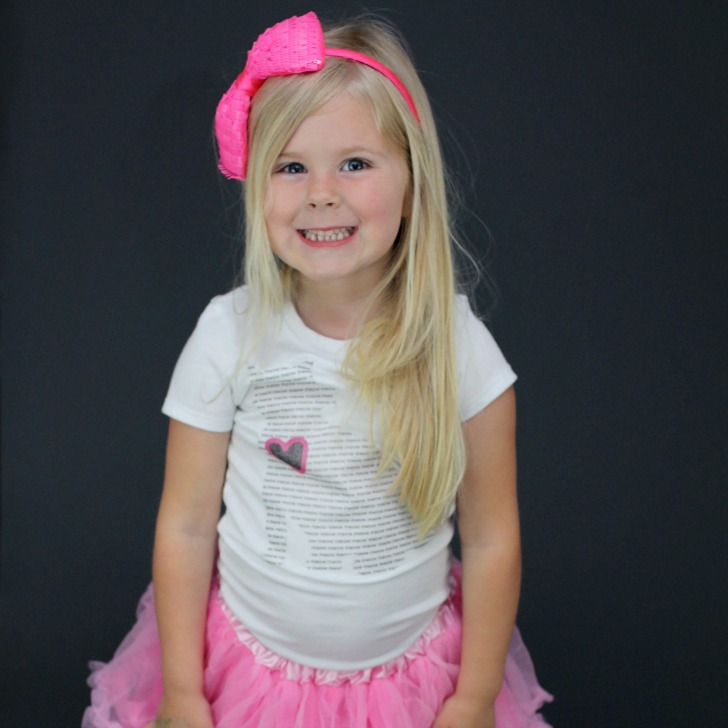
Of course, when I asked Ainsley what picture she would like, her immediate reaction was “kitty cat”. I really don’t know why I bother to ask. To switch things up a bit, I had her draw her own little heart to add to the kitty. I feel like that really makes the entire thing personal.
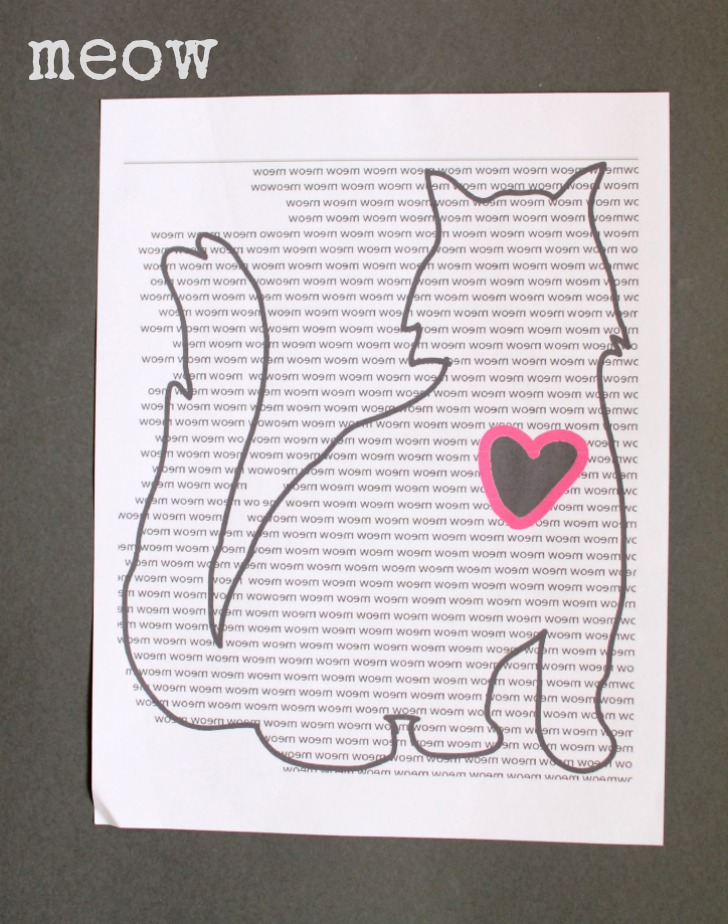
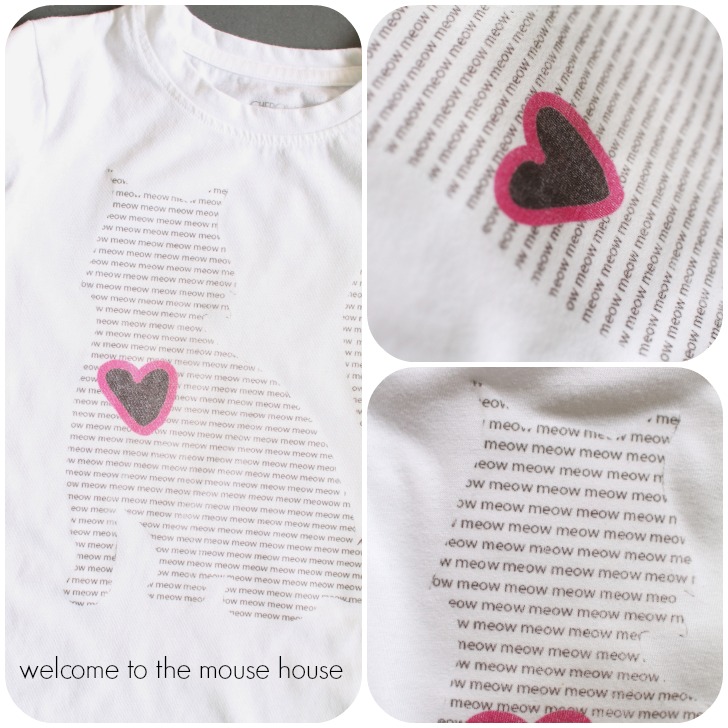
If you can squint hard enough, you will see that the kitty is actually made up of tons of “meow” words… creating the shape of the cat.
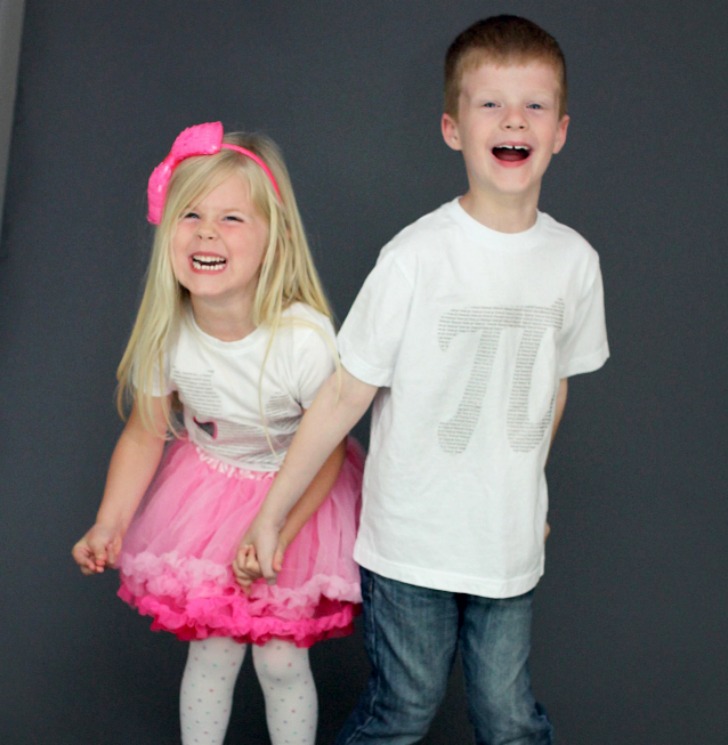
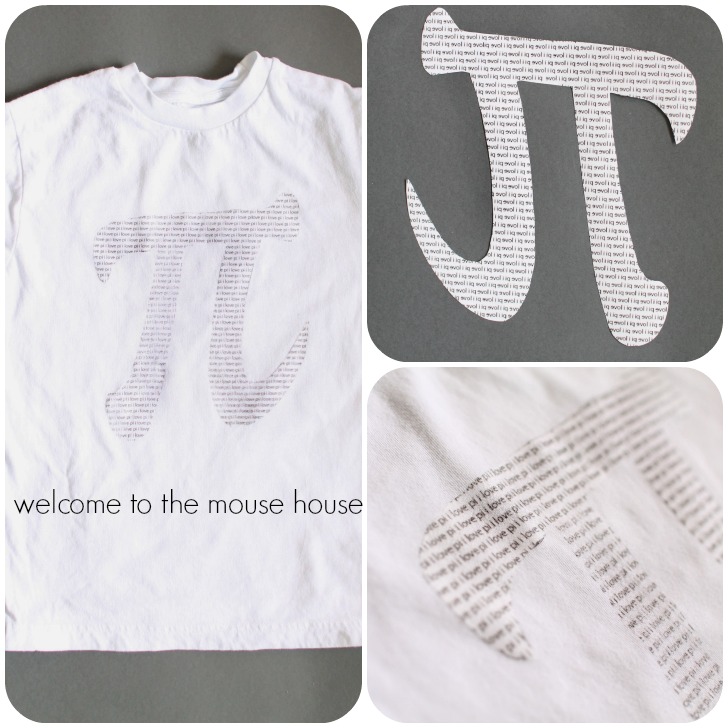
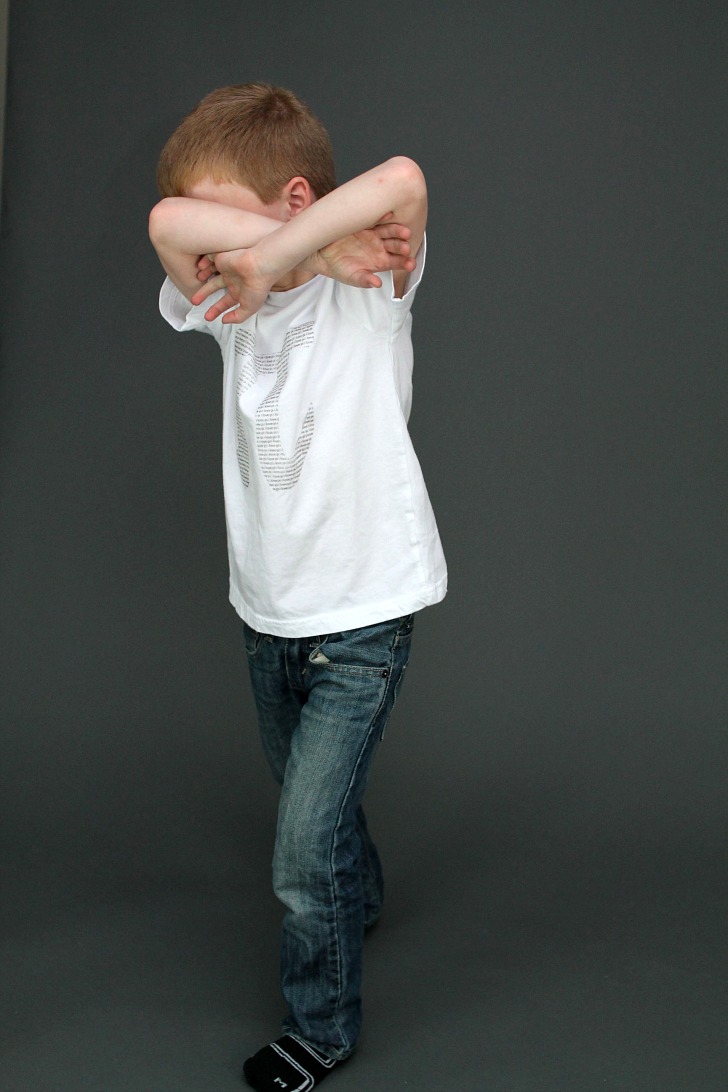
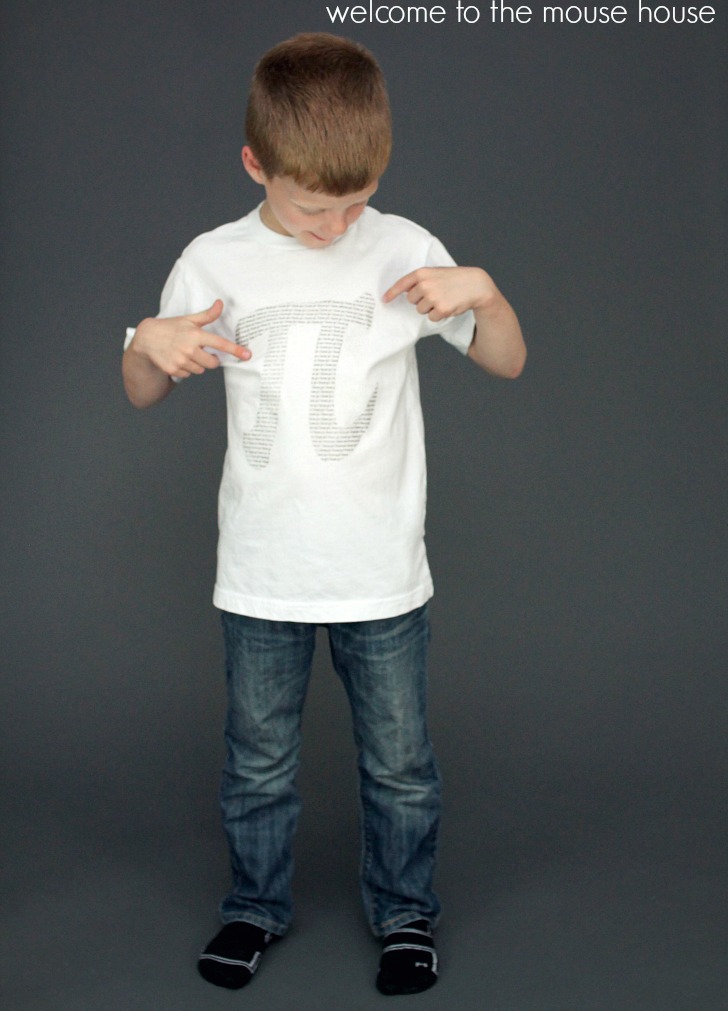
I couldn’t leave Ethan out, and of course, he wanted the pi symbol. Remember his other pi shirt that I made him? Well, he can never get enough pi, apparently. His pi symbol is made up of a bunch of “i love pi” statements. Cool, right?
Tutorial
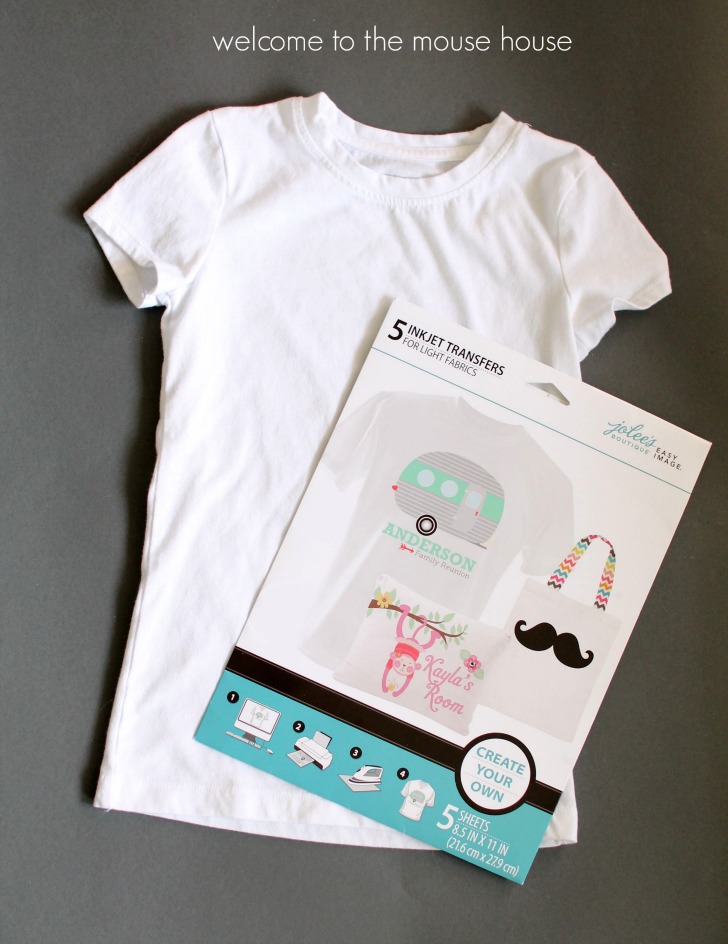
Making your own printed shirt is super easy. I used store bought shirts to make it even easier. You could certainly make your own… if you have the time (which I don’t right now). Also pick up a pack of tshirt transfer sheets. I don’t have a particular brand that I recommend, but the Jolees ones that I used work great!
Using a computer program of choice, create an outline of the shape and fill with words. Then, print in REVERSE onto your transfer paper, according to the manufacturer’s directions.
Funny story, I am useless at computers. Utterly useless. Kind of ironic since I am a blogger and pattern gal. Anyway, I decided that I would do this really cool project in Illustrator and it took me about 2 hours to figure out how to even open Illustrator…. so that idea went out the window. Perhaps, I will take a class or something, but in the meantime, I will return to my Atari and Gameboy.
ANNNYWAY, print out your shape and word paper.
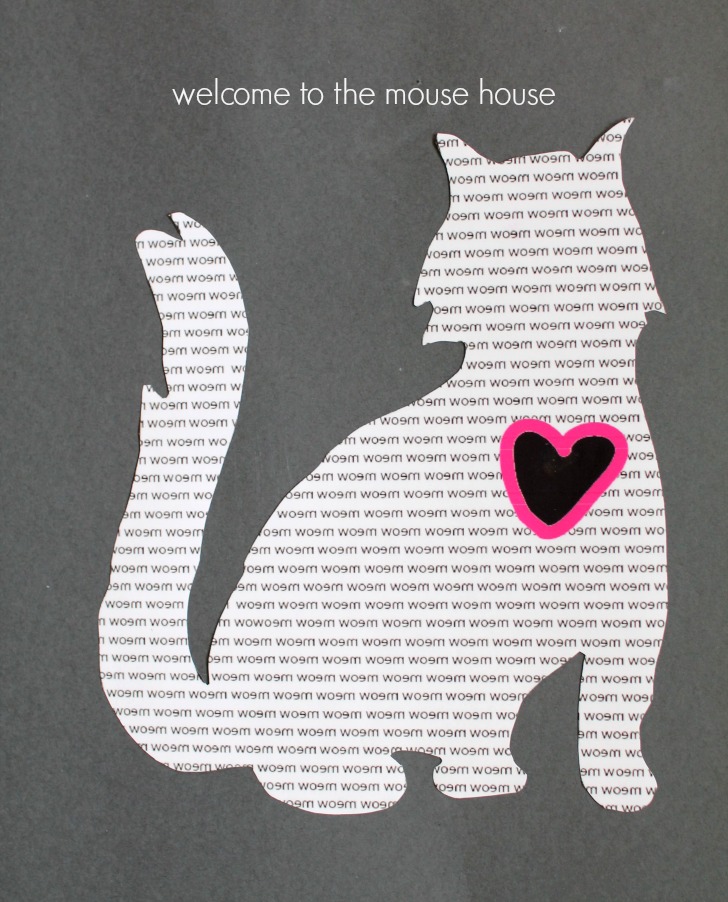
Trim the shape, removing any outline you had.
(and if you are super fancy, you know how to use Illustrator and you could do this all in Illustrator… you fancy pants, you)
Lay your paper face down onto your tshirt, making sure everything is straight and centered.
Iron according to the manufacturer’s directions. Mine called for a super hot, no steam iron.
Iron until you are positive it has all transferred.
Carefully lift up.
Bam! You have got a super cool shirt!
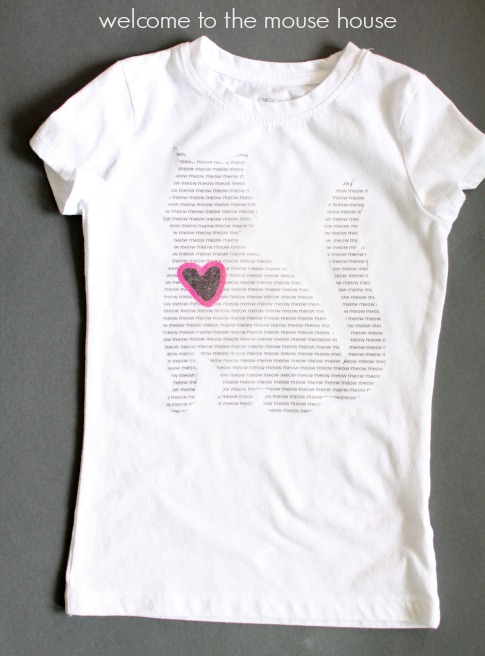
How cute are those meows and the heart that Ainsley drew?
Oh, we can’t forget about our Pi shirt.
Same process, just lots of “i love pi” words this time.
He may not seem like it, but he really did love it!
So did Miss Ainsley… anything kitty cat is amazing to her.
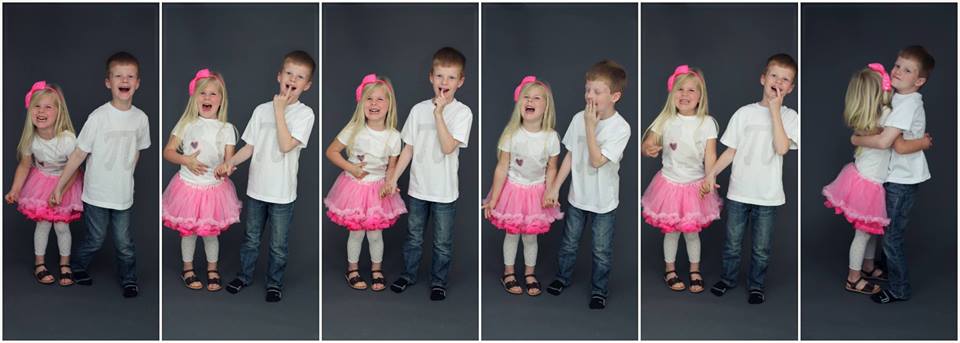
I just have to share this collage.
They are the bestest ever.
Don’t forget to head over to Stacey’s blog for the giveaways!
Also, be sure to join in on a super fun link up party featuring all typographical fun!

Hayley
Latest posts by Hayley (see all)
- Music Room: Home Tour - January 11, 2019
- The Ace Cardigan - July 30, 2018
- Susie Halter Top and Shorts: Project Run and Play - July 18, 2018
I love this Hayley!!
How did you get the cat shape though? Was it in the program you used? I’m confused on that part.
Oh sorry, I should have explained that better… I literally just traced it on my computer into Illustrator!
I really need to use the transfer paper I have. So much fun and I always forget about it.
You know, sometimes only knowing a little bit about software is allows one to do things in an easier manner. Silly me would have been on Illustrator for days trying to figure out how to create the outline shape and then fill it in with words. The way you’ve done it, by just printing a page big enough for your cut out transfer shape, is way less time consuming and in my opinion genius. Why, oh why didn’t I think of that. I love the shirts, Hayley and your kiddos are A-dorable. Love it all! Thanks for joining in on the series.
I love these shirts! So adorable (and so are your kids!)
Excellent idea!