I guest posted over at A Girl and a Glue Gun earlier in the month and I am bringing home the post today!
*********************************************
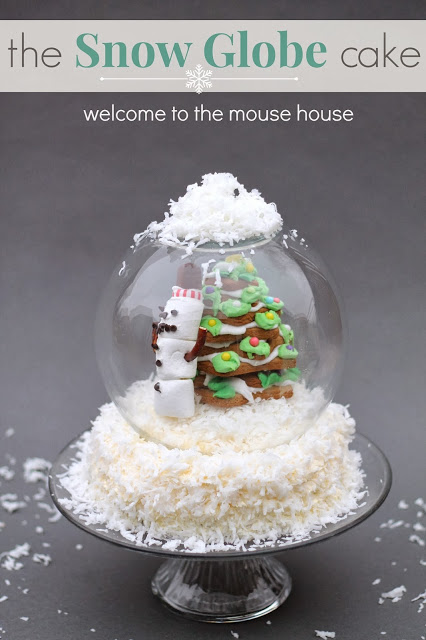
I wanted to create a super cute, but super kid-friendly project… and I decided to do a Snow Globe Cake.
This cake would be an amazing addition to any holiday party, and certainly the talk of the night. The best part is that it is super easy for anyone to do… even those “non-crafty” people.
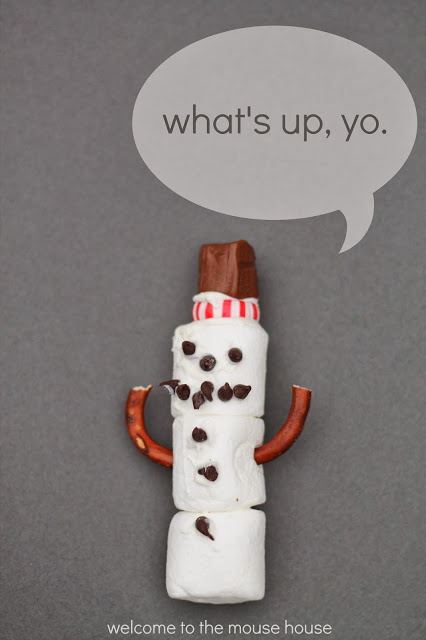
Let’s get started before this guy gets angry…
You will need a few pieces of glassware:
*cake pedestal
*glass pyrex dish
*round vase
First, make the cake.
I cheated and used a box mix and hey, there is nothing wrong with that at all… we are all busy right? I used a Devil’s Food cake mix, but any will do.
Once you mix the cake batter up according to the directions, pour it into your greased and floured pyrex bowl.
My particular box mix didn’t give directions on how to bake in a glass bowl, but I baked it at 350 degrees for 45 minutes. After 30 minutes, I checked it every so often to see if it was still “jiggly” or not (real technical, right?) Once it seemed ready, I took it out and let it cool. Once cool, flip upside down onto your cake pedestal. If you greased and floured your bowl, this should be pretty easy to do. You may need to trim the bottom to make it lay flat.
Let’s make the frosting.
In another bowl, mix 1 package of vanilla pudding mix, 1/4 cup of powdered sugar, and 1 cup of milk.
Add 2 cups of whipped topping (I used Cool Whip).
Stir it up!
Spread evenly all over your cake.
Top with a generous amount of coconut flakes. Push into the sides.
Hate coconut?? Use white chocolate flakes instead!
Or even powdered sugar would be super cool.
Let’s make Mr. Snowman.
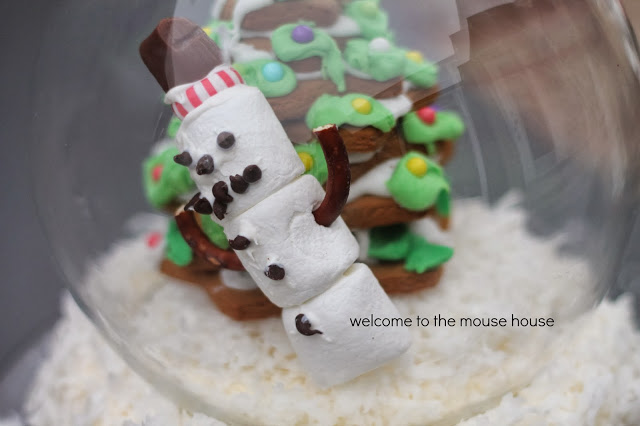
I used 3 marshmallows, pretzels, a large tootsie roll, mini chocolate chips, melted white chocolate, and a peppermint candy.
Ainsley’s reaction to getting marshmallows….
my thoughts exactly.
Build Mr. Snowman by layering each marshmallow and “gluing” them together with the melted white chocolate (it will harden later).
Create the face and buttons with the mini chocolate chips, and again, use the melted white chocolate as a glue.
Ainsley really enjoyed doing this!
Top him off with a peppermint candy and half a large tootsie roll.
Oh, don’t forget his pretzel arms.
I won’t bore you with step-by-step photos of everything, but we also created a gingerbread tree. She ate more of the candy than we put on it. Fun was had by all!
Place the tree and Mr. Snowman on top of the cake.
Place the vase upside down over top.
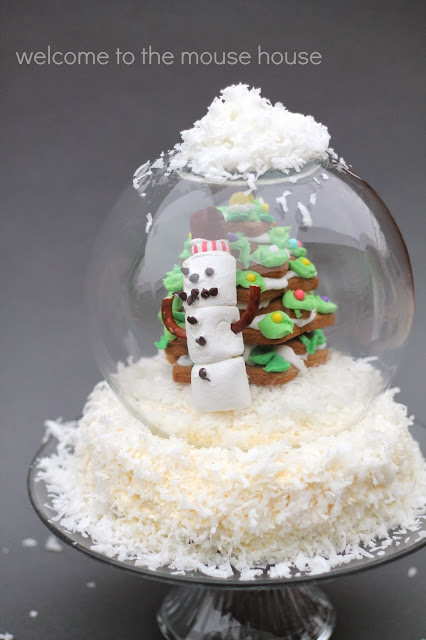
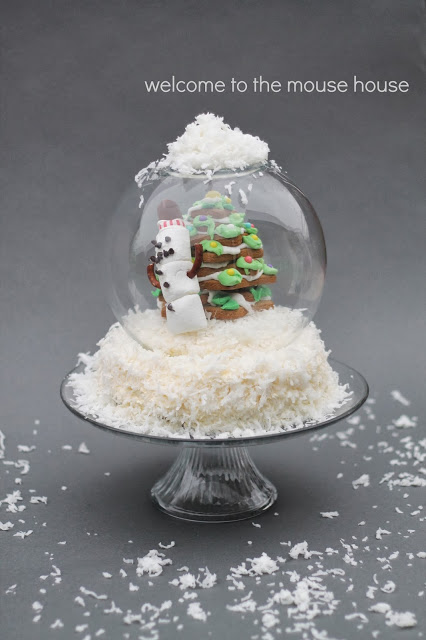
You have got yourself a snow globe cake.
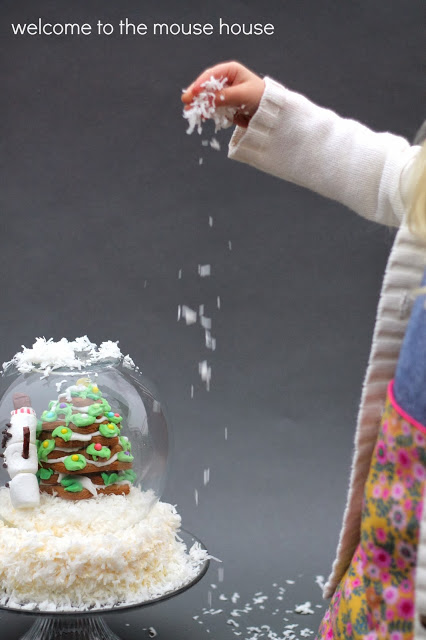
And then it was time to decorate…
It may not be perfect, but it was FUN! I love that a family can do this together. Forget a gingerbread house, make a snow globe cake!
I did create awesome snow globe cupcakes that I hope to share here soon! They would be perfect for a school party!
Hayley
Hayley Crouse is a wife, mother and multifaceted designer. Her love of sewing, crafting, cooking and interior design infuses her daily life and naturally spills over into her online presence. She pushes the envelope of her creativity and hopes that others will be inspired to do the same. She currently authors the Welcome to the Mouse House Blog, is the pattern designer behind Mouse House Creations and is a collaborative designer with Willow & Co. Patterns.
Latest posts by Hayley (see all)
- Music Room: Home Tour - January 11, 2019
- The Ace Cardigan - July 30, 2018
- Susie Halter Top and Shorts: Project Run and Play - July 18, 2018








No comments yet.